
GE Monogram Refrigerator Stuck at 50°F in La Quinta: Sealed System Freon Leak Repair and Filter-Drier Replacement
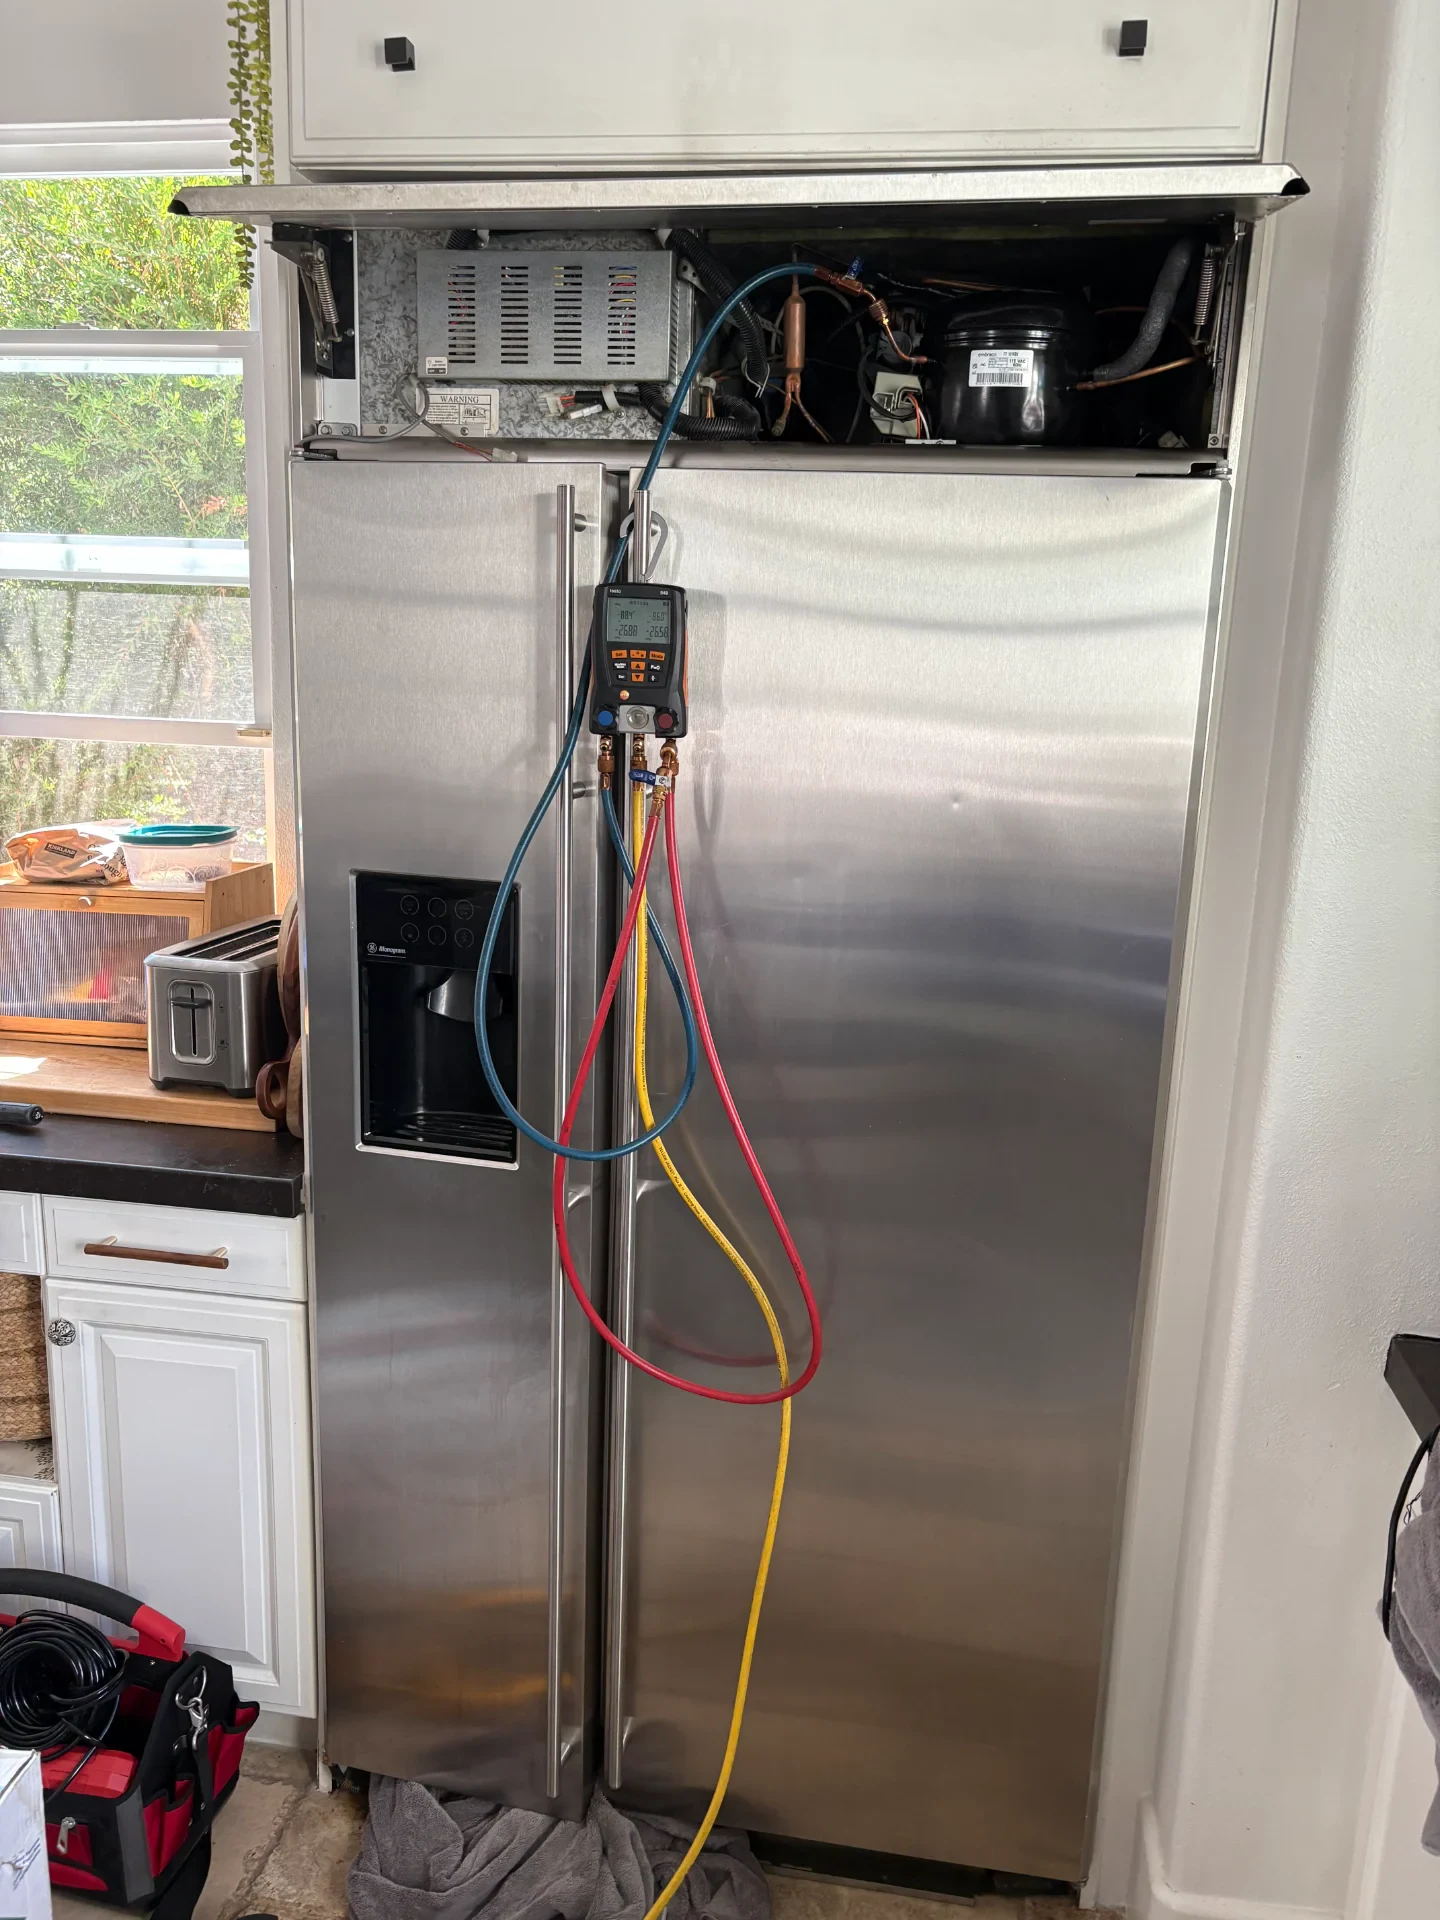
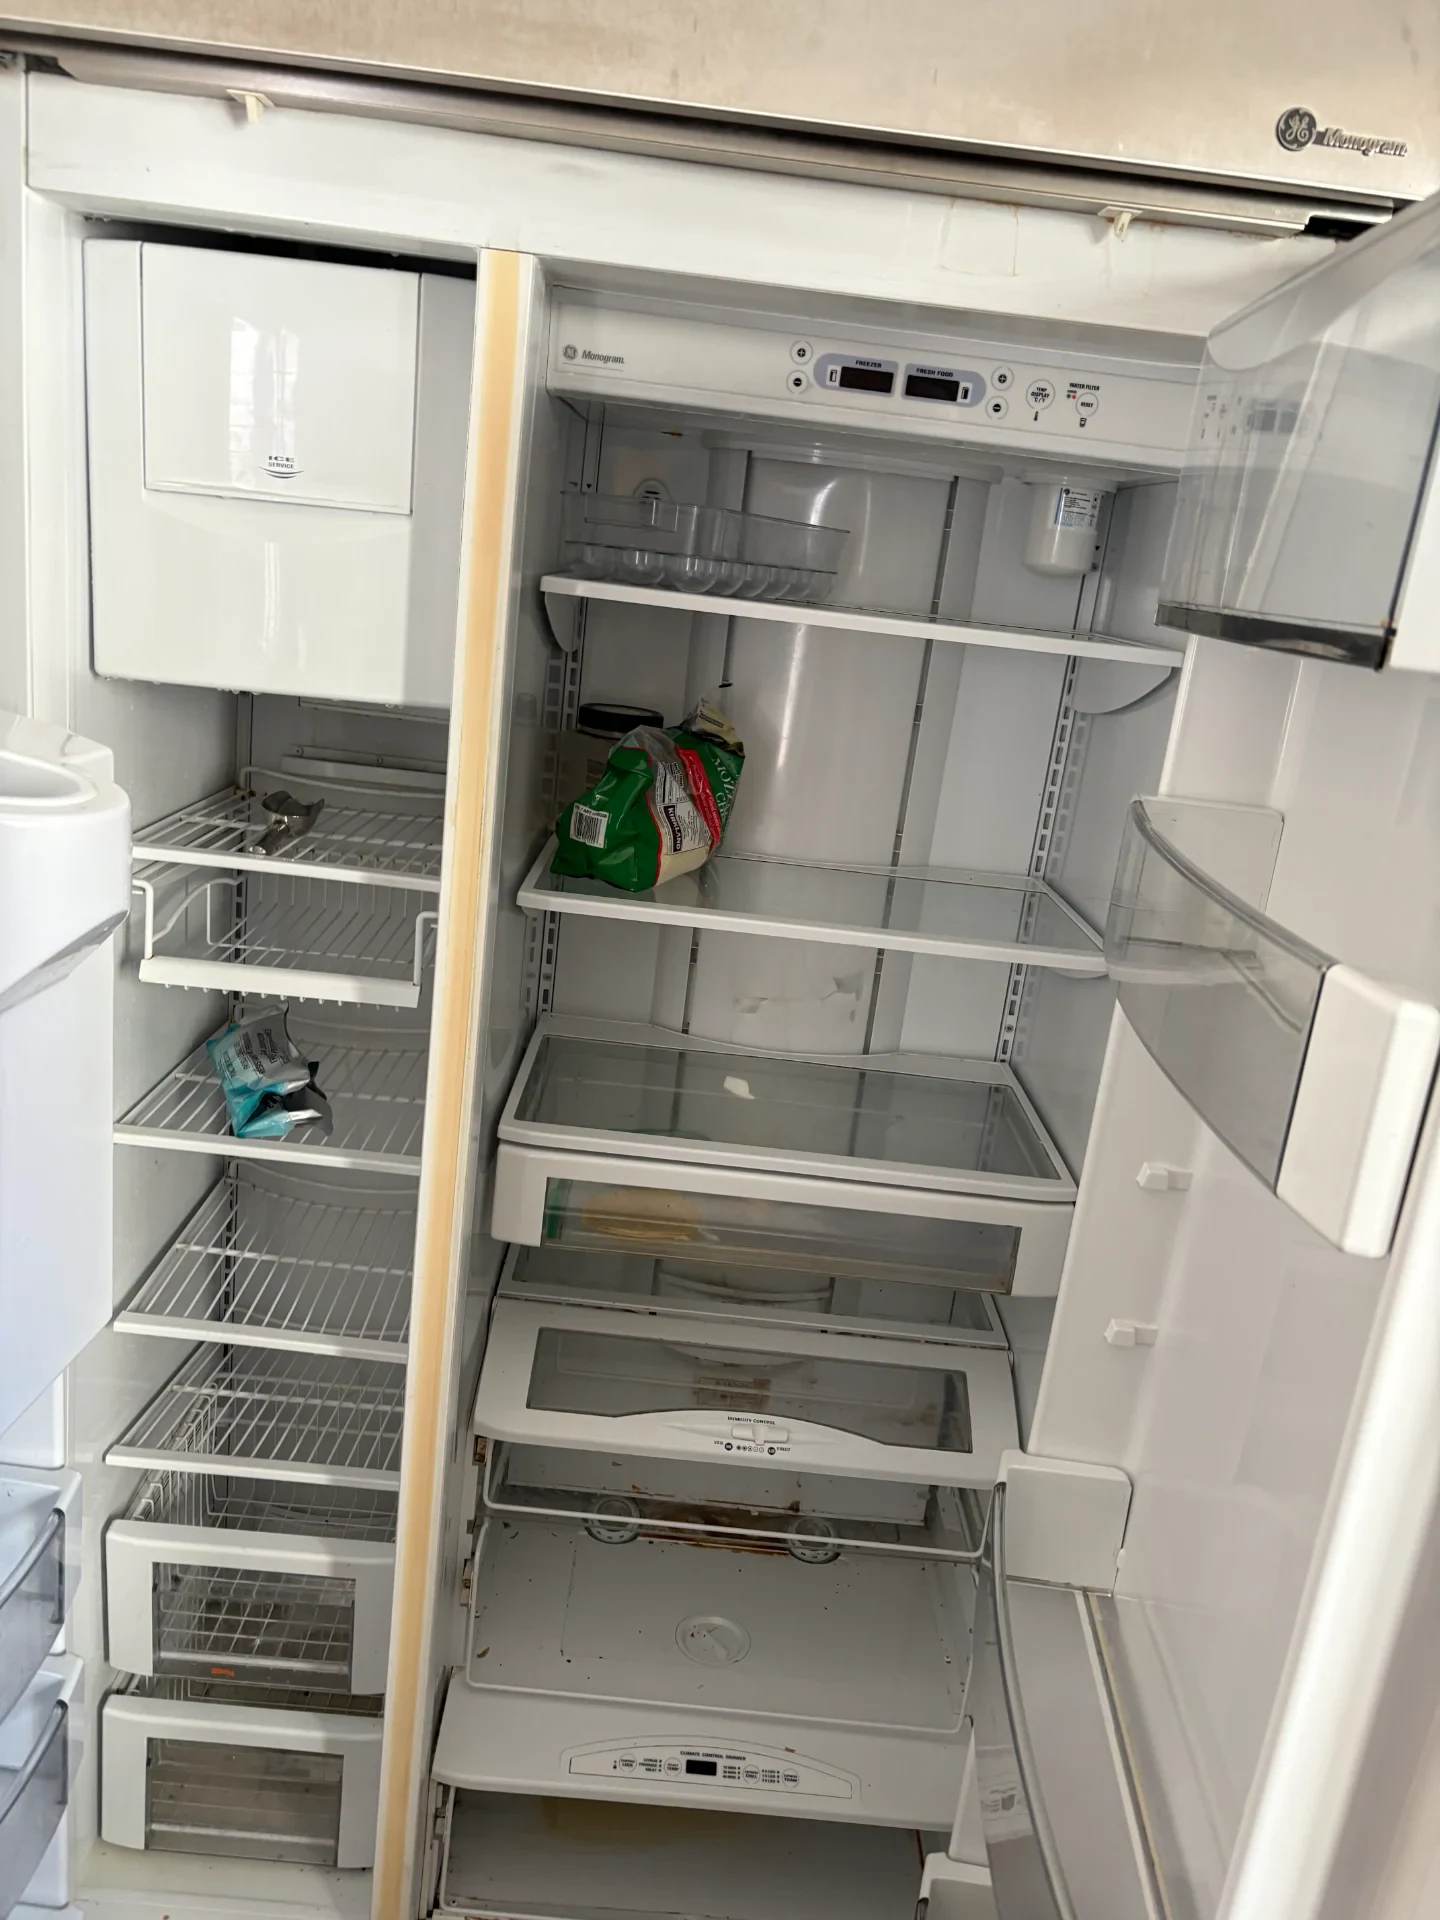
Warm milk. Fifty degrees flat. I drove out to a home near Avenue 52 in La Quinta (92253) this morning because the owner's 42-inch built-in GE Monogram side-by-side refrigerator (model ZISS420DRSS) wouldn't cool the fresh food shelves below 50°F; the top-mounted compressor ran non-stop all night long, the condenser fan spun fast under the upper grille, and the digital display flashed a warm temperature alarm without throwing a PF power failure code, which tells any seasoned refrigeration tech that the sealed system is starving for refrigerant rather than suffering from a dead main board. Classic low-charge symptom.
Checking the Evaporator Frost Pattern and Finding the Freon Leak
Electrical checks come first. Never guess on sealed systems. Before hooking up manifold gauges, I flipped the dedicated 120V circuit breaker off and closed the brass ice maker water supply valve so I could check the defrost loop behind the rear panel with my Fluke multimeter and a 1/4-inch nut driver; the safety thermal fuse (Part #WR50X10068) measured a clean 0.1 Ohms, the defrost heating element read 22.4 Ohms, and the compressor windings balanced out at 6.2 Ohms across the pins, yet when I looked at the aluminum evaporator coils only the top two tubing passes had frost while the lower ten passes sat bare and warm at 50°F. Freon was definitely low.
- Power and Water Disconnect: I unplugged the 120V power cord in the upper soffit, turned the breaker off, and closed the cold water shutoff valve before pulling the top machine compartment cover with my 1/4-inch nut driver.
- Low-Side Gauge Test: Suction pressure was way down. My manifold gauge read 12 inHg of vacuum instead of the normal 9 PSI working pressure for R-134a refrigerant.
- Electronic Leak Search: My heated-diode Freon sniffer screamed right at the copper-to-steel joint on the factory filter-drier, where green compressor oil had seeped through a pinhole braze crack.
- Multimeter Sensor Check: Both the thermal fuse (0.1 Ohms) and the fresh food thermistor (5.0k Ohms at 50°F) tested good on my multimeter, proving the pinhole Freon leak was the only fault.
Brazing the Leak, Swapping the Filter-Drier, and Recharging Freon
Stop-leak cans ruin compressors. Real repairs need a torch. Once the homeowner approved our $980.00 flat-rate sealed system quote, I brought my recovery tank, nitrogen cylinder, oxy-acetylene brazing rig, and vacuum pump into the kitchen so we could rebuild the high-side joint properly; anytime you open a GE Monogram refrigeration loop to fix a leak, you have to cut out the old moisture-saturated filter-drier and braze in a brand-new OEM GE filter-drier (Part #WR86X10030) so microscopic water droplets and copper oxide scale don't plug up the tiny capillary tube entry.
- Step 1 - Refrigerant Recovery and Tube Prep: I recovered the remaining gas into my EPA tank, cut out the leaking factory drier with a mini tubing cutter, and sanded the copper stubs bright.
- Step 2 - Silver Brazing the New Filter-Drier: I fitted the new OEM GE filter-drier (Part #WR86X10030) into the high-side line and flowed 15% silver brazing alloy around both joints with my torch.
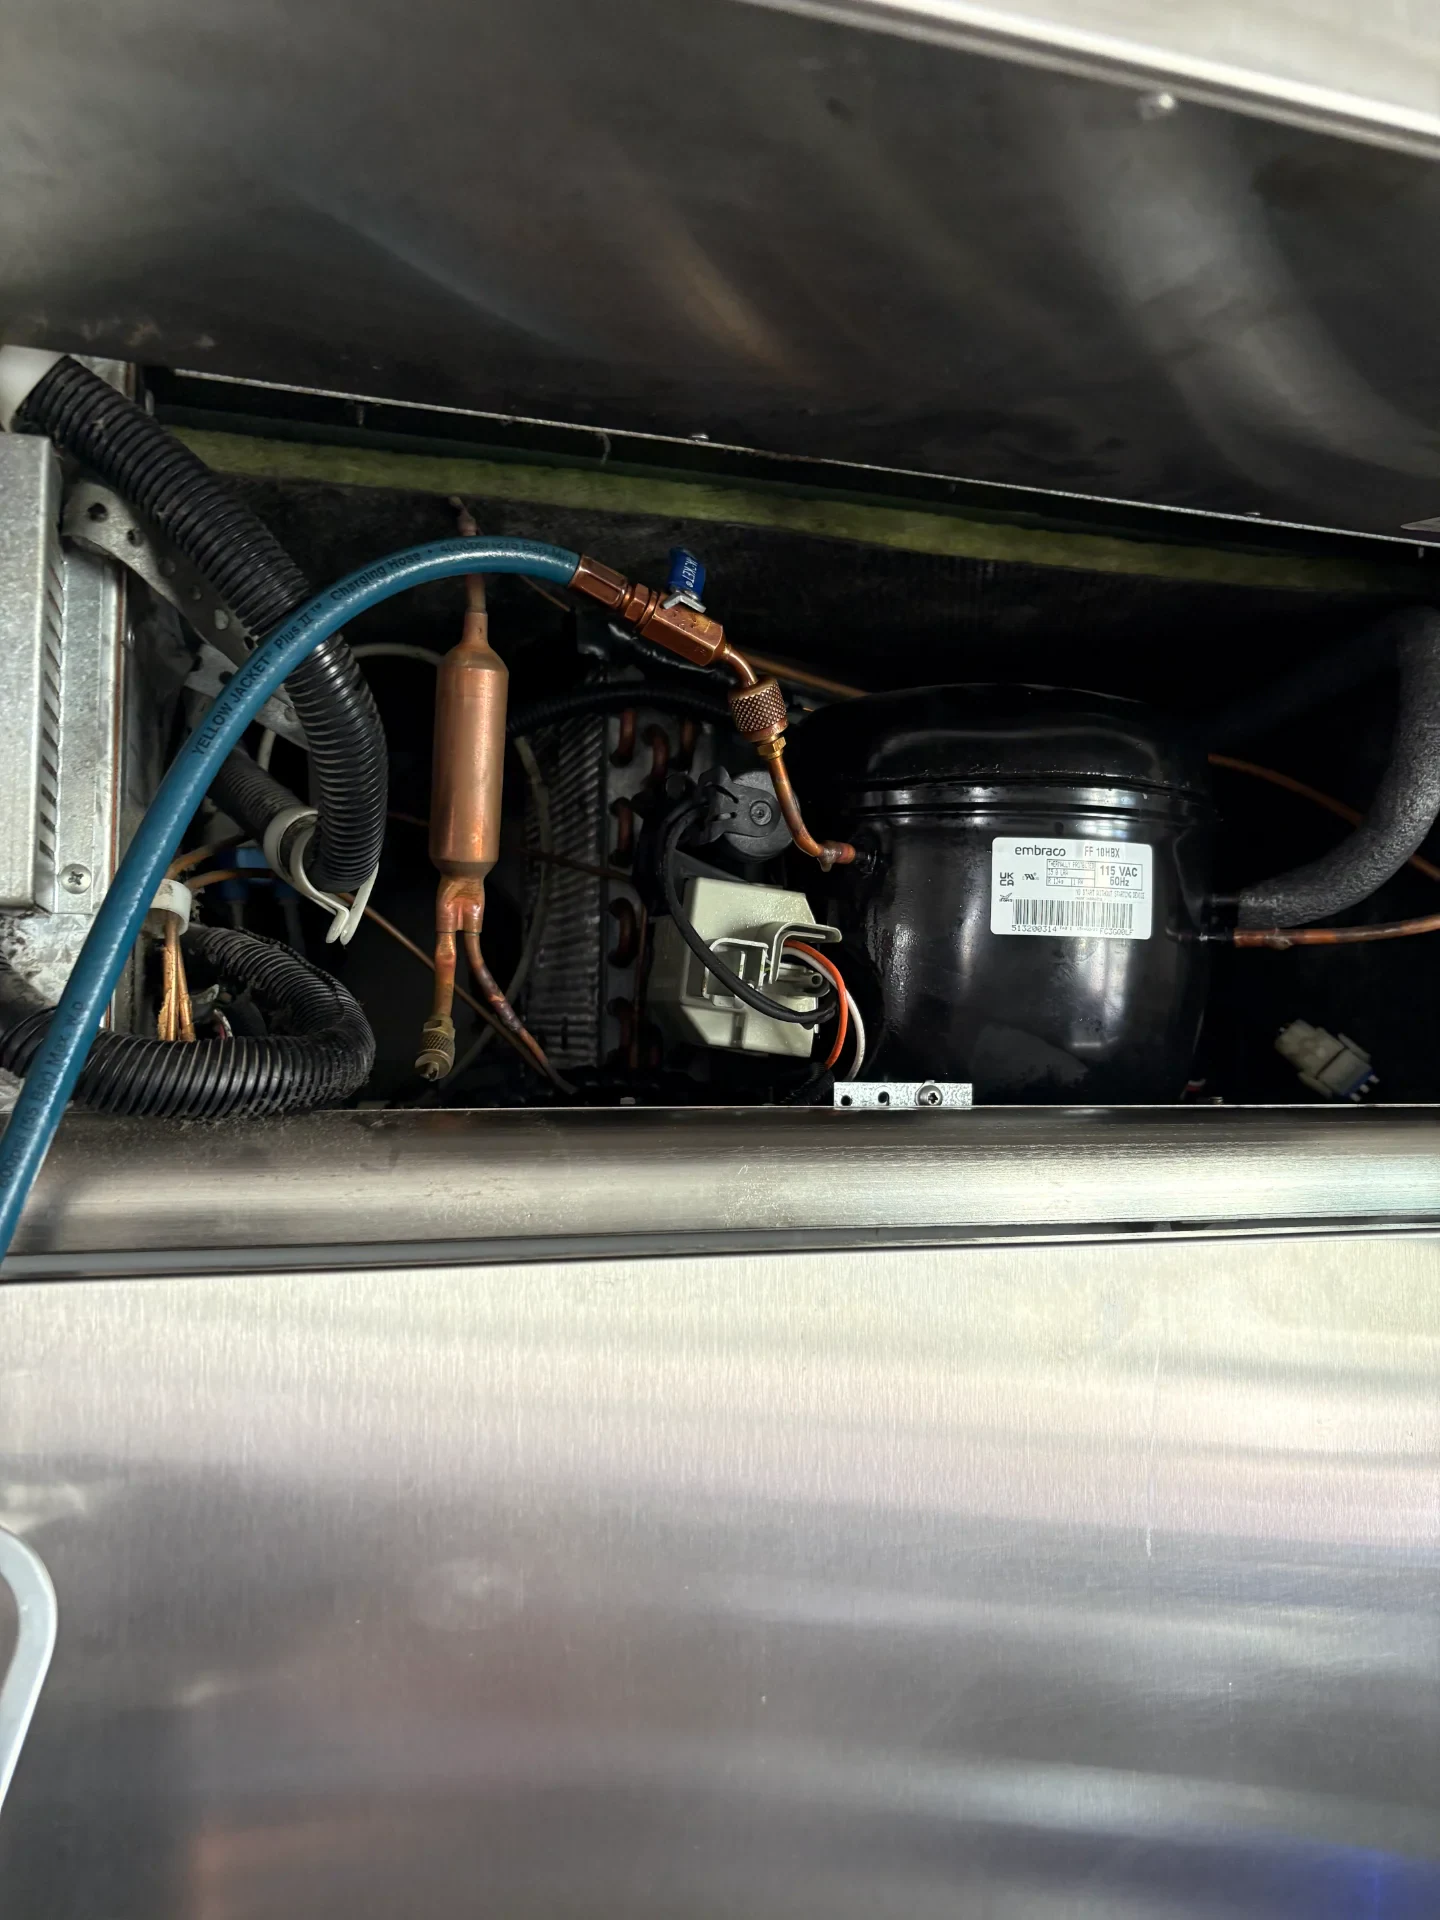
- Step 3 - Nitrogen Test and Deep Vacuum: Dry nitrogen held rock-solid at 150 PSI for twenty minutes with zero leaks, so I hooked up my vacuum pump and pulled the lines down to 450 microns.
- Step 4 - Weighing In the Factory Freon Charge: Using my digital scale, I weighed in 5.5 oz of virgin R-134a refrigerant right to the exact ounce printed on the GE Monogram serial tag.
| Test Point | Before Repair | After Repair | Factory Spec |
|---|---|---|---|
| Fresh Food Temp | 50°F | 37°F | 36°F to 38°F |
| Suction Pressure | 12 inHg vacuum | 9 PSI | 8 to 10 PSI |
| Filter-Drier (#WR86X10030) | Pinhole braze leak | New OEM brazed | 0 ppm leak rate |
| Thermal Fuse & Heater | 0.1 Ohms / 22.4 Ohms | 0.1 Ohms / 22.4 Ohms | Intact circuit |
Every reading came right back into factory range. Prior to brazing in the new #WR86X10030 filter-drier and weighing in the fresh 5.5 oz R-134a Freon charge, the compressor was pulling a 12 inHg vacuum with only two frosted evaporator passes; ten minutes after charging, suction pressure stabilized at 9 PSI, high-side head pressure settled at 135 PSI, and frost coated every single evaporator tube from top to bottom.
Final Cooling Verification and Leak Recheck
Cold air poured down. Zero Freon leaks remained. I ran my heated-diode refrigerant sniffer around the new silver-brazed filter-drier joints and process stub while the compressor ran under full thermal load, getting zero ticks on the sensor; within forty-five minutes of closing the heavy stainless doors, the fresh food cabinet temperature dropped from 50°F down to a crisp 37°F while the freezer side hit -2°F, saving the La Quinta homeowner over $11,000 on a replacement 42-inch built-in GE Monogram refrigerator.
If your GE Monogram refrigerator is stuck at 50°F, running non-stop, or leaking Freon in La Quinta, Palm Desert, or anywhere in the Coachella Valley, book our licensed refrigerator repair service online or call our local dispatch team at (760) 537-6751.
Transparent Invoice Breakdown
ETS Appliance Repair provides upfront, flat-rate pricing with zero hidden fees before work begins:
| Service Item / Component | Description | Investment |
|---|---|---|
| Technician Sealed System Diagnostic & Sniffer Test | Electronic leak detection, vacuum gauge analysis & coil test (waived upon repair approval) | $0.00 |
| Genuine OEM GE Monogram Filter-Drier & Access Valve Kit | Factory-certified high-side copper filter-drier and service port (Part #WR86X10030) | $165.00 |
| Virgin R-134a Refrigerant Charge & Nitrogen Purge | 5.5 oz virgin R-134a weighed by digital scale, nitrogen pressure test & consumables | $185.00 |
| Certified Sealed System Labor | Braze leak repair, filter-drier sweat-in, 450-micron deep vacuum & thermal testing | $630.00 |
| Total Repair Investment | Complete Sealed System Rebuild & 90-Day Parts and Labor Warranty | $980.00 |
Repair completed on-site in La Quinta, CA (92253) in approximately 95 minutes. Backed by our standard 90-day parts and labor warranty under CA BHGS License #A51622.
Need Technician Assistance Today?
$99.95 Technician Diagnostic Visit • 100% Waived With Completed Repair.
More Articles & Troubleshooting Guides
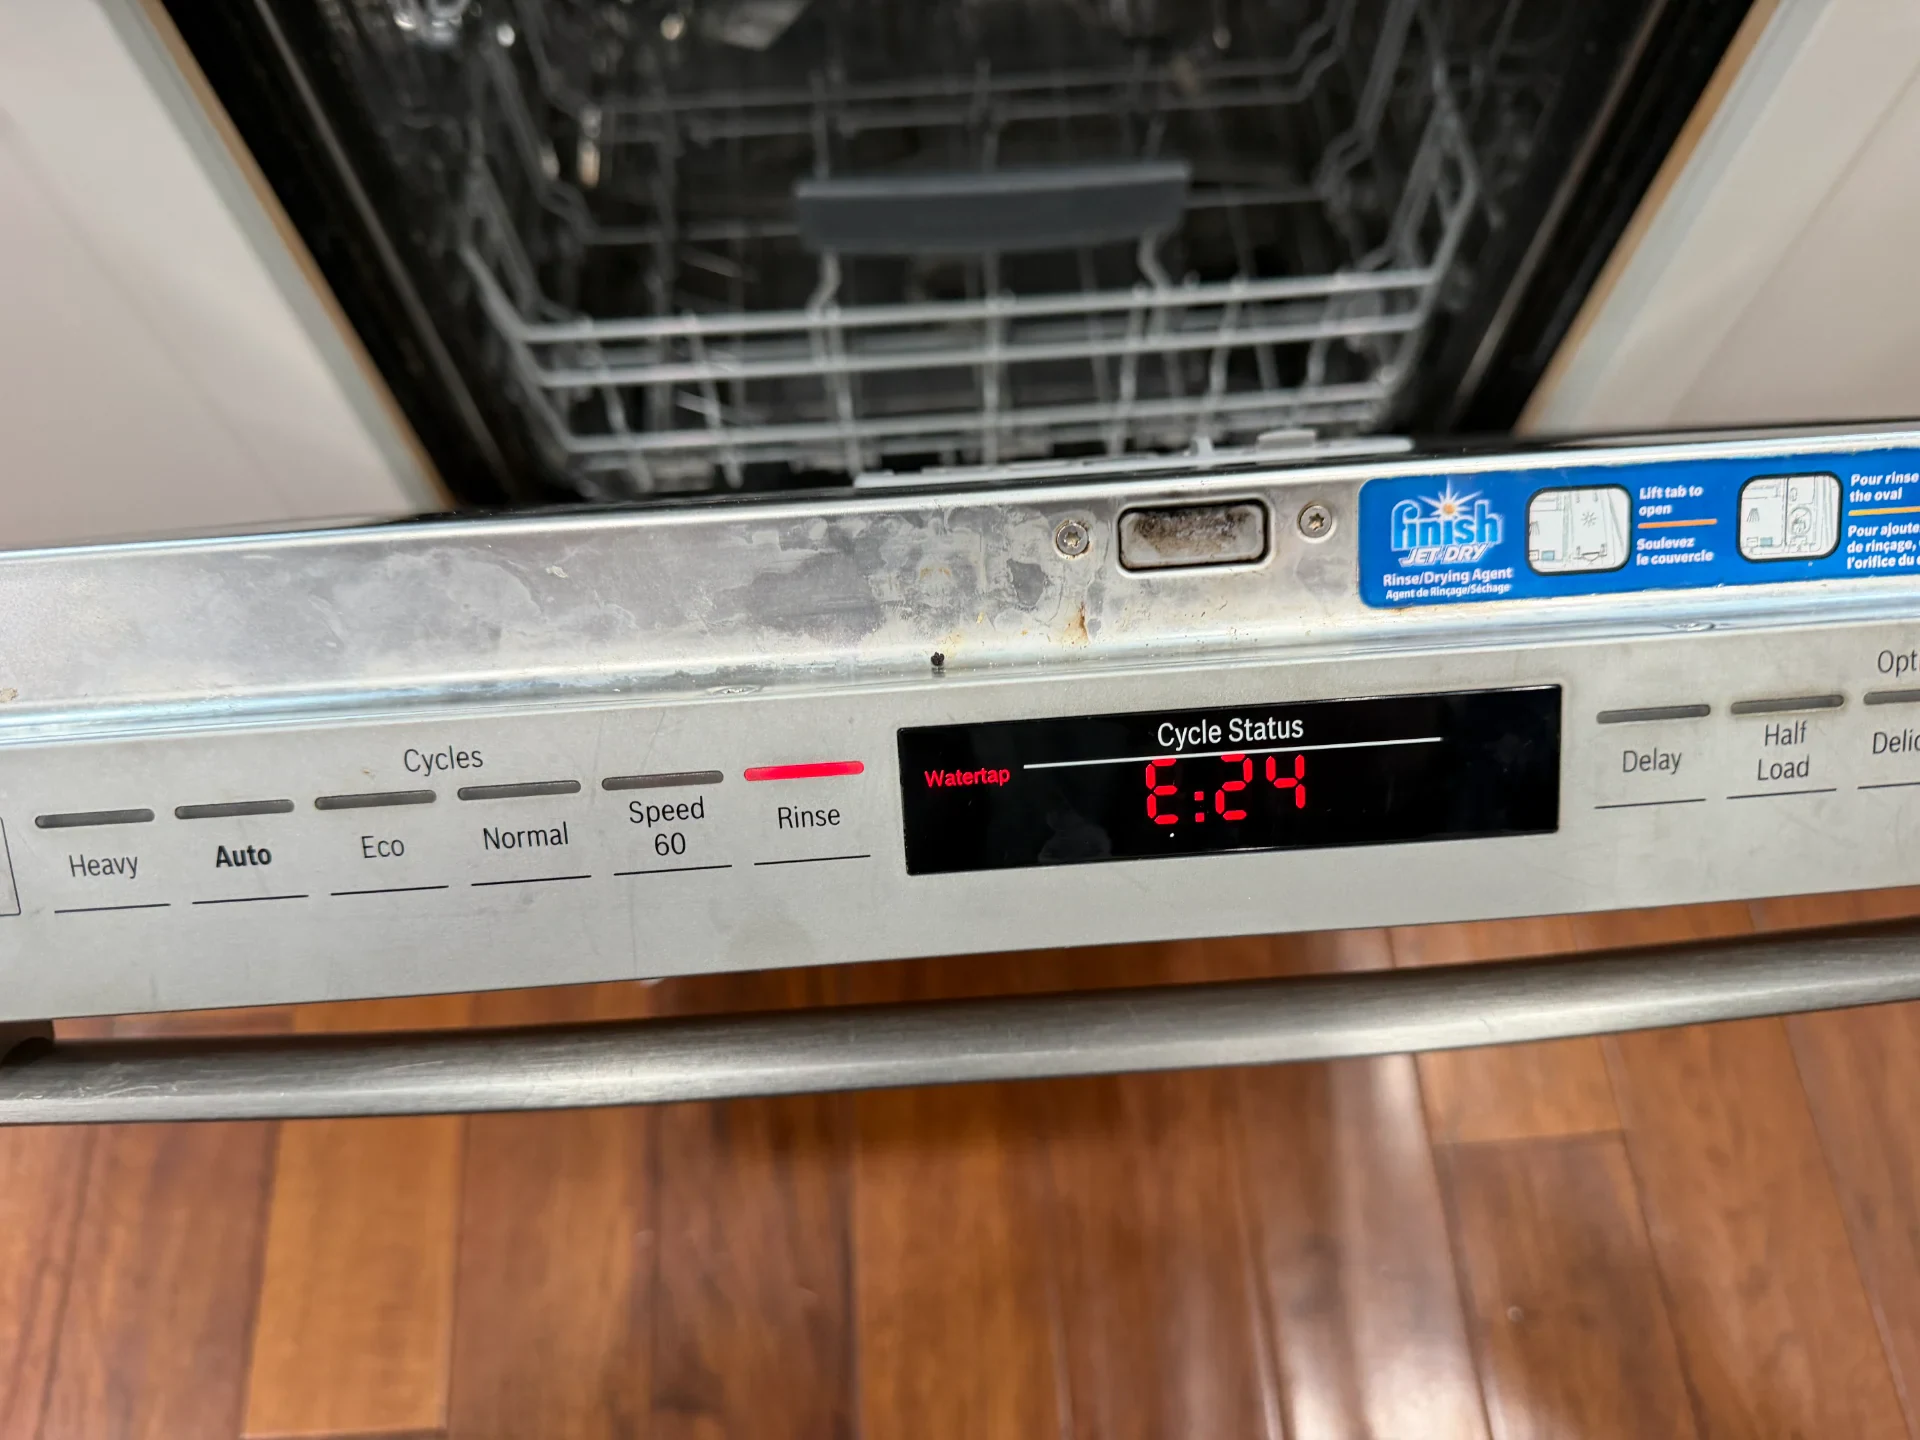
Bosch Dishwasher E24 and E25 Error Code Repair in Indio: Drain Pump, Cover, and Check Valve Replacement
A Bosch 800 Series dishwasher in Indio quit mid-cycle with a full tub of water and error codes E24/E25. We replaced a burned-out 3-phase drain pump, snapped impeller cover, and torn check valve to restore full 28-second drainage
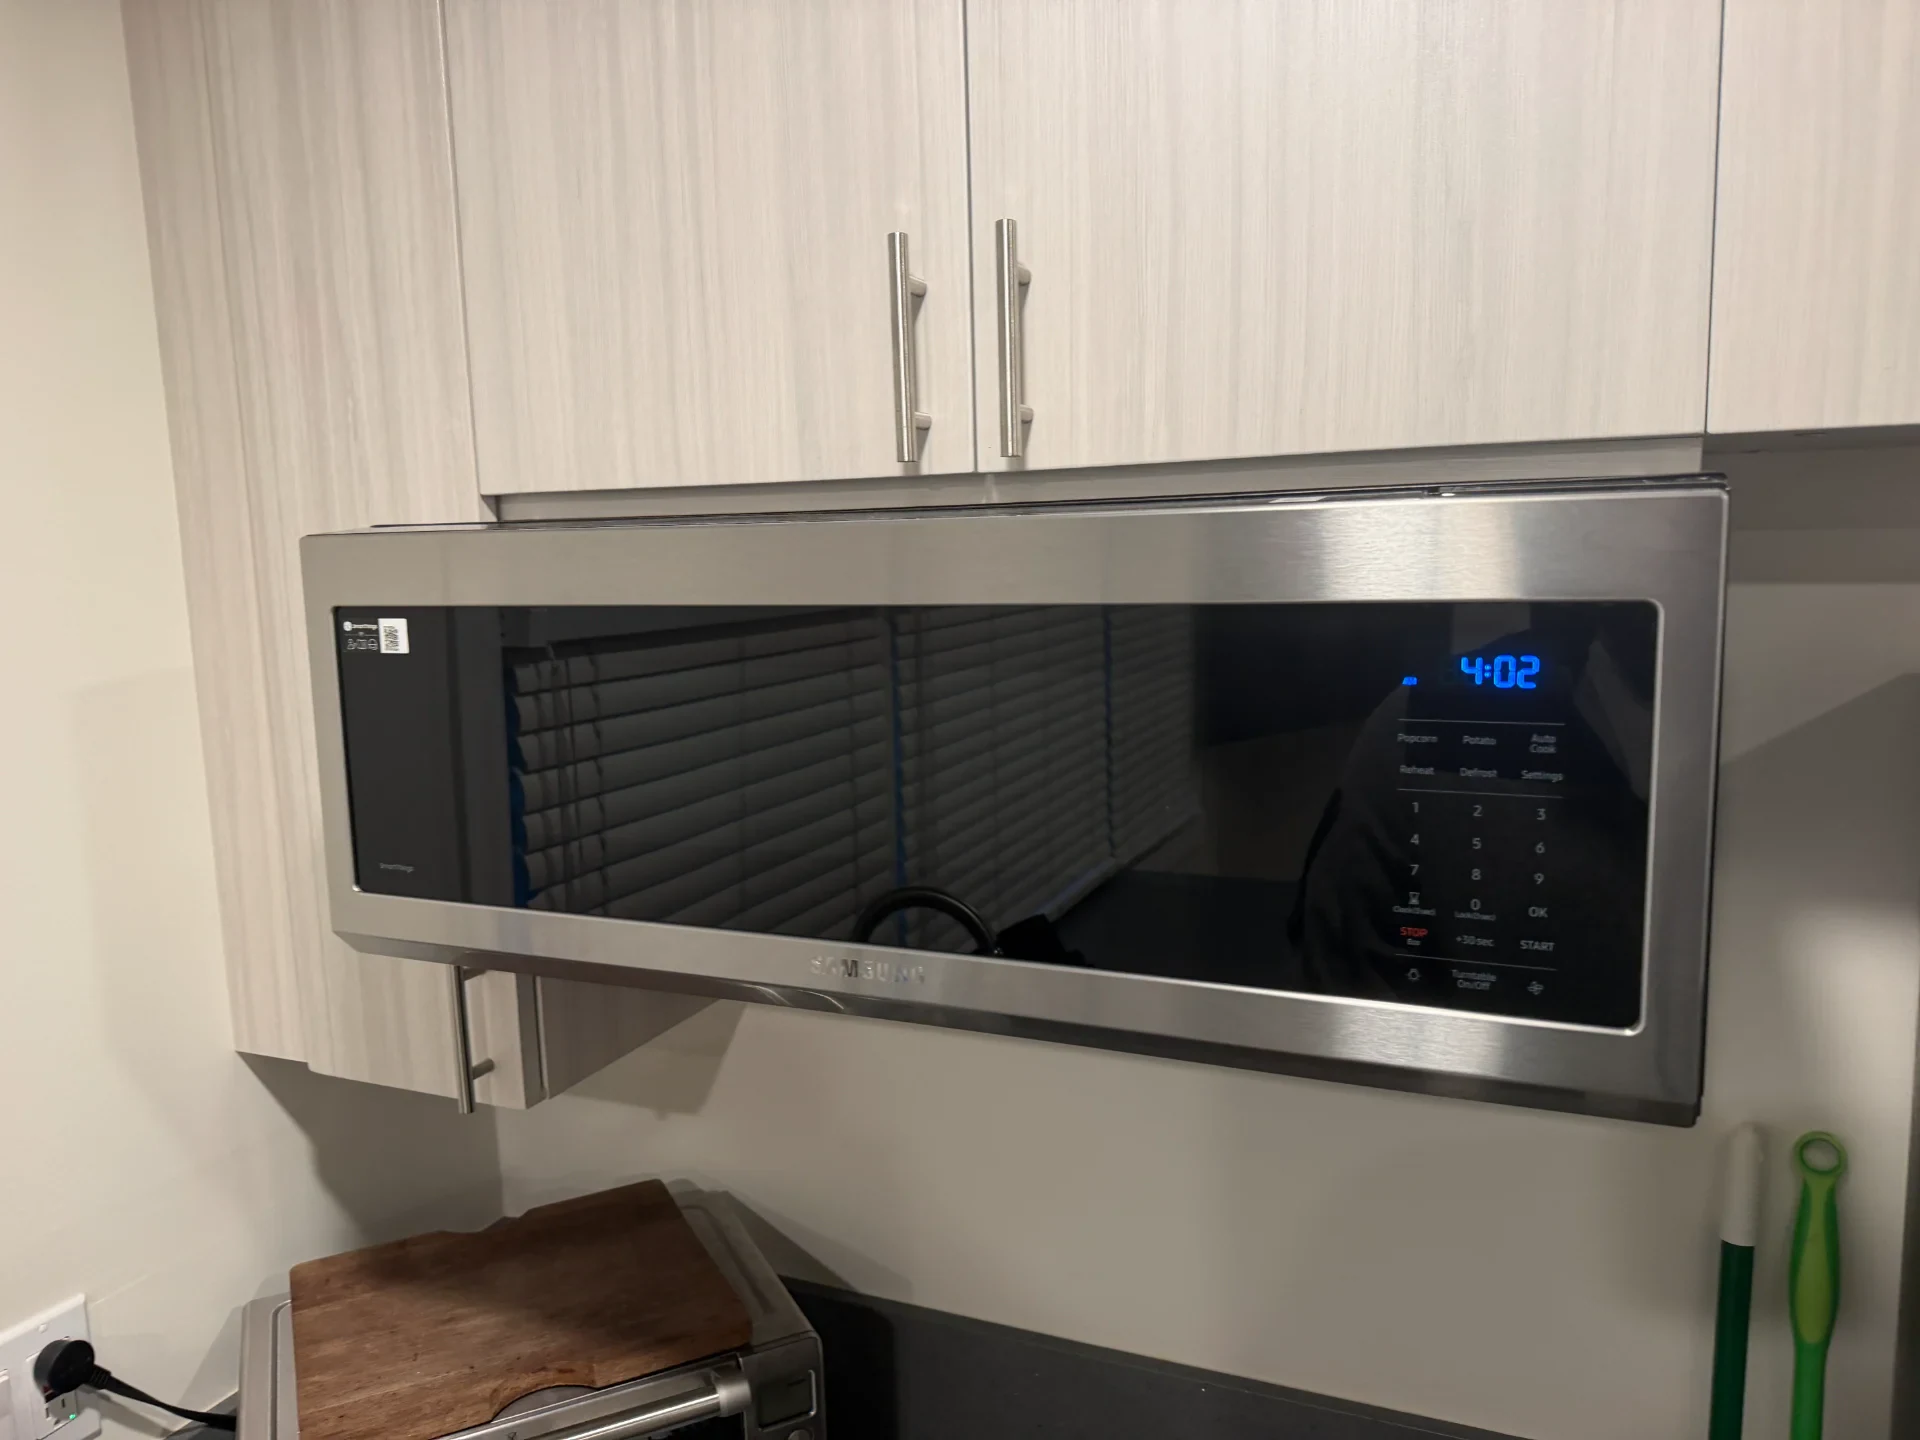
Samsung Microwave Touchpad Not Working in Cathedral City: $475 Door Assembly Diagnosis
A Samsung over-the-range microwave in Cathedral City flashed a -SE- code with a dead touchpad. We verified 5V DC from the main board and traced the fault to a steam-corroded bonded door ribbon ($475 OEM part), saving the owner from an uneconomical $590 repair.
Real Google Reviews From Satisfied Clients
Verified customer ratings from homeowners and businesses across San Diego County & Coachella Valley.
Google Rating (28 Verified Reviews)
W K
“Henry has been great....couldn't have been more knowledgeable and did a great job.....hope if I need help again he is available”
Brent Lagace
“Great service! Excellent staff! Thank you!”
Chris Rea
“Henry arrived and quickly got the dryer opened up and vacuumed, checked all sensors and greased rollers. Very fast, very thorough! Great job!”