
Kenmore Dryer Not Heating in Indian Wells: Heating Element and Thermostat Replacement
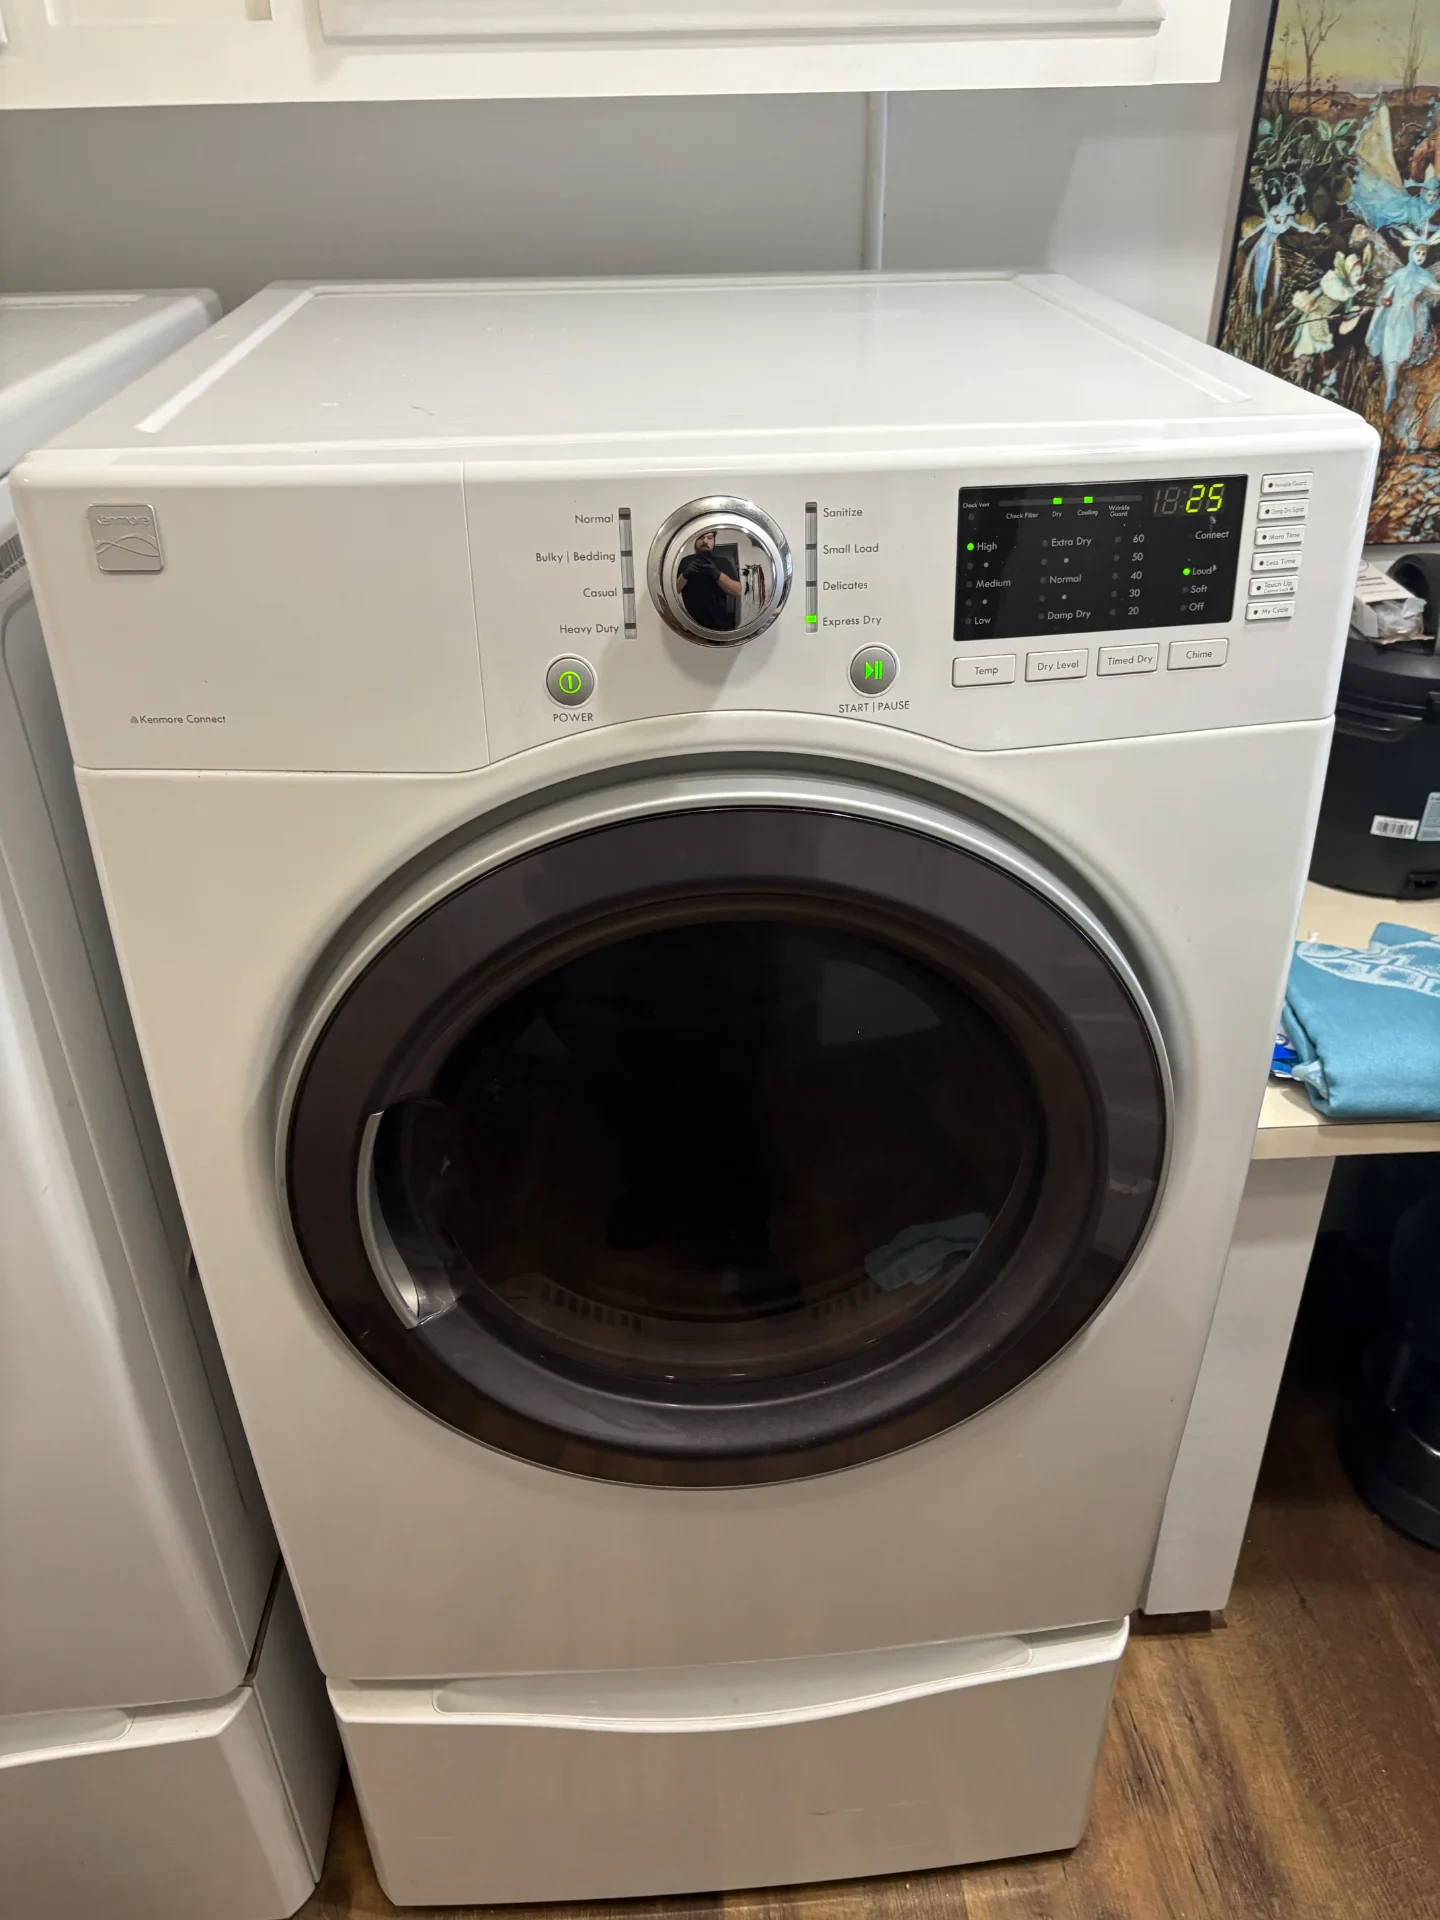
Cold towels. Zero heat. Out off Fairway Drive in Indian Wells (92210), a homeowner ran her Kenmore Elite electric clothes dryer (model 110.68132410) on a 60-minute Heavy Duty cycle only to pull out a soaking wet load that hadn't warmed up a single degree, even though the stainless steel drum tumbled at normal speed the whole time.
Testing 240V Power and Checking the Heating Circuit With a Multimeter
Wall power comes first. Because residential electric dryers split incoming power into two 120V lines — where L1 powers the 120V drive motor and console timer while L1 and L2 combine for 240V AC across the heater circuit — a half-tripped garage breaker lets the drum spin all afternoon with zero heat output.
Breaker voltage tested fine. Clipping my Fluke multimeter leads across the rear terminal block lugs showed 120.2V on L1, 120.2V on L2, and a rock-steady 240.4V AC across L1 to L2, while the console diagnostic log held a stored AF heating and airflow fault code.
- Power and Water Disconnect: Unplugged the 4-prong 240V power cord from the wall outlet, flipped the dual 30-amp breaker off, and closed the brass steam water supply valve behind the cabinet before backing out the rear panel screws with a 1/4-inch nut driver.
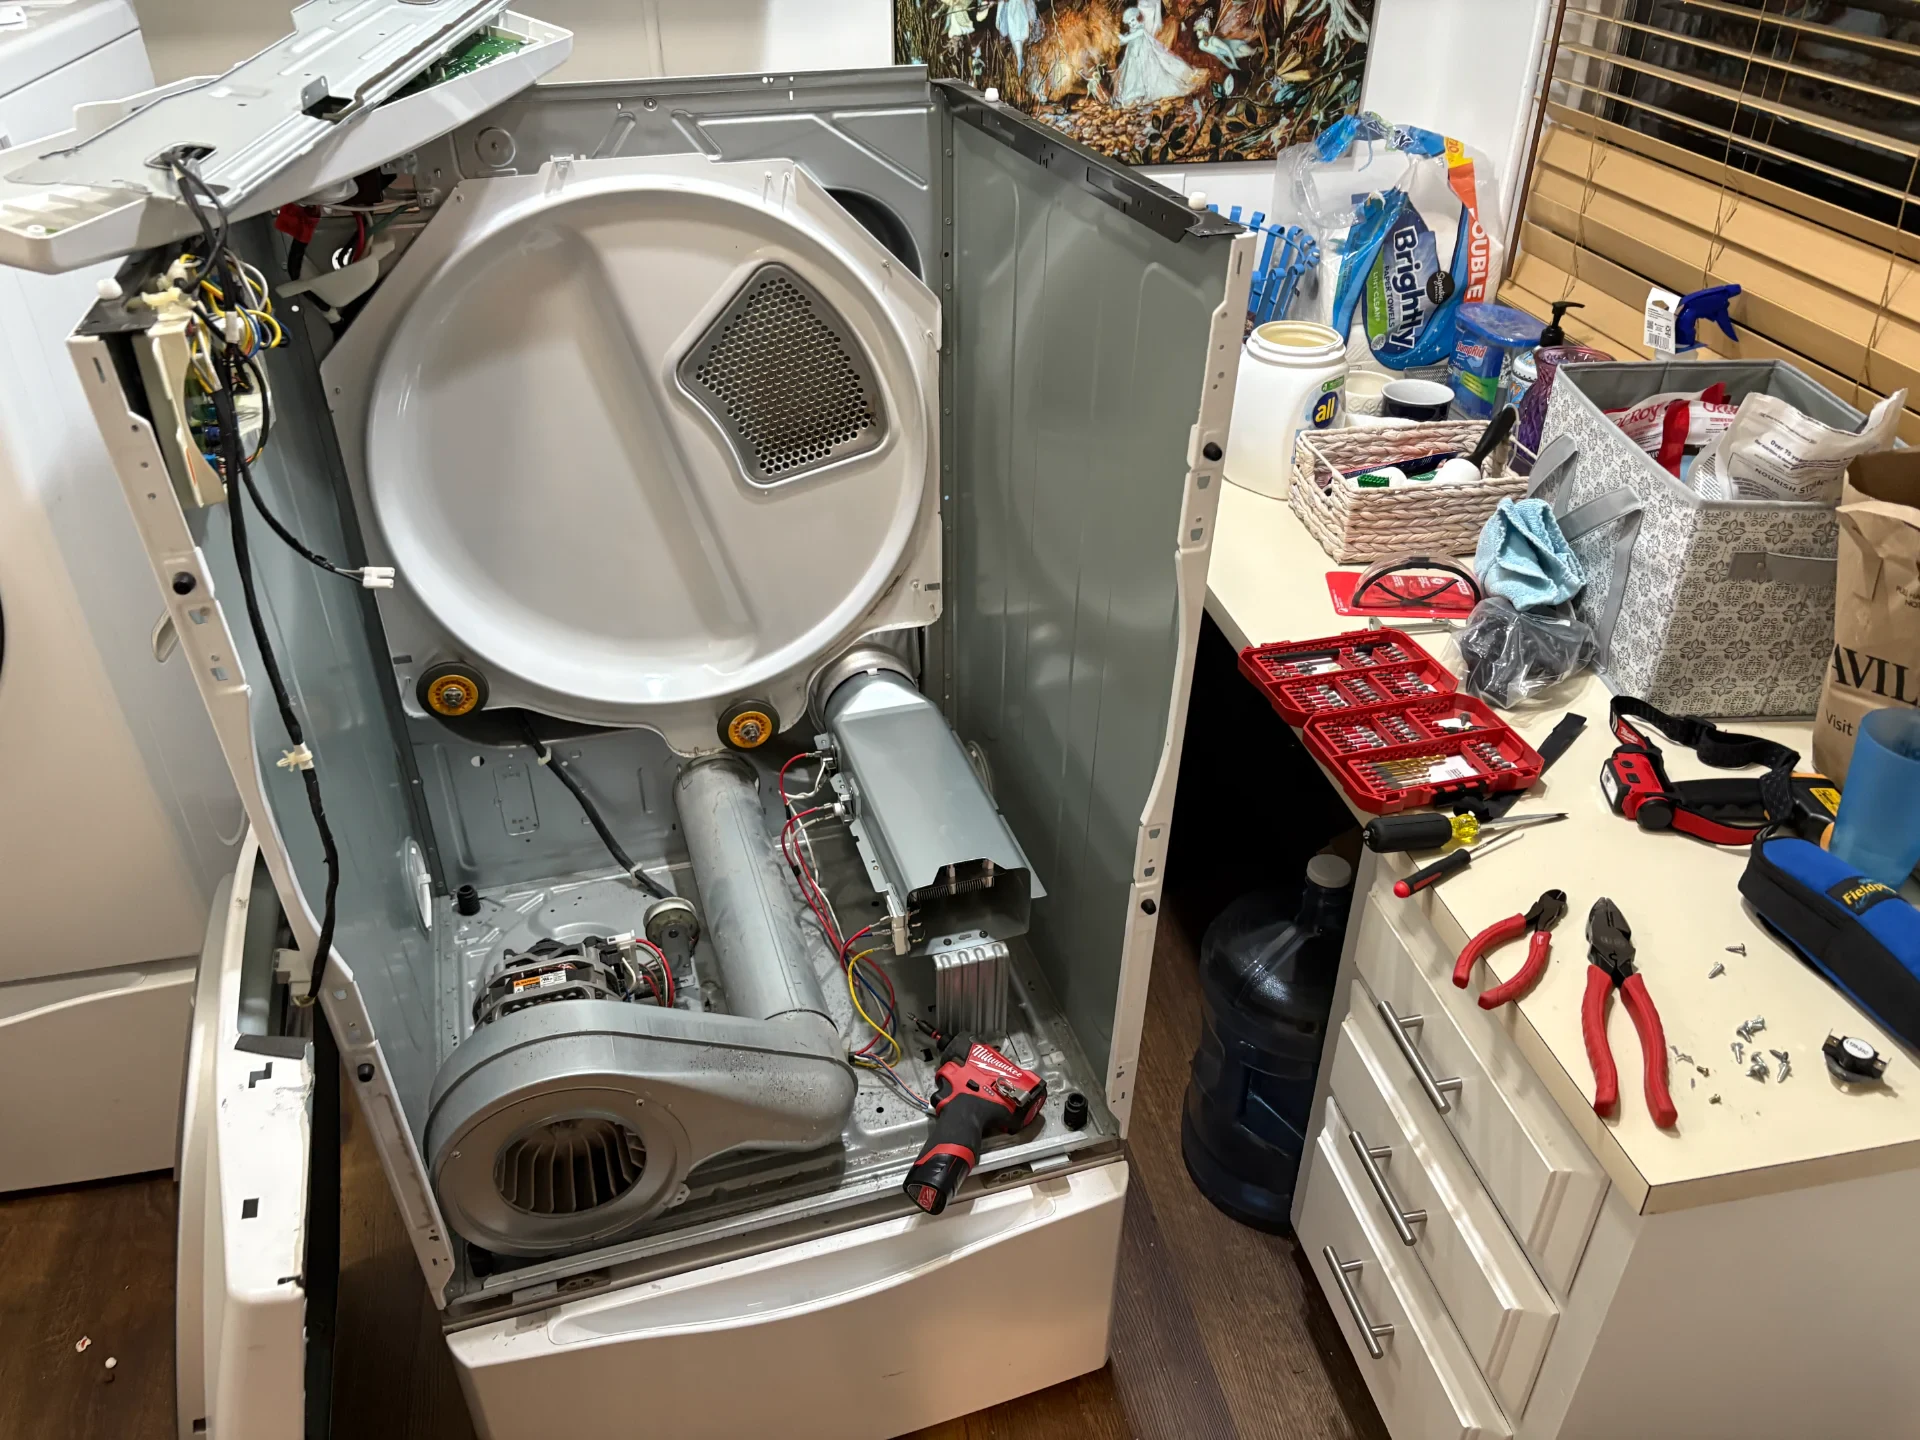
- Thermal Fuse Check: 0.1 Ohms on the meter. Touching my multimeter probes to the white blower housing thermal fuse (Part #3392519) confirmed the one-time safety cutout hadn't blown open.
- High-Limit Thermostat Failure: Dead open circuit. Checking the high-limit and cycling thermostat (Part #3977767) mounted on the upper heater housing gave an immediate OL (open loop) reading on the multimeter screen instead of the required 0.1 Ohms, and shaking the part by hand revealed a loose, heat-warped bi-metal disc rattling inside its cracked bakelite shell.
- Broken Heating Element Coil: Snapped clean in two. Pulling the galvanized heater canister out of the rear duct with my 1/4-inch nut driver exposed the main heating element (Part #279838), where the thick nickel-chromium (nichrome) resistance wire had melted and parted right across the middle ceramic insulator bracket, reading OL on the multimeter instead of the factory 9.8 Ohms spec.
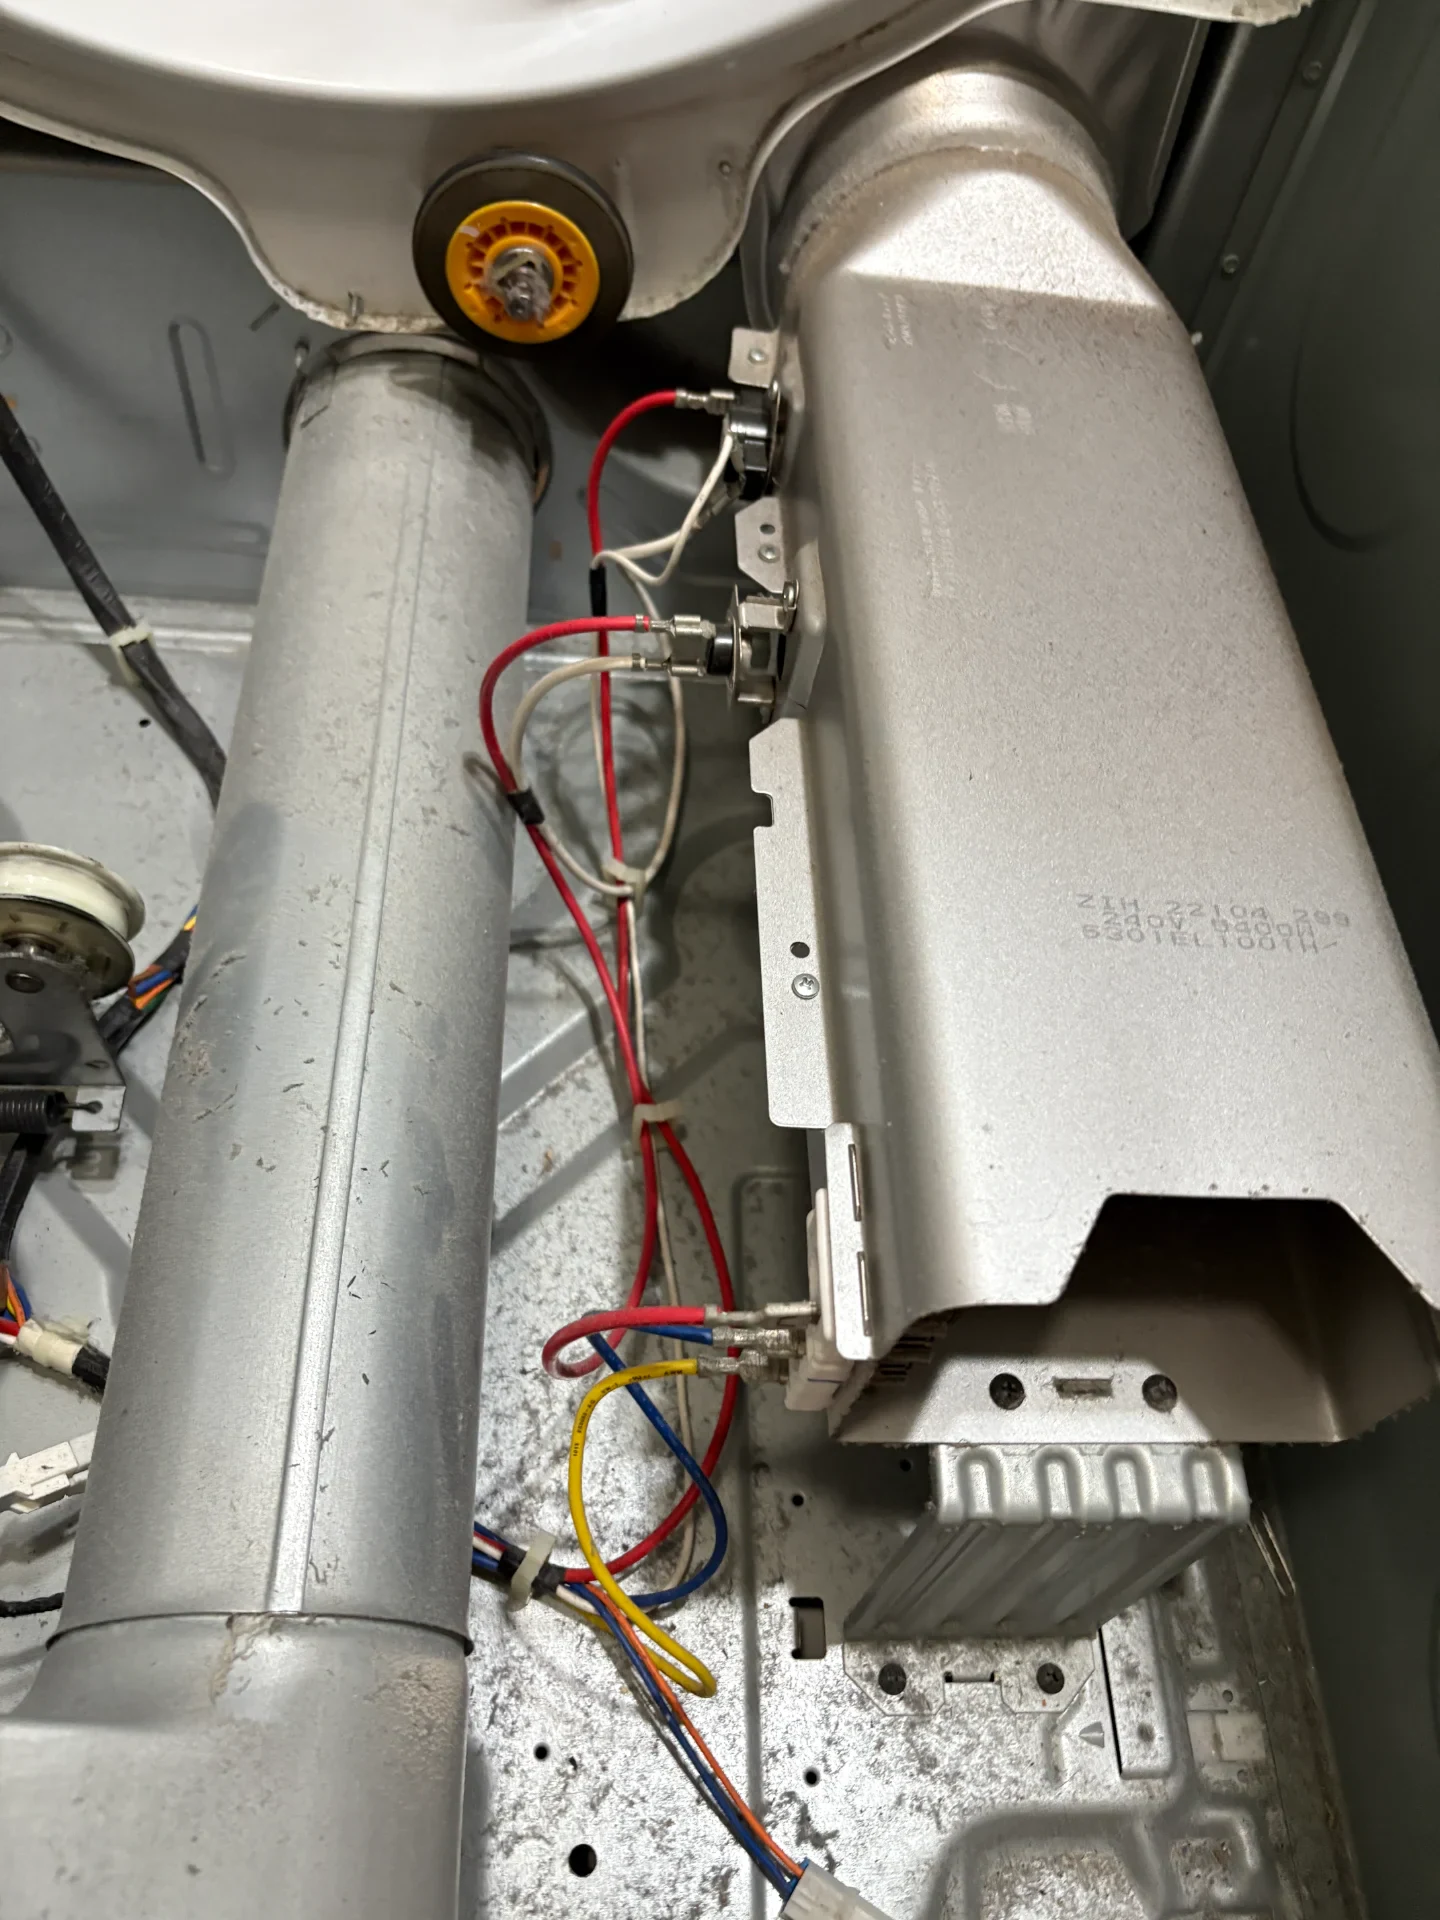
One failure caused the other. When the thermostat contacts welded shut during a heavy towel load and failed to cycle off at peak temperature, continuous 240V current kept the nichrome coil glowing cherry-red without a break until the overheated metal wire stretched thin, blistered, and arced apart.
Installing the New OEM Kenmore Heater and Thermostat Kit
Half-repairs don't last. Bolting in a replacement heater coil while leaving a sticky thermostat on the housing will fry the new element within a week, so after the homeowner approved our $632.00 flat-rate quote, I pulled a genuine OEM Kenmore Heating Element (Part #279838) and Thermostat Kit (Part #3977767) from the truck.
- Step 1 - Rear Duct Vacuuming: Cleared the chute first. With the 240V cord unplugged and water off, I ran a HEPA vacuum hose through the lower blower housing and vertical rear heater duct to pull out dry lint dust before installing the new heating parts.
- Step 2 - Bench Multimeter Verification: Checked both new parts. Right out of the factory boxes, the new OEM #279838 heating element measured an exact 9.8 Ohms across its spade terminals with infinite resistance to the steel frame, while the new #3977767 thermostat read 0.1 Ohms.
- Step 3 - Mounting the Canister and Thermostat: Torqued down every bracket. I slid the new heater box into the lower rear support clip, drove the 1/4-inch hex mounting screws tight with my nut driver, and fastened the new thermostat flush against the top canister plate so it senses radiant heat accurately.
- Step 4 - High-Temp Wire Connection: Locked the terminals tight. After checking the heavy red high-temperature wire leads for brittle insulation, I crimped each female spade connector snugly onto the heater and thermostat pins and bolted the steel back guard onto the cabinet.
| Diagnostic Test Point | Reading Before Repair | Result After OEM Service |
|---|---|---|
| Dryer Drum Heat Output | 74°F (Cold drum; zero heat output) | Cycling between 134°F and 149°F. |
| Heating Element Coil (#279838) | OL (Snapped nichrome wire coil) | 9.8 Ohms verified on new OEM heating element. |
| Thermostat Assembly (#3977767) | OL (Internal bi-metal disc burned open) | 0.1 Ohms continuity; clean thermal cut-off. |
| Blower Thermal Fuse (#3392519) | 0.1 Ohms (Safety fuse intact) | 0.1 Ohms verified; 240.4V AC across L1 and L2. |
Final Heat Cycle Test and Exhaust Temperature Readings
Heat came back fast. Once I turned the water valve on, plugged the 240V cord into the wall outlet, and started a Timed Dry High Heat cycle, warm air radiated against the front glass door in under forty seconds.
Numbers looked spot-on. Clipping my digital temperature probe into the rear 4-inch exhaust collar while watching my clamp meter on the L1 line showed a steady 22.8 Amps under load as exhaust heat climbed to 149°F, clicked off cleanly at the new thermostat, dropped to 134°F, and fired right back up across three straight test cycles.
If your Kenmore dryer tumbles without heat, trips its breaker, or leaves laundry damp in Indian Wells, Palm Desert, or anywhere in the Coachella Valley, book our professional dryer repair service online or call our local dispatch team at (760) 537-6751.
Transparent Invoice Breakdown
ETS Appliance Repair provides upfront, flat-rate pricing with zero hidden fees before work begins:
| Service Item / Component | Description | Investment |
|---|---|---|
| Technician Diagnostic & 240V Multimeter Test | Terminal block voltage check, coil continuity & thermal switch test (waived upon repair approval) | $0.00 |
| Genuine OEM Kenmore Heating Element Assembly | Factory-certified nichrome coil and canister housing (Part #279838) | $242.00 |
| Genuine OEM Kenmore High-Limit & Cycling Thermostat Kit | Bi-metal safety cut-off and internal cycling thermostat (Part #3977767) | $145.00 |
| Certified Repair Labor | Rear chute teardown, nut driver assembly, heater & thermostat swap, thermal cycling test | $245.00 |
| Total Repair Investment | Complete Heating Restoration & 90-Day Parts and Labor Warranty | $632.00 |
Repair completed on-site in Indian Wells, CA (92210) in approximately 55 minutes. Backed by our standard 90-day parts and labor warranty under CA BHGS License #A51622.
Need Technician Assistance Today?
$99.95 Technician Diagnostic Visit • 100% Waived With Completed Repair.
More Articles & Troubleshooting Guides
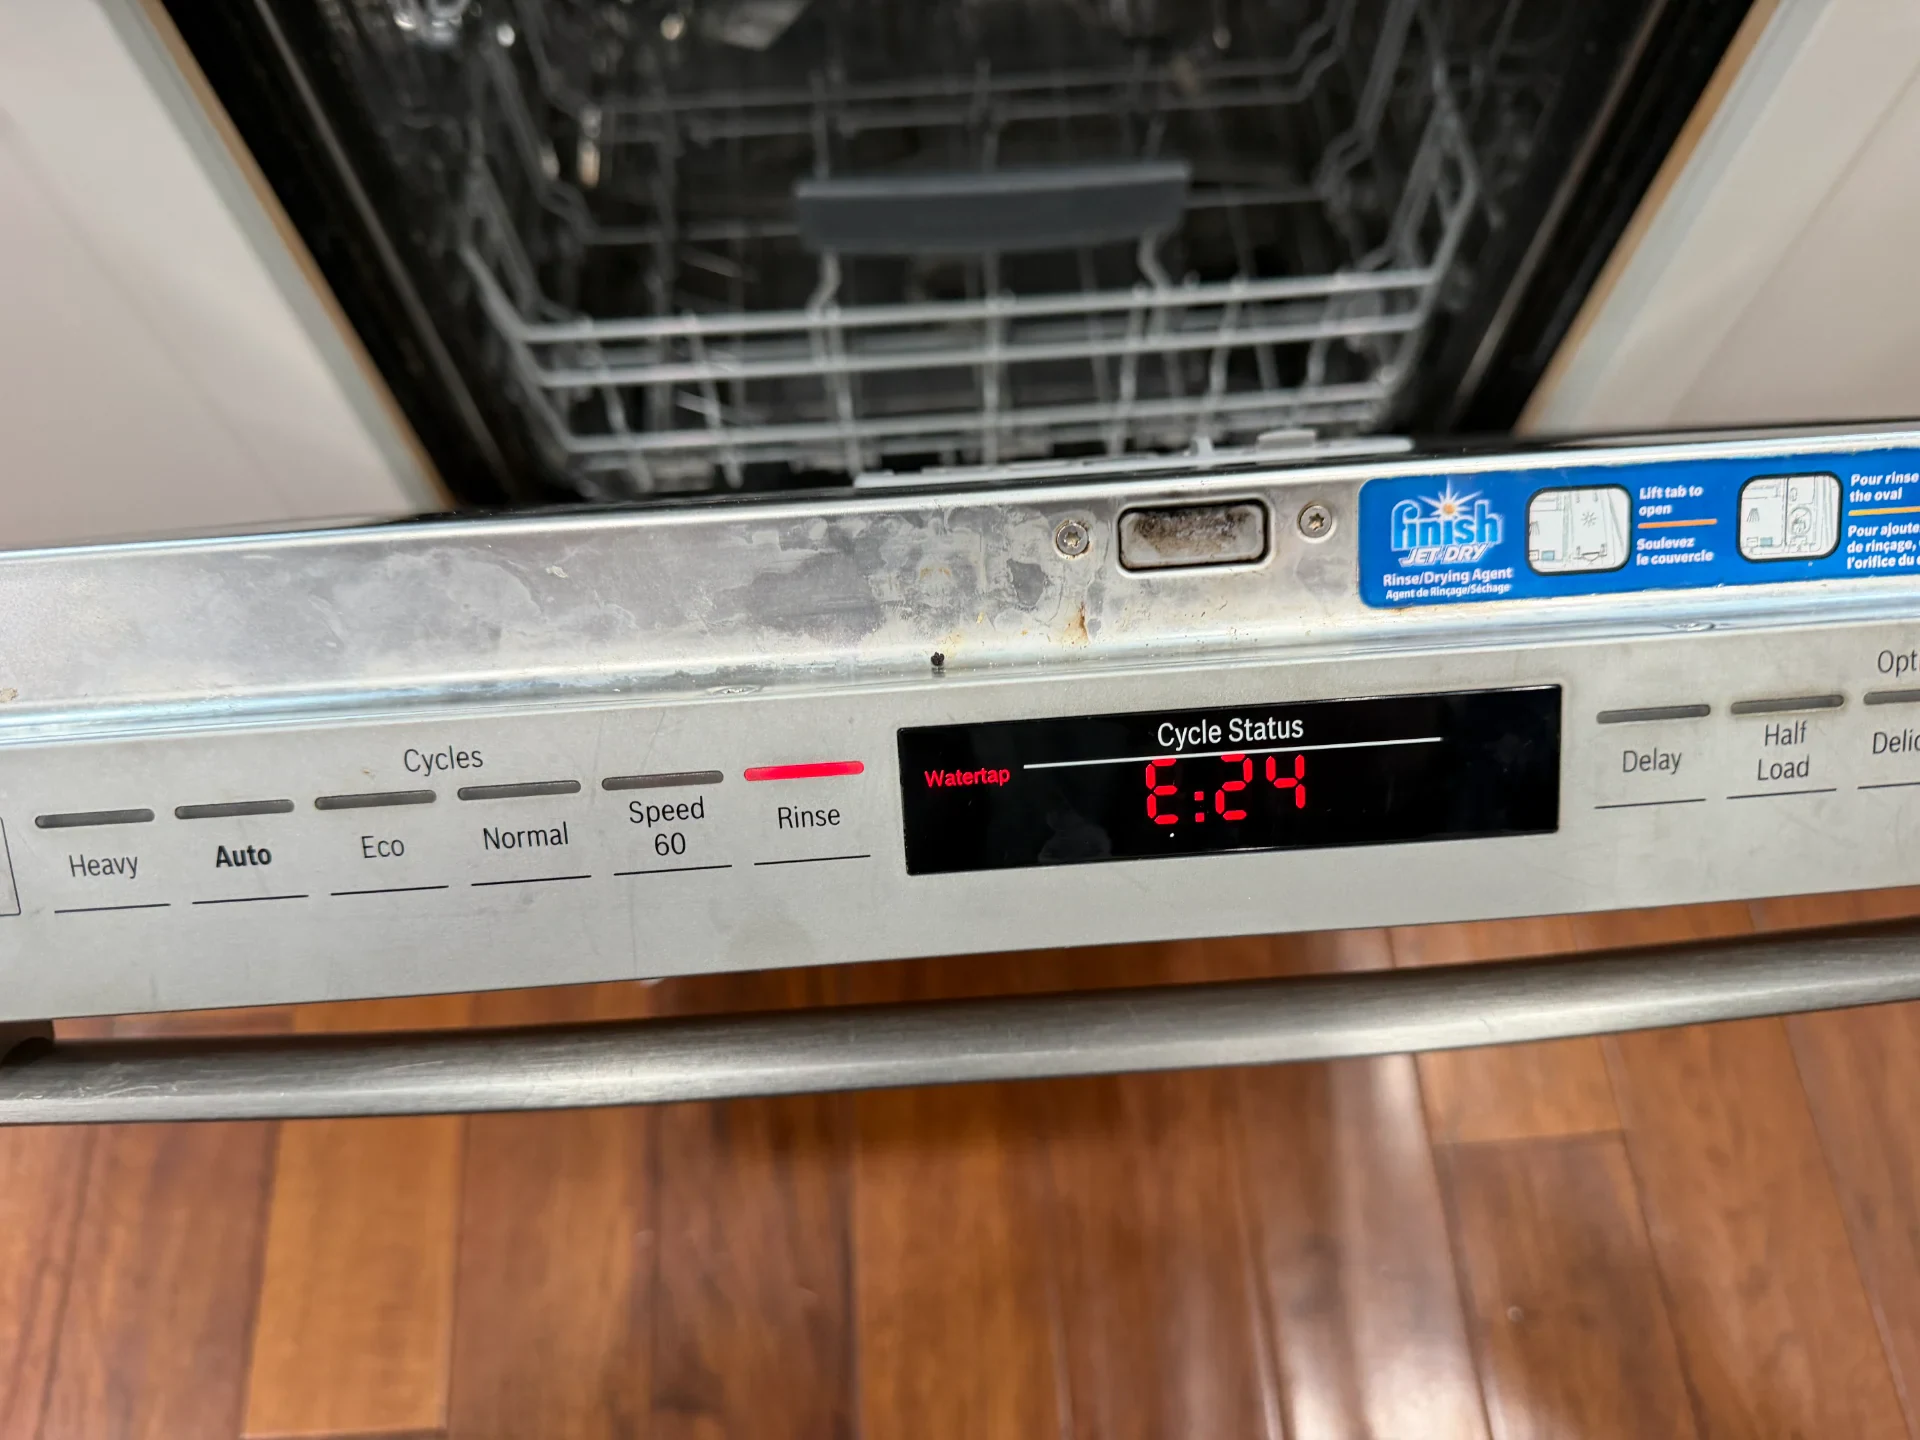
Bosch Dishwasher E24 and E25 Error Code Repair in Indio: Drain Pump, Cover, and Check Valve Replacement
A Bosch 800 Series dishwasher in Indio quit mid-cycle with a full tub of water and error codes E24/E25. We replaced a burned-out 3-phase drain pump, snapped impeller cover, and torn check valve to restore full 28-second drainage
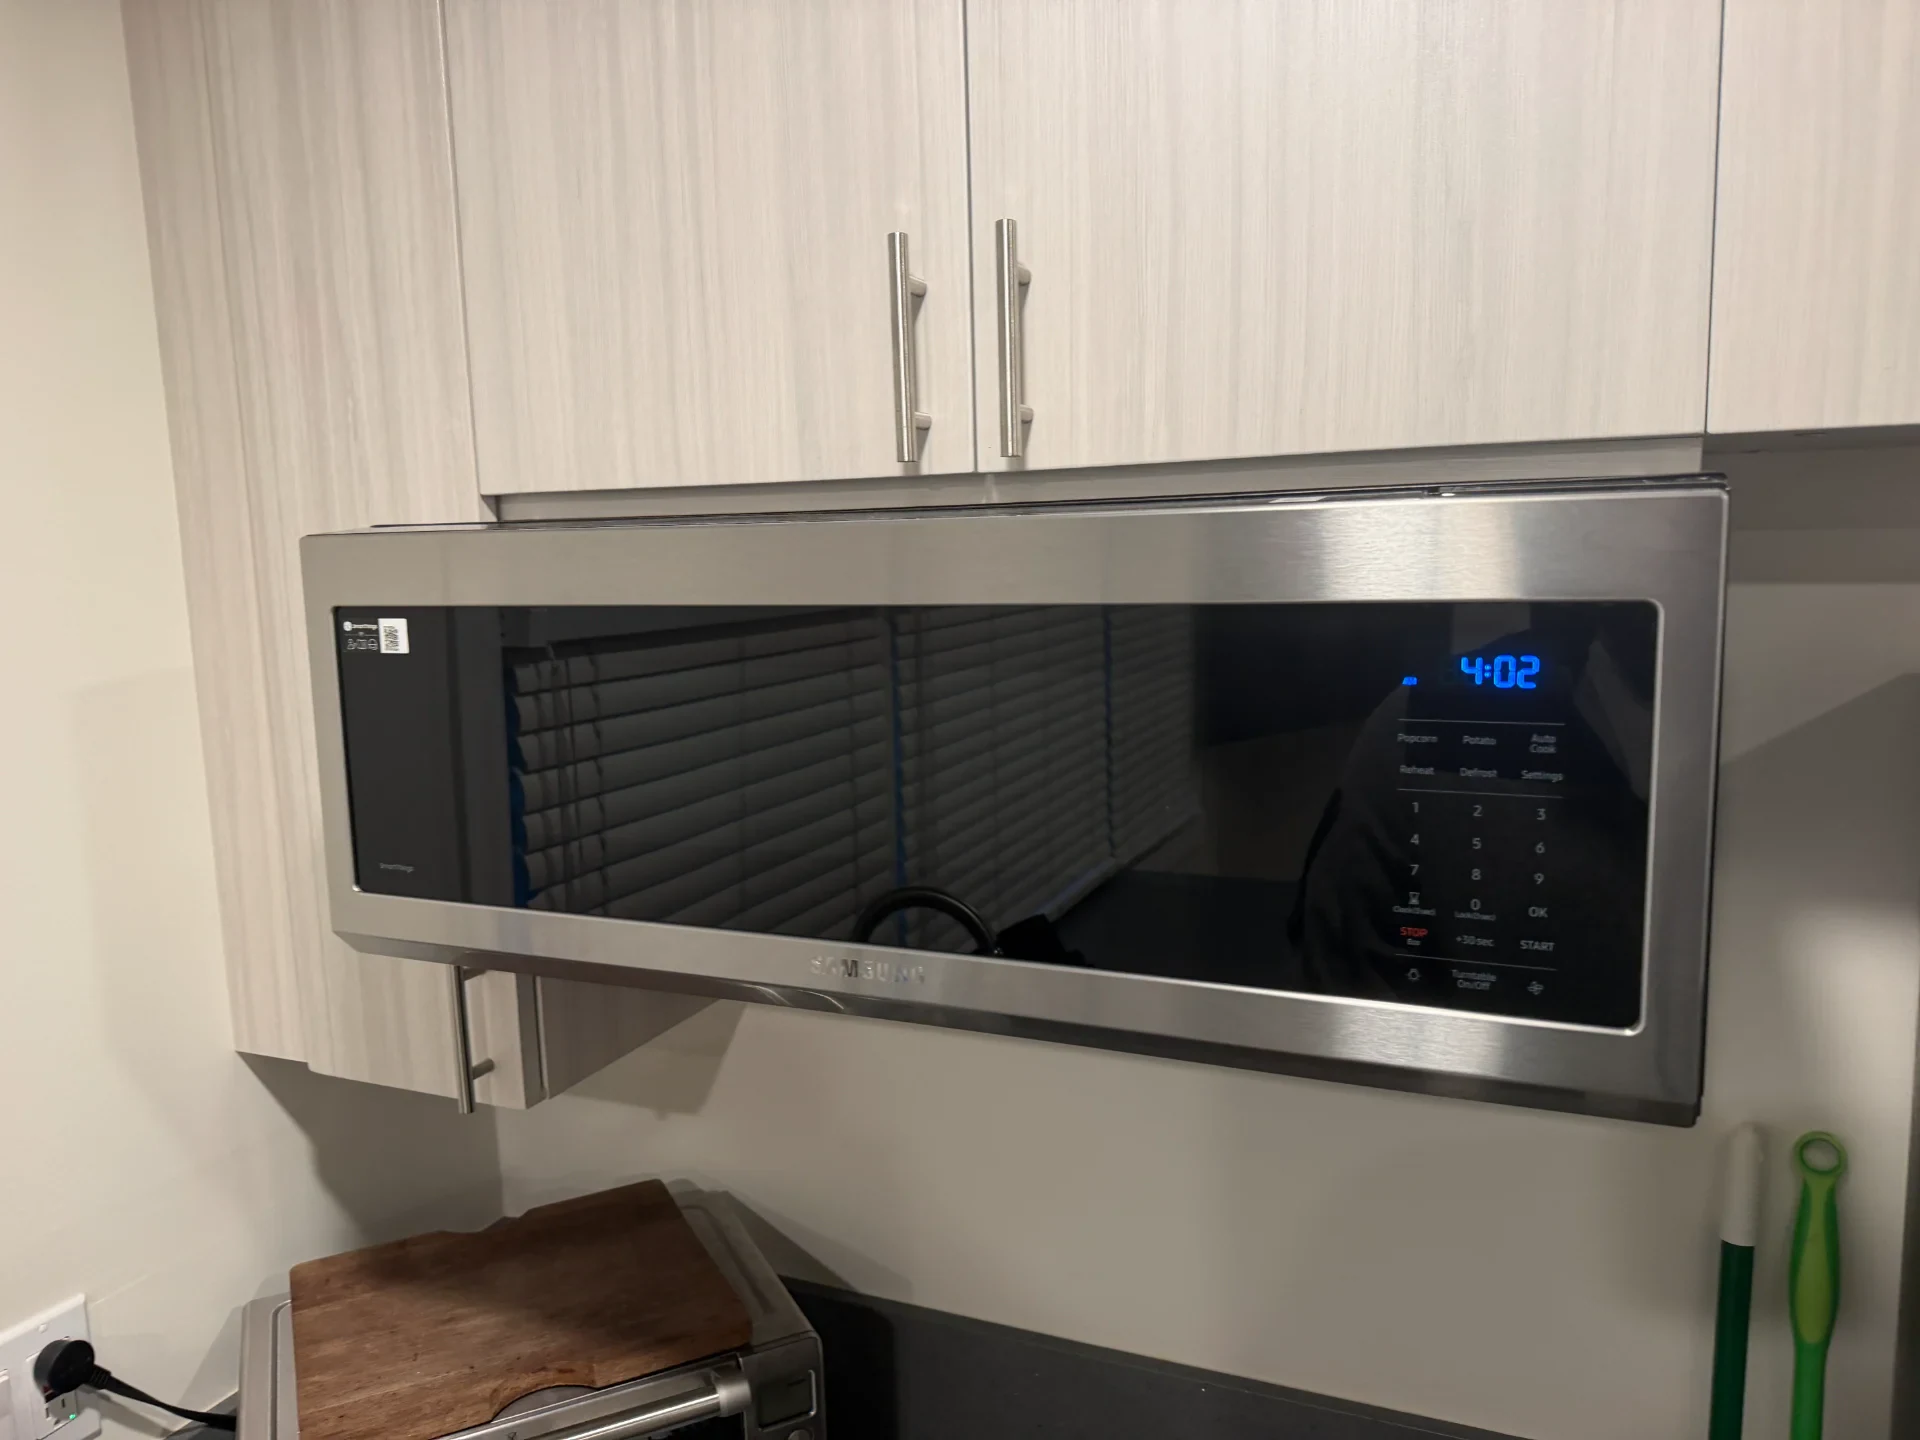
Samsung Microwave Touchpad Not Working in Cathedral City: $475 Door Assembly Diagnosis
A Samsung over-the-range microwave in Cathedral City flashed a -SE- code with a dead touchpad. We verified 5V DC from the main board and traced the fault to a steam-corroded bonded door ribbon ($475 OEM part), saving the owner from an uneconomical $590 repair.
Real Google Reviews From Satisfied Clients
Verified customer ratings from homeowners and businesses across San Diego County & Coachella Valley.
Google Rating (28 Verified Reviews)
W K
“Henry has been great....couldn't have been more knowledgeable and did a great job.....hope if I need help again he is available”
Brent Lagace
“Great service! Excellent staff! Thank you!”
Chris Rea
“Henry arrived and quickly got the dryer opened up and vacuumed, checked all sensors and greased rollers. Very fast, very thorough! Great job!”