
Broken KitchenAid Microwave Door Handle Repair in Palm Springs: Handle Mounting Bracket Replacement
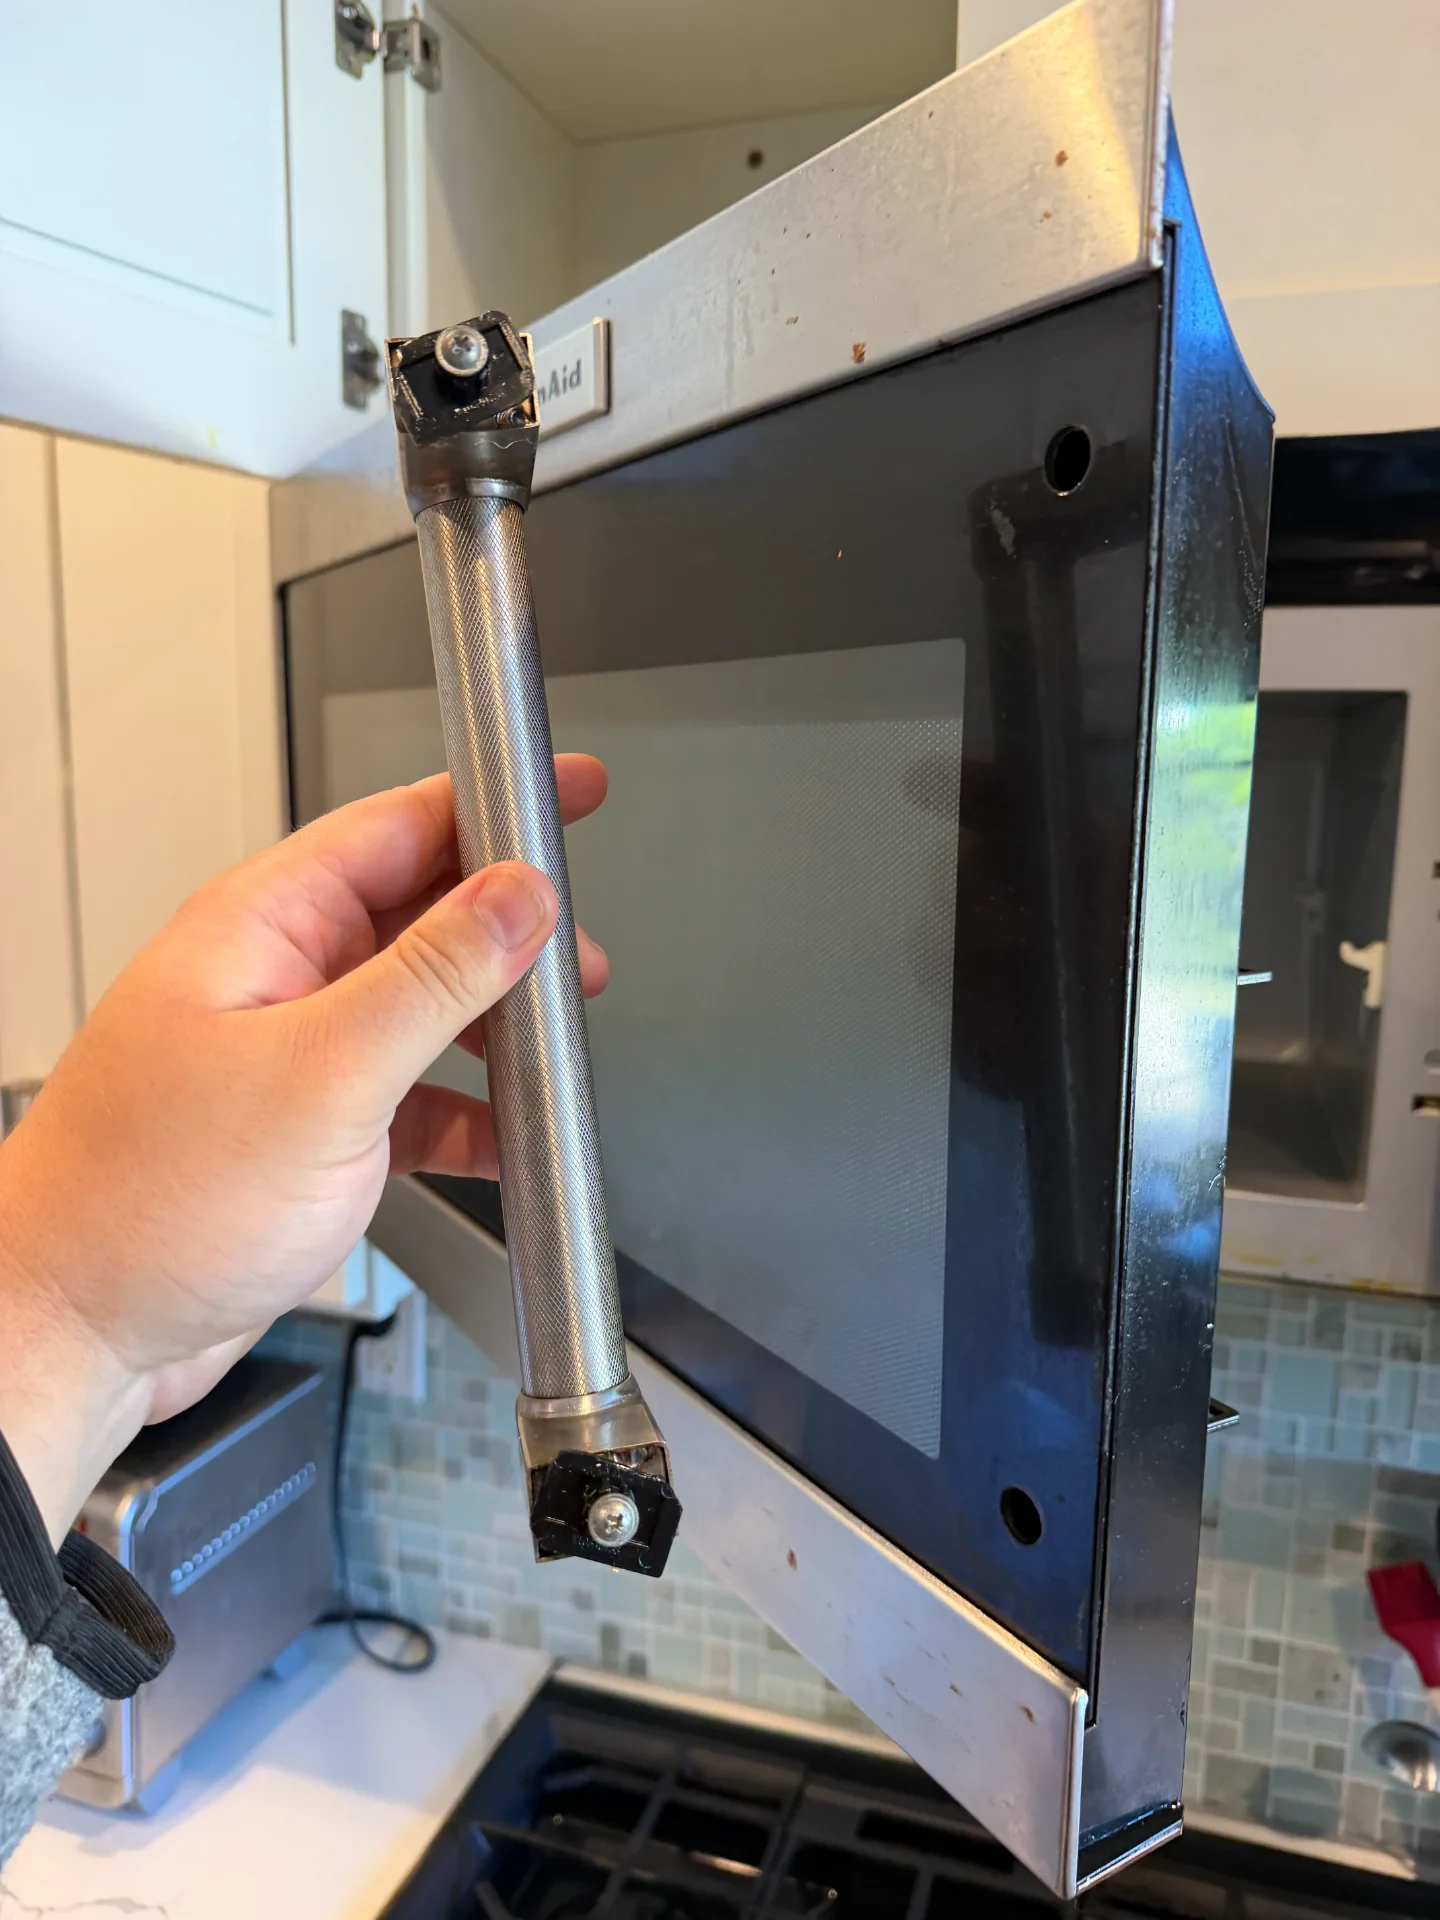
We caught a midday call near Tahquitz Canyon Way in Palm Springs (92262) for a KitchenAid over-the-range microwave (model KMHS120ESS). The heavy stainless steel door handle had snapped loose at the top mount. It hung crooked by a single bottom screw. Every time the homeowner tried to pull the door open, the metal grip twisted in her hand and wiggled against the glass.
Inspecting the Snapped Handle Mounts and Door Safety Switches
I brought my tool bag into the kitchen and checked the outer door edge. You can't tighten a KitchenAid microwave handle from the outside. There are no exposed set screws on the front tube. Instead, two hidden mounting brackets and threaded support studs bolt through the inside of the door shell.
When I gently wiggled the top of the handle, I could hear broken plastic chunks rattling inside the door cavity. Rising heat from the gas stove burners underneath the microwave had baked the internal mounting blocks brittle over the years until the top bracket sheared clean in half. Worse yet, pulling on the crooked handle flexed the door frame just enough to throw off the upper latch hook. That misalignment briefly flashed a DOOR and F1 switch alert on the touchpad.
- Power Isolation before Door Teardown: Before splitting a microwave door apart, I unplugged the 120V AC power cord from the outlet inside the upper kitchen cabinet, flipped the breaker off, and verified the range gas and water shutoff valves below were secure.
- Multimeter Check on the Interlock and Thermal Fuse: While I had the upper grille louver off to check the door hinge alignment, I clipped my Fluke multimeter leads onto the primary door interlock microswitch and the cavity thermal fuse (Part #W10435136). Both safety components read a solid 0.1 Ohms of continuity. Nothing inside the high-voltage circuit was harmed.
- Upfront Parts and Labor Math: Both the upper and lower internal brackets needed to be swapped as a pair so the handle wouldn't snap again next month. The 2 mounting brackets cost $80.00 total ($40.00 each for genuine OEM KitchenAid assemblies), and the door disassembly and installation labor came to $165.00, putting the complete repair at $245.00.
Splitting the Door Shell and Installing the New KitchenAid Brackets
Replacing handle mounts on a KitchenAid microwave takes a careful touch so you don't crack the inner RF choke bezel or scratch the stainless steel skin. With the homeowner's go-ahead on the $245.00 flat-rate quote, I pulled two factory OEM KitchenAid Door Handle Mounting Bracket Kits (Part #W10859573) from our van stock.
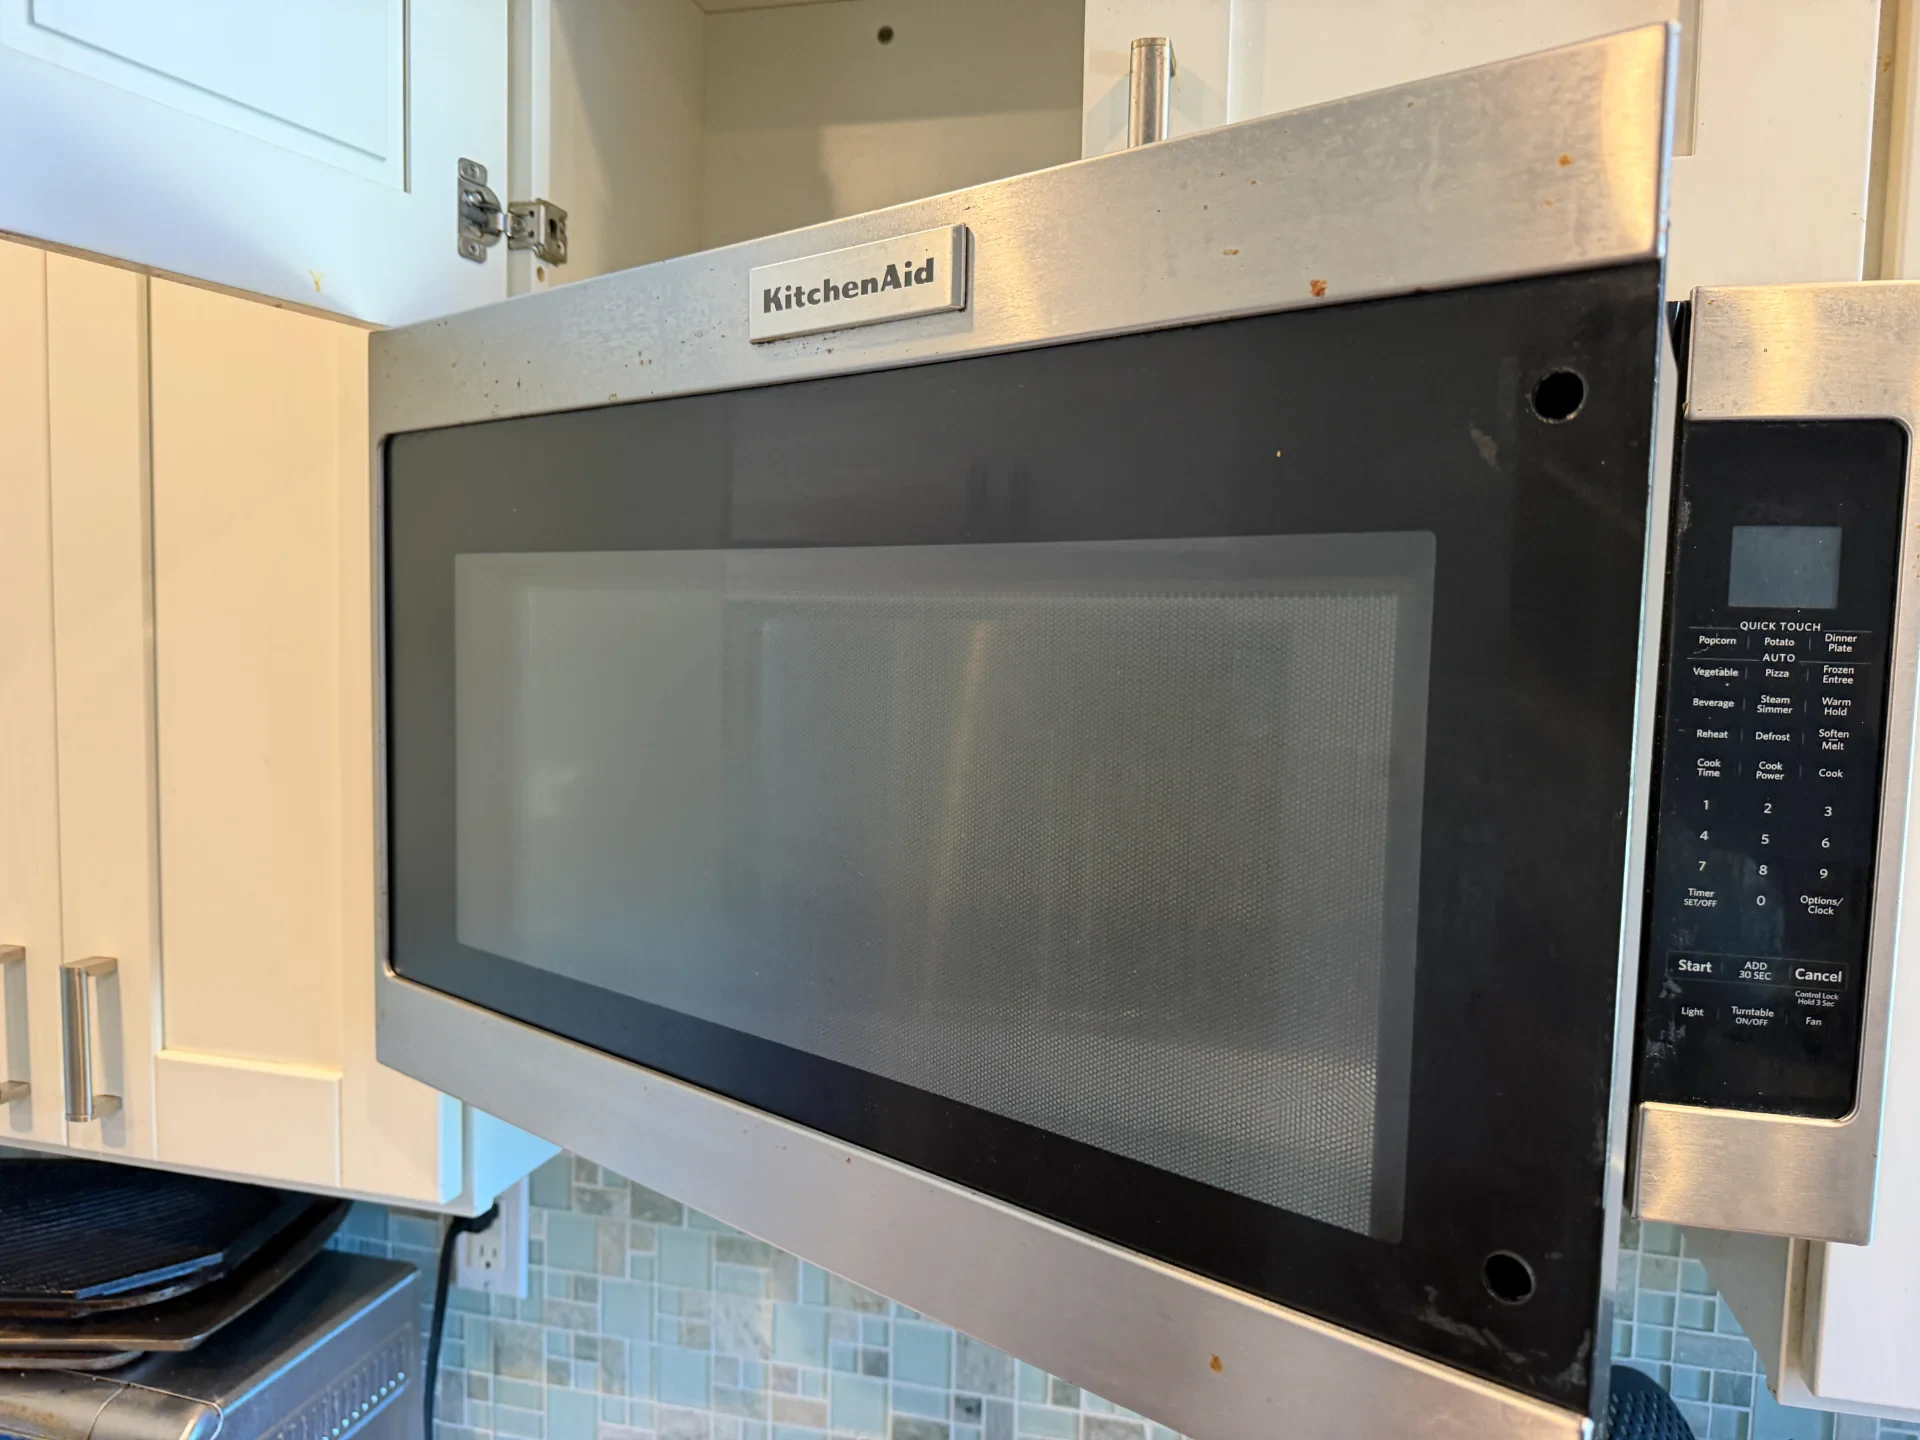
- Step 1 - Popping the Inner Choke Frame Loose: With the 120V cord unplugged, I laid a padded drop cloth across the stove grates below. Using a thin nylon pry tool, I released the twelve hidden locking tabs holding the black inner plastic choke cover to the outer stainless door frame.
- Step 2 - Removing the Broken Brackets and Old Studs: Once the inner shield lifted clear, the problem was obvious. The top composite bracket block had cracked into three pieces, and the lower bracket boss already had hairline stress fractures around the screw threads. I backed out the two Phillips mounting screws with a magnetic driver and vacuumed the broken plastic bits out of the door channel.
- Step 3 - Bolting In the Two New $80 OEM Mounts: I seated the two new OEM KitchenAid #W10859573 mounting brackets into the top and bottom door cutouts. Next, I put a drop of medium-strength blue threadlocker onto the machine screw threads so daily door pulls won't vibrate them loose. I lined up the brushed stainless handle and torqued both mounting screws down snug.
- Step 4 - Snapping the RF Shield Back Together: I checked the metal vapor screen, pressed the black inner choke cover firmly around all four edges until every perimeter clip clicked flat, and tested the spring tension on both door latch hooks.
| Inspection Point | Condition Before Repair | Result After OEM Service |
|---|---|---|
| Stainless Door Handle | Hanging loose by bottom screw; top mount snapped | Rock-solid grip; zero play or rattle when pulled. |
| 2x Handle Mounting Brackets (#W10859573) | Top bracket shattered; bottom bracket cracked | 2 new OEM brackets installed ($80.00 parts). |
| Door Interlock & Thermal Fuse Check | Occasional F1 / DOOR latch warning from flex | 0.1 Ohms verified on multimeter; crisp dual-latch click. |
| Total Repair vs. New Unit Cost | $850+ to buy and install a new KitchenAid microwave | Fixed on the spot for $245.00 total ($80 parts + $165 labor). |
Testing Door Alignment and Heating Performance
I plugged the 120V cord back into the upper cabinet receptacle and closed the microwave door. Both upper and lower latch hooks clicked into the interlock slots with a crisp, solid thud. Zero flex in the handle.
To finish up, I placed a glass measuring cup filled with cold tap water inside the cavity and ran the KitchenAid microwave on High for two minutes. The magnetron hummed smoothly, the water came to a rolling boil, and my RF leak detector read zero emissions around the newly reassembled door seal. For $245.00, the homeowner got a rock-solid factory door handle without spending $850+ on a brand-new stainless KitchenAid over-the-range microwave.
If your KitchenAid microwave has a broken door handle, loose mounting brackets, or a door that won't latch cleanly in Palm Springs or anywhere in the Coachella Valley, book our professional microwave repair service online or call our local dispatch team at (760) 537-6751.
Transparent Invoice Breakdown
ETS Appliance Repair provides straightforward, flat-rate pricing before we start any repair:
| Service Item / Component | Description | Investment |
|---|---|---|
| Technician Diagnostic & Multimeter Safety Check | Door teardown, interlock switch testing & thermal fuse check (waived upon repair approval) | $0.00 |
| 2x Genuine OEM KitchenAid Door Handle Brackets | Factory-certified mounting bracket assemblies (Part #W10859573 — $40.00 each) | $80.00 |
| Certified Repair Labor | Inner door choke disassembly, threadlocking handle install & latch calibration | $165.00 |
| Total Repair Investment | Complete Door Restoration & 90-Day Parts and Labor Warranty | $245.00 |
Repair completed on-site in Palm Springs, CA (92262) in approximately 45 minutes. Backed by our standard 90-day parts and labor warranty under CA BHGS License #A51622.
Need Technician Assistance Today?
$99.95 Technician Diagnostic Visit • 100% Waived With Completed Repair.
More Articles & Troubleshooting Guides
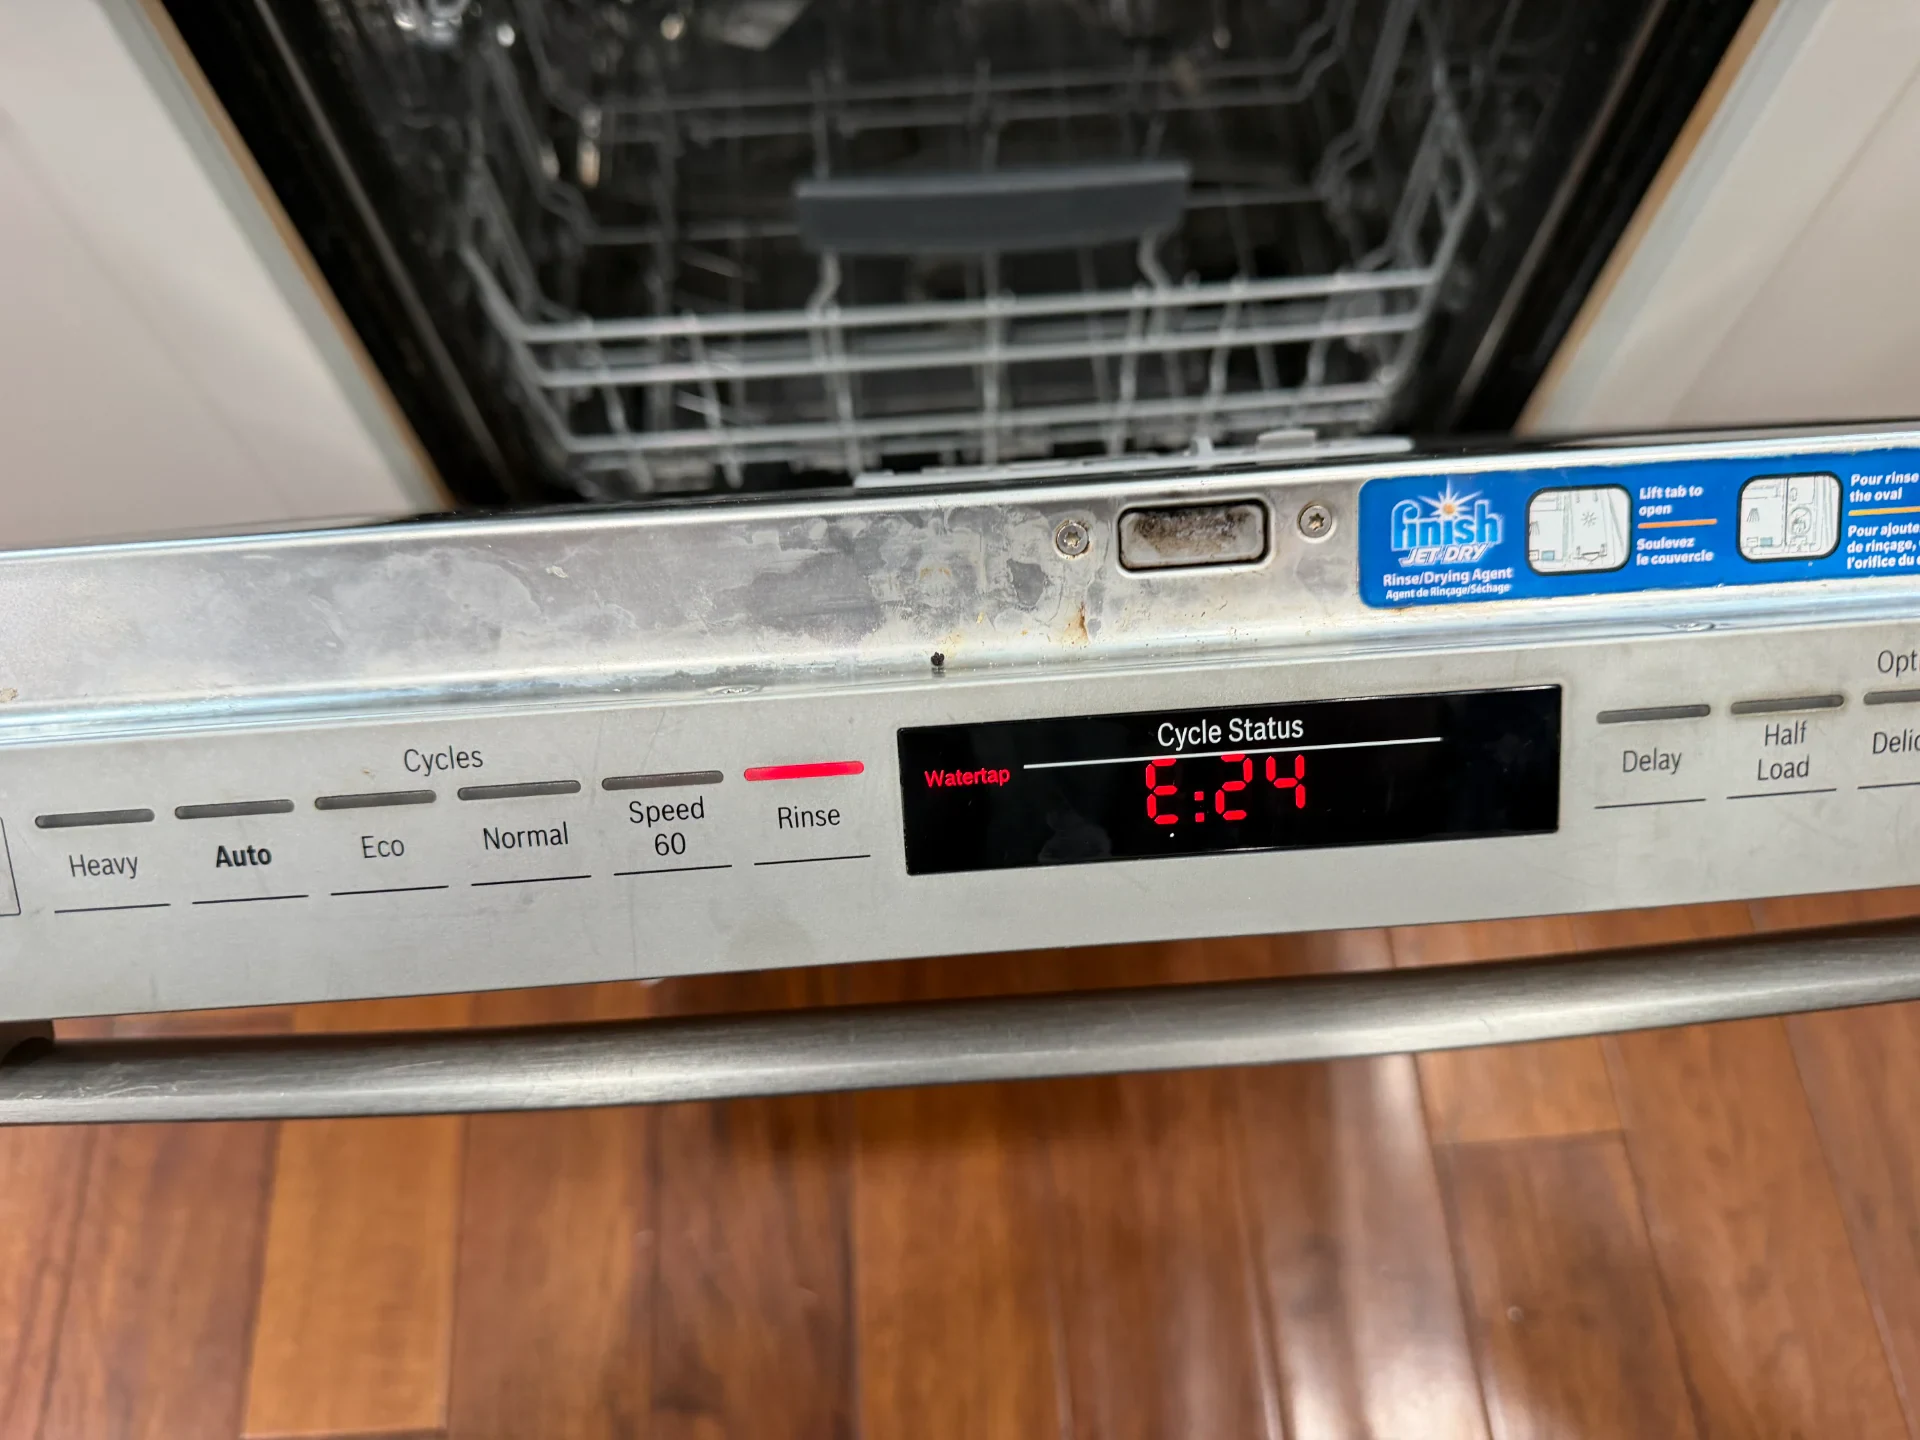
Bosch Dishwasher E24 and E25 Error Code Repair in Indio: Drain Pump, Cover, and Check Valve Replacement
A Bosch 800 Series dishwasher in Indio quit mid-cycle with a full tub of water and error codes E24/E25. We replaced a burned-out 3-phase drain pump, snapped impeller cover, and torn check valve to restore full 28-second drainage
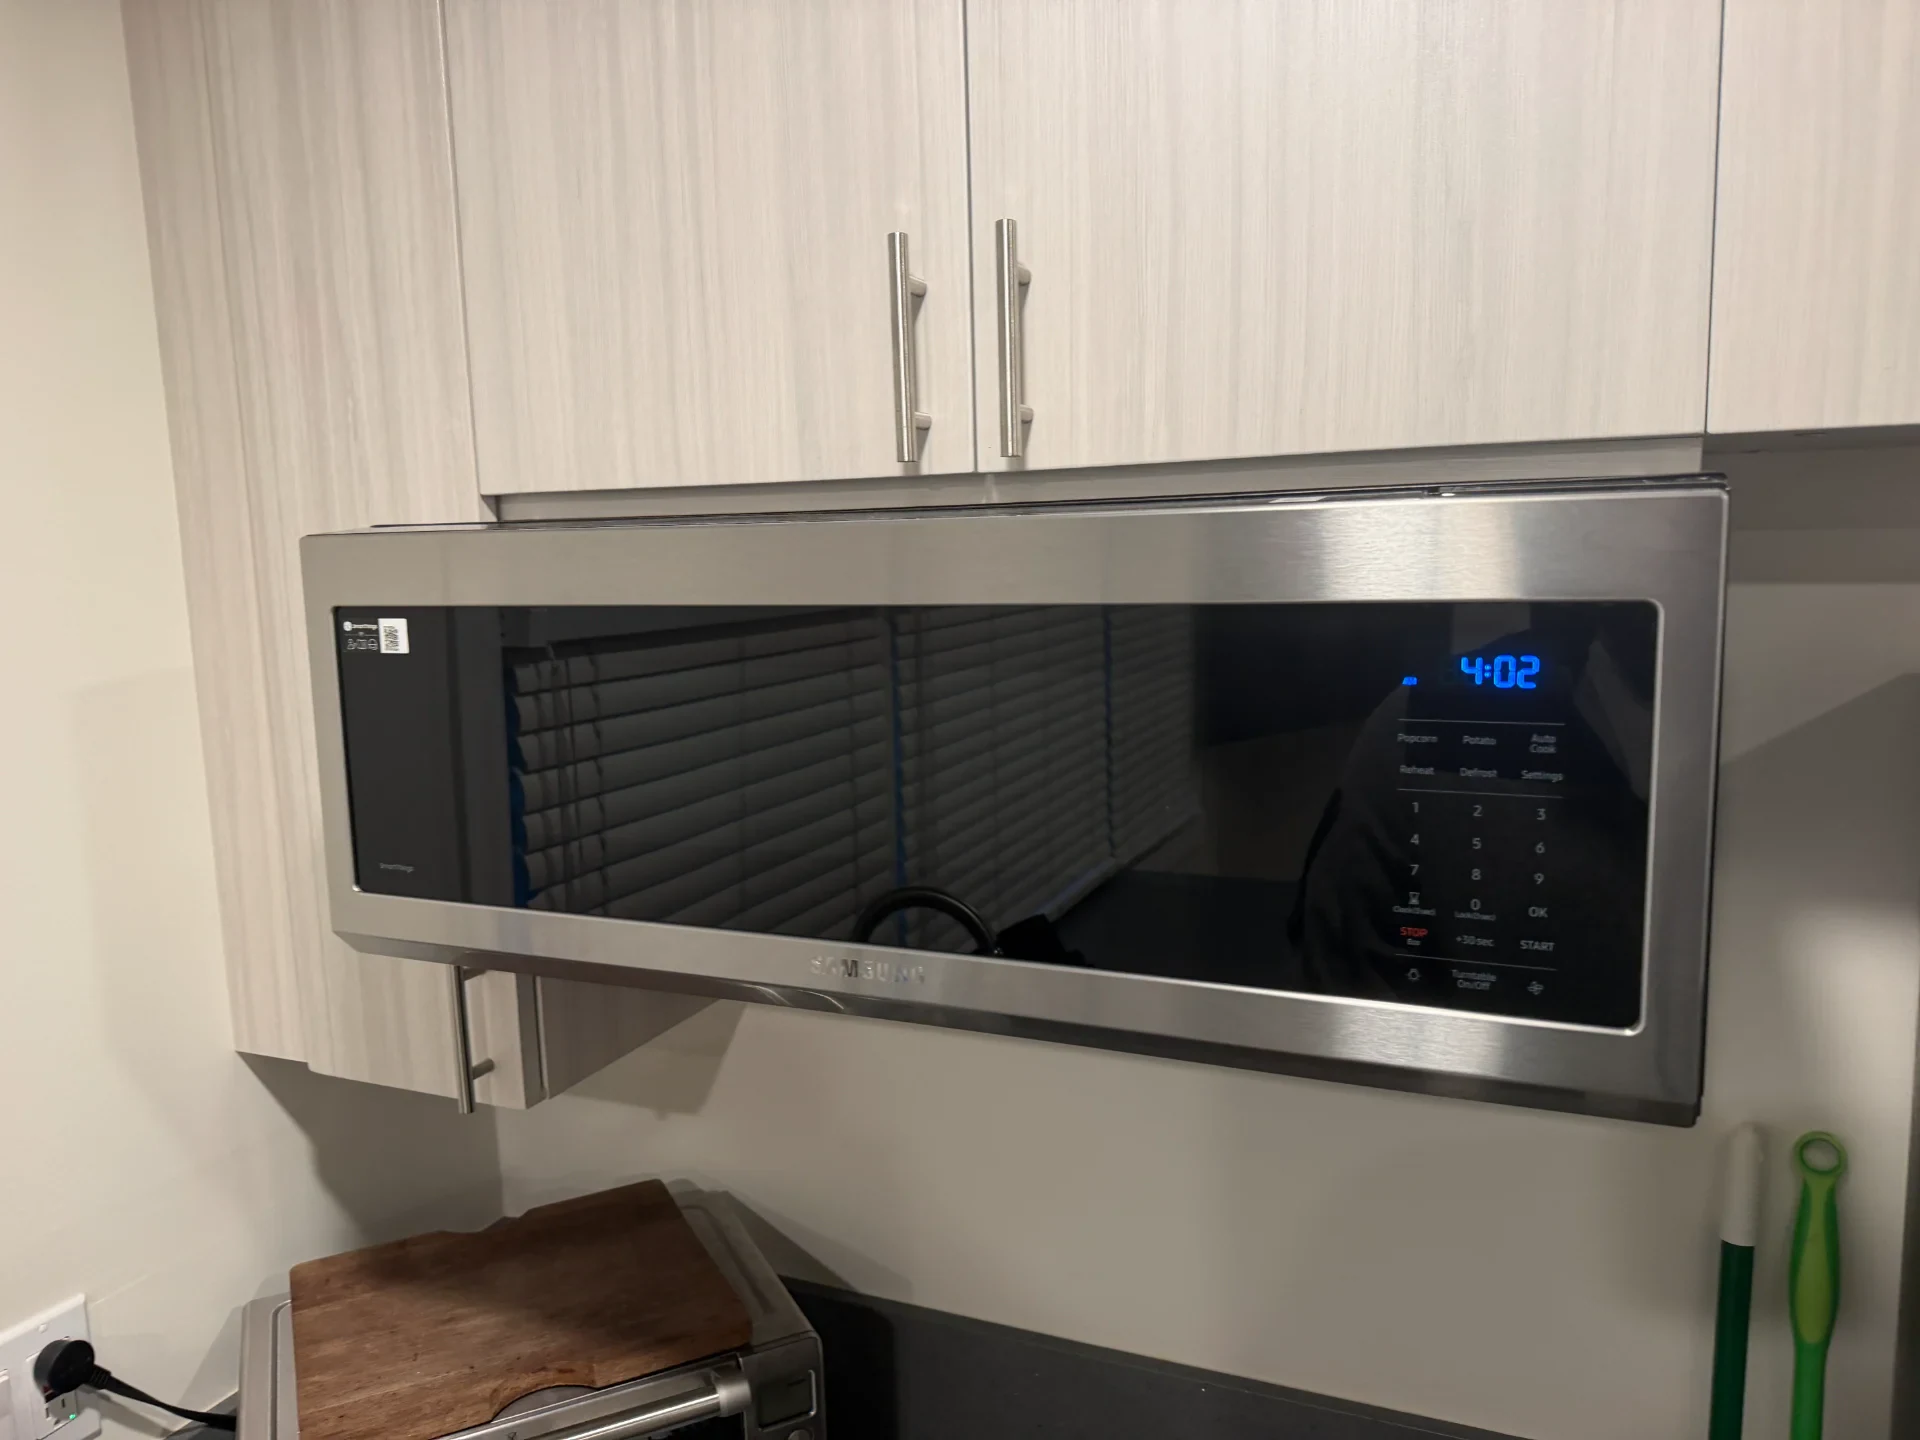
Samsung Microwave Touchpad Not Working in Cathedral City: $475 Door Assembly Diagnosis
A Samsung over-the-range microwave in Cathedral City flashed a -SE- code with a dead touchpad. We verified 5V DC from the main board and traced the fault to a steam-corroded bonded door ribbon ($475 OEM part), saving the owner from an uneconomical $590 repair.
Real Google Reviews From Satisfied Clients
Verified customer ratings from homeowners and businesses across San Diego County & Coachella Valley.
Google Rating (28 Verified Reviews)
W K
“Henry has been great....couldn't have been more knowledgeable and did a great job.....hope if I need help again he is available”
Brent Lagace
“Great service! Excellent staff! Thank you!”
Chris Rea
“Henry arrived and quickly got the dryer opened up and vacuumed, checked all sensors and greased rollers. Very fast, very thorough! Great job!”