
Warm KitchenAid Refrigerator Stuck at 70°F in Rancho Mirage: Main Control Board Replacement
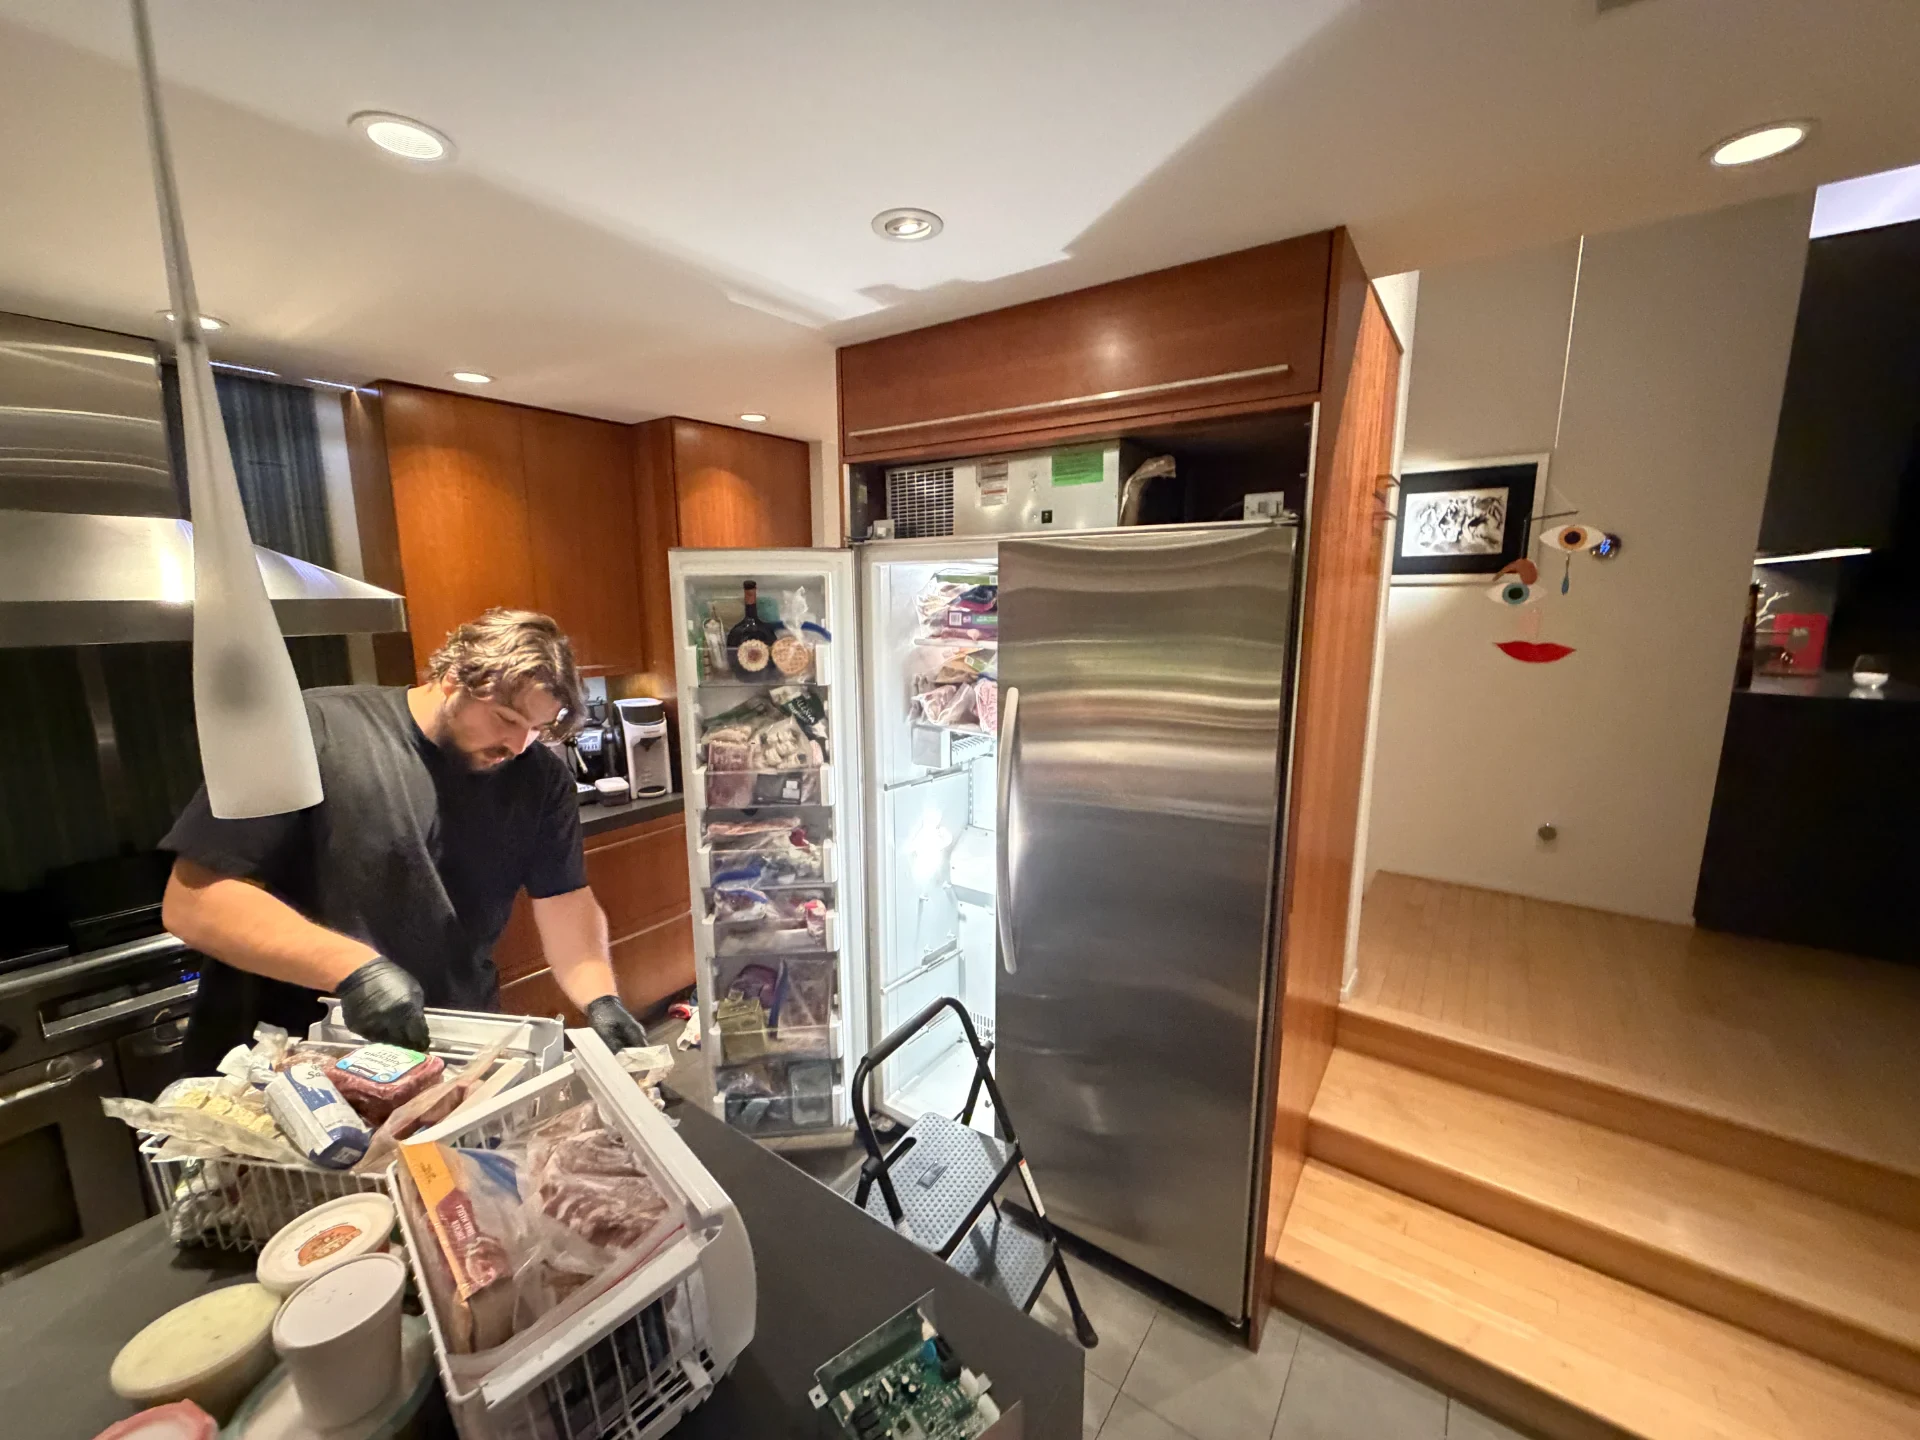
We took a morning call near Bob Hope Drive in Rancho Mirage (92270) out in the Palm Springs area for a 15-year-old KitchenAid refrigerator (model KSCS25INSS). Warm milk. Seventy degrees inside. The homeowner opened the fresh food door before breakfast and realized every shelf felt like room temperature, even though the freezer side still held solid ice. Worse yet, the machine was clicking on and off every single second.
Checking the Closed Air Damper and 1-Second Power Cycling
I brought my tool bag into the kitchen and listened to the control housing. Click-clack. Click-clack. Once a second, the interior LED lights blinked, the dispenser screen flashed a PO power interruption code, and the rear relay chattered on and off.
I set my digital thermometer on the middle glass shelf inside the fresh food section. It read 70.2°F. Next, I held my digital anemometer up to the top-left air diffuser tower where sub-zero freezer air enters the refrigerator cabinet. Zero airflow. Not a breath of cold air was coming through the vent.
- Air Damper Baffle Check: I popped the plastic diffuser cover off inside the upper fresh food corner. The motorized air damper door (Part #WPW10196393) was wedged shut. Because that damper flap stayed closed, freezing air from the evaporator coils couldn't cross over from the freezer into the refrigerator compartment.
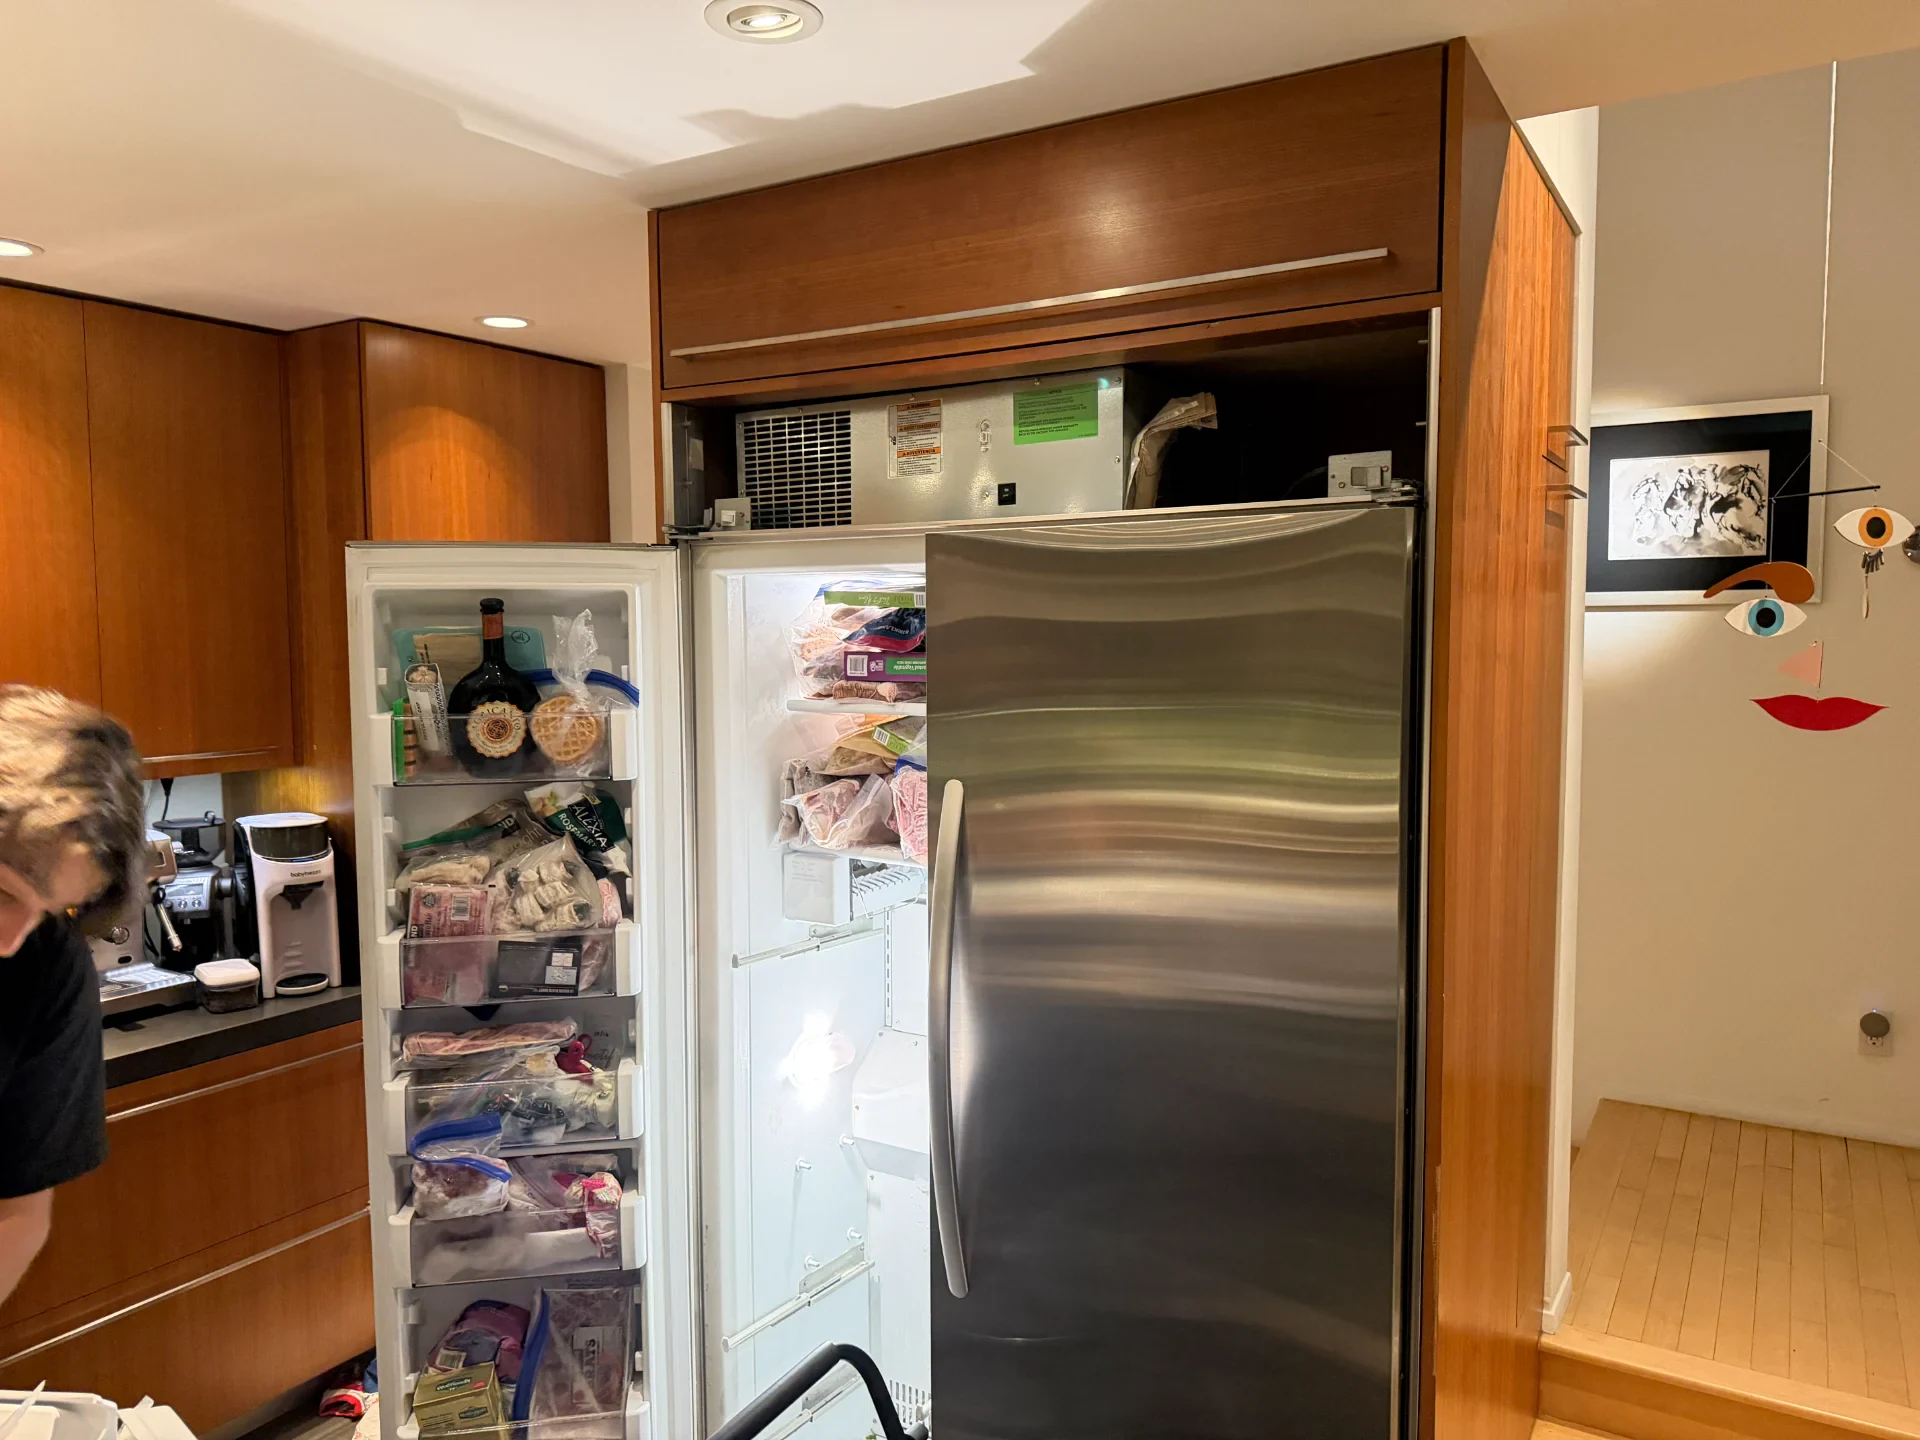
- Multimeter Test on the Thermal Fuse and Thermistor: Before condemning the electronics, I unplugged the 120V power cord and shut off the ice maker water valve behind the unit. Using my Fluke multimeter, I checked continuity across the bi-metal thermal fuse (0.1 Ohms) and measured the fresh food thermistor resistance (2.7k Ohms at 70°F). Both sensors tested right on factory spec.
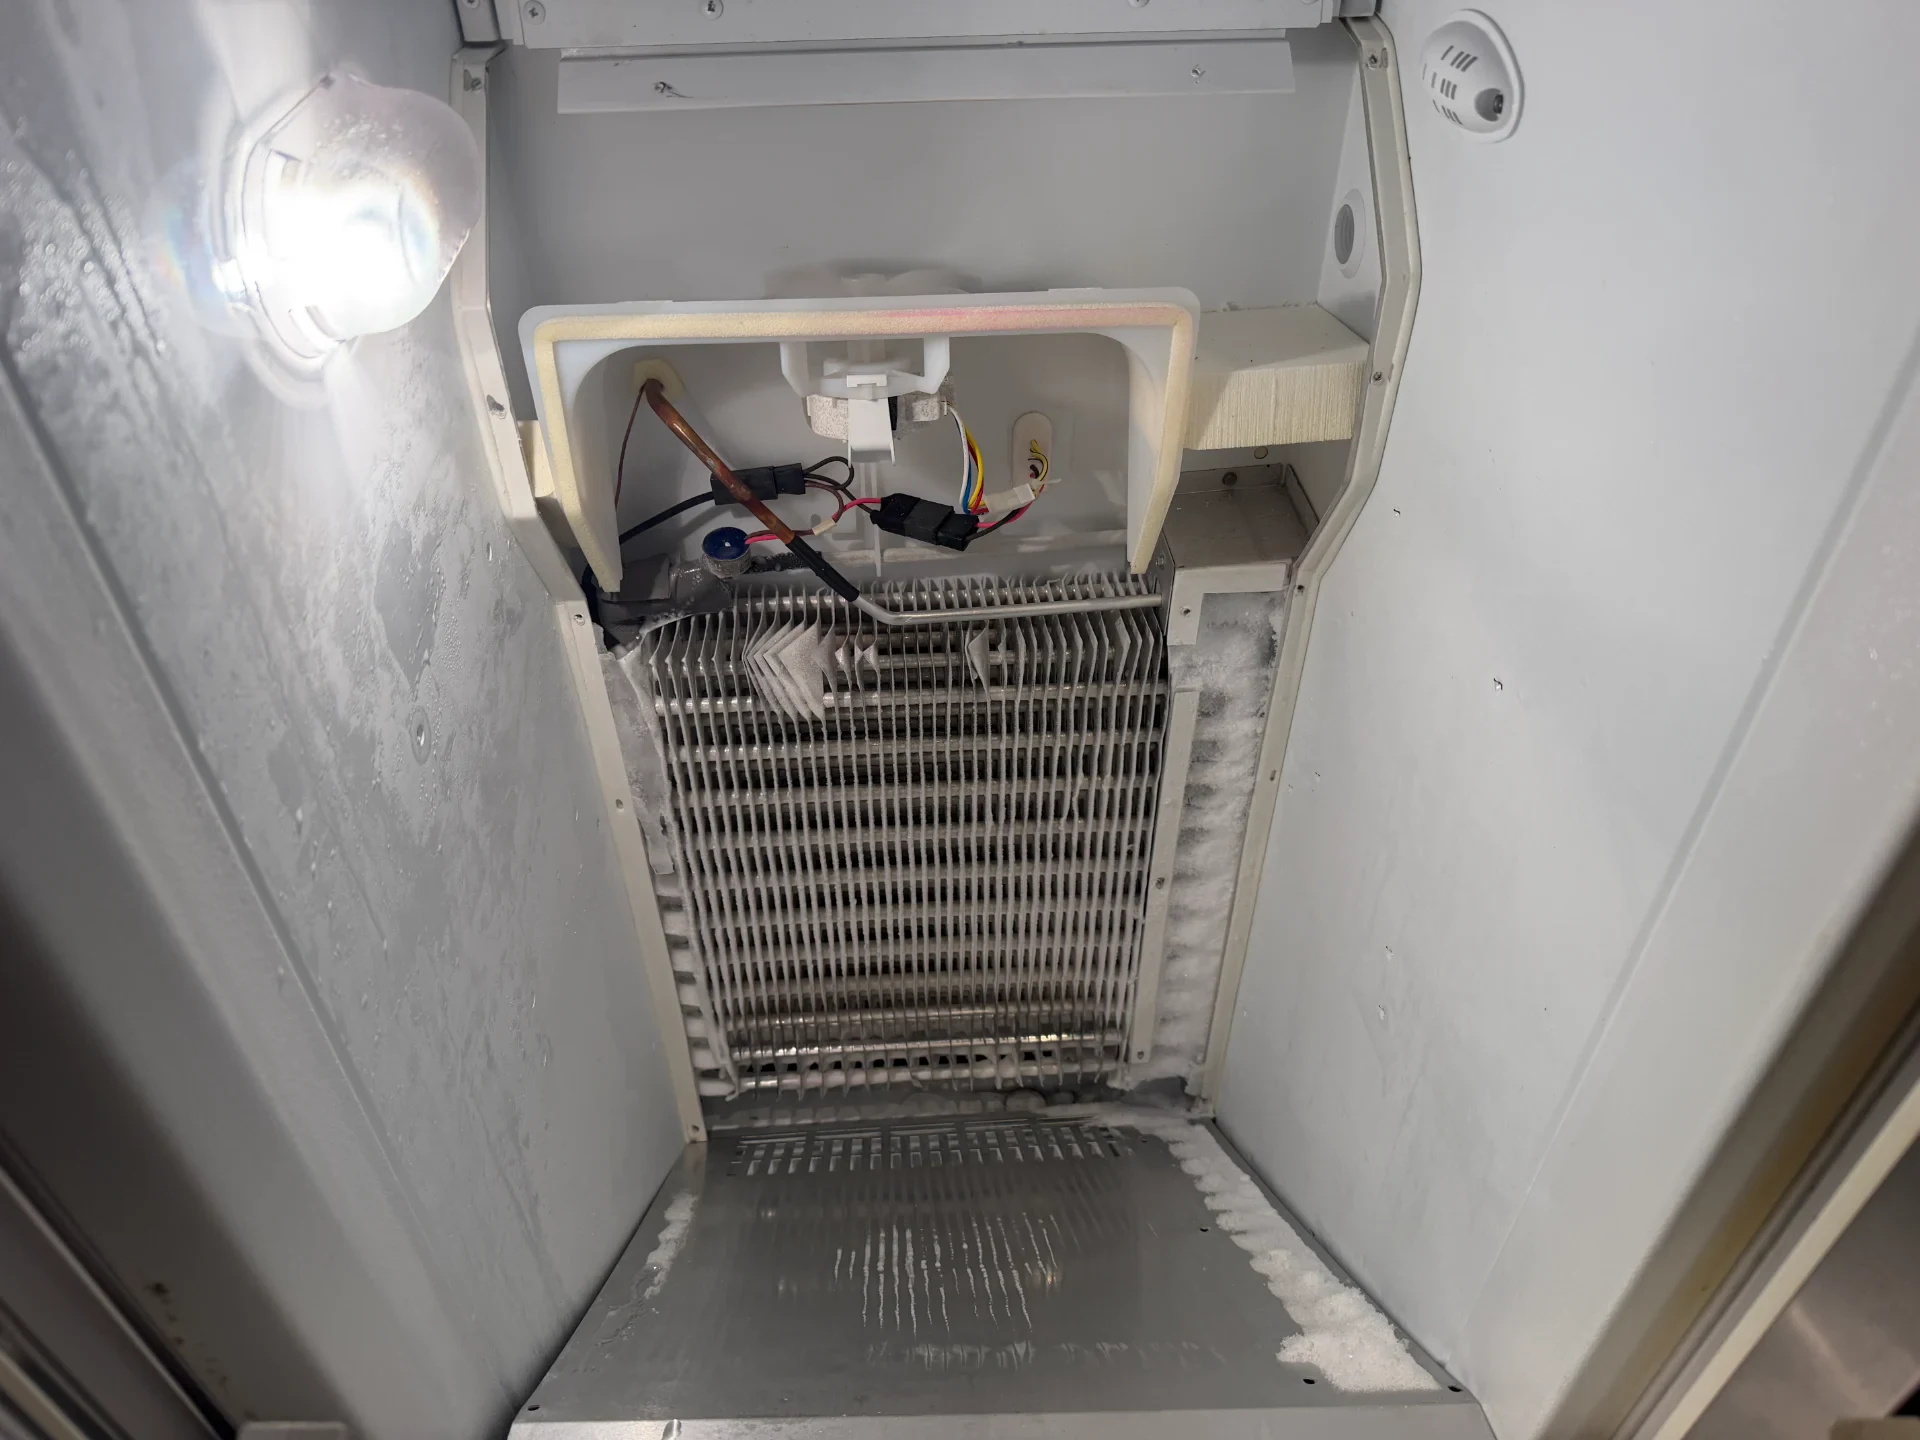
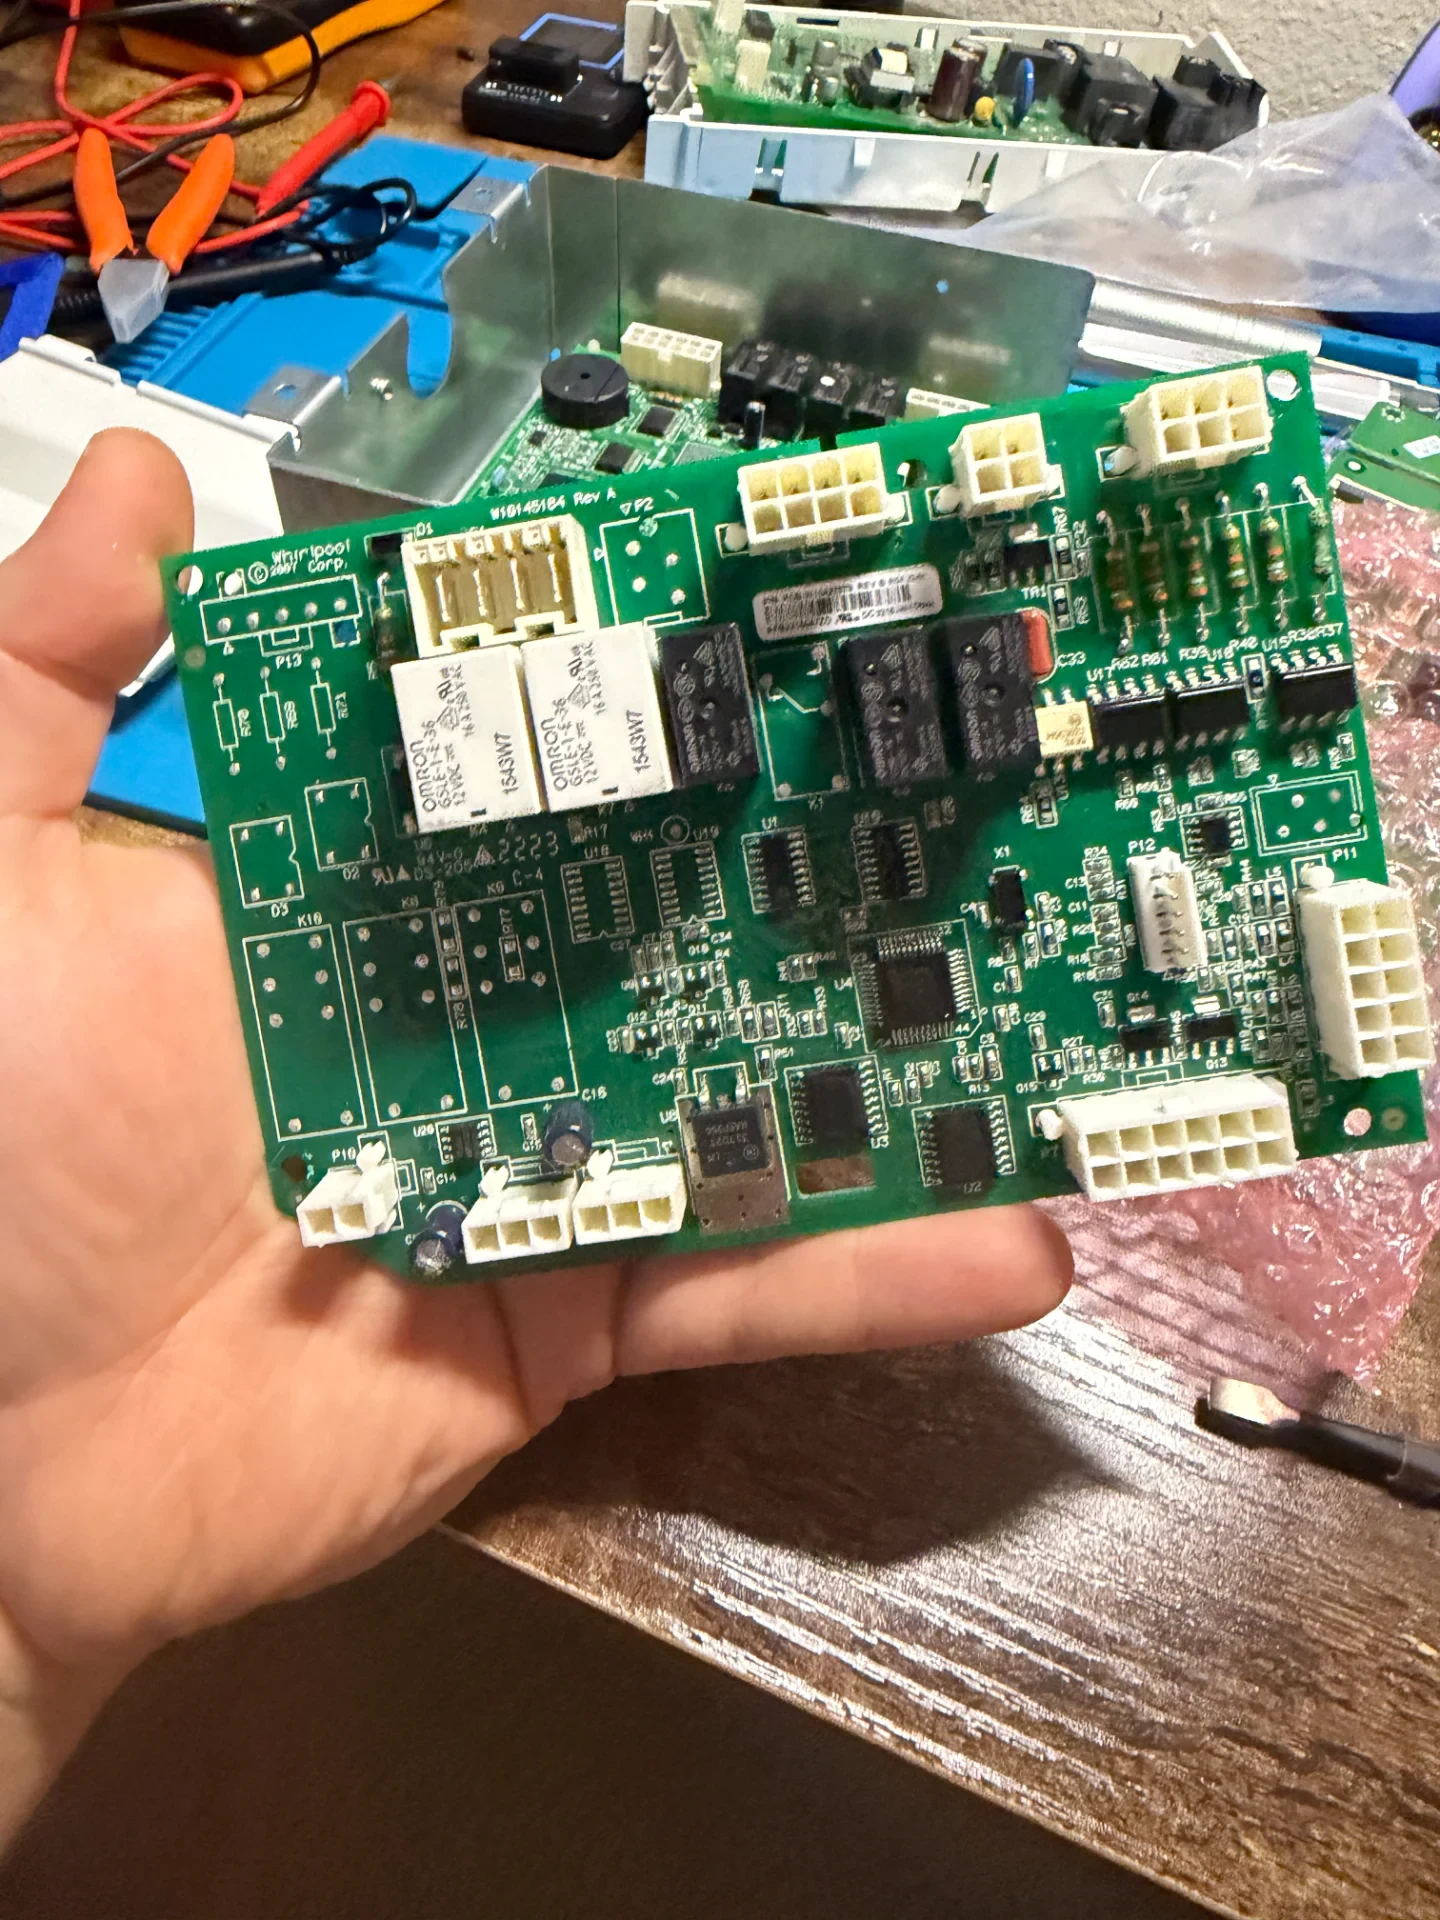
- Inspecting the 15-Year-Old Control Board Capacitors: I unbolted the galvanized metal access cover at the back of the cabinet and pulled out the main electronic control board (Part #W10312695). Right away, I spotted the classic issue that hits KitchenAid refrigerators after 15 years of operation: three cylindrical electrolytic capacitors on the low-voltage DC supply circuit had bulged at the top vents and leaked brown electrolyte crust onto the solder pads.
When I clipped my multimeter probes onto the low-voltage output pins during a quick live check, the 12V DC rail bounced wildly between 4.1V and 8.9V DC every second. Every time the board tried to send power to open the air damper motor and spin the evaporator fan, the dried-out capacitors dumped their charge and rebooted the processor. Replacing the main control board assembly was the only permanent fix.
Swapping Out the Failed KitchenAid Main Control Board
Resoldering loose capacitors onto a 15-year-old circuit board with heat-darkened fiberglass and pitted relay contacts doesn't hold up in desert kitchens. Once the homeowner approved the $780 flat-rate estimate, I grabbed a factory OEM KitchenAid Main Electronic Control Board (Part #W10312695) from my service van.
- Step 1 - Disconnecting Power and Water: I unplugged the 120V power cord from the wall receptacle, turned the brass water shutoff valve clockwise until it stopped, and waited three minutes for the board capacitors to discharge.
- Step 2 - Releasing the Multi-Pin Wire Plugs: I opened the rear metal control box and unclipped the color-coded molex connectors and low-voltage ribbon cables feeding the motorized air damper, thermistors, evaporator fan, and compressor relay.
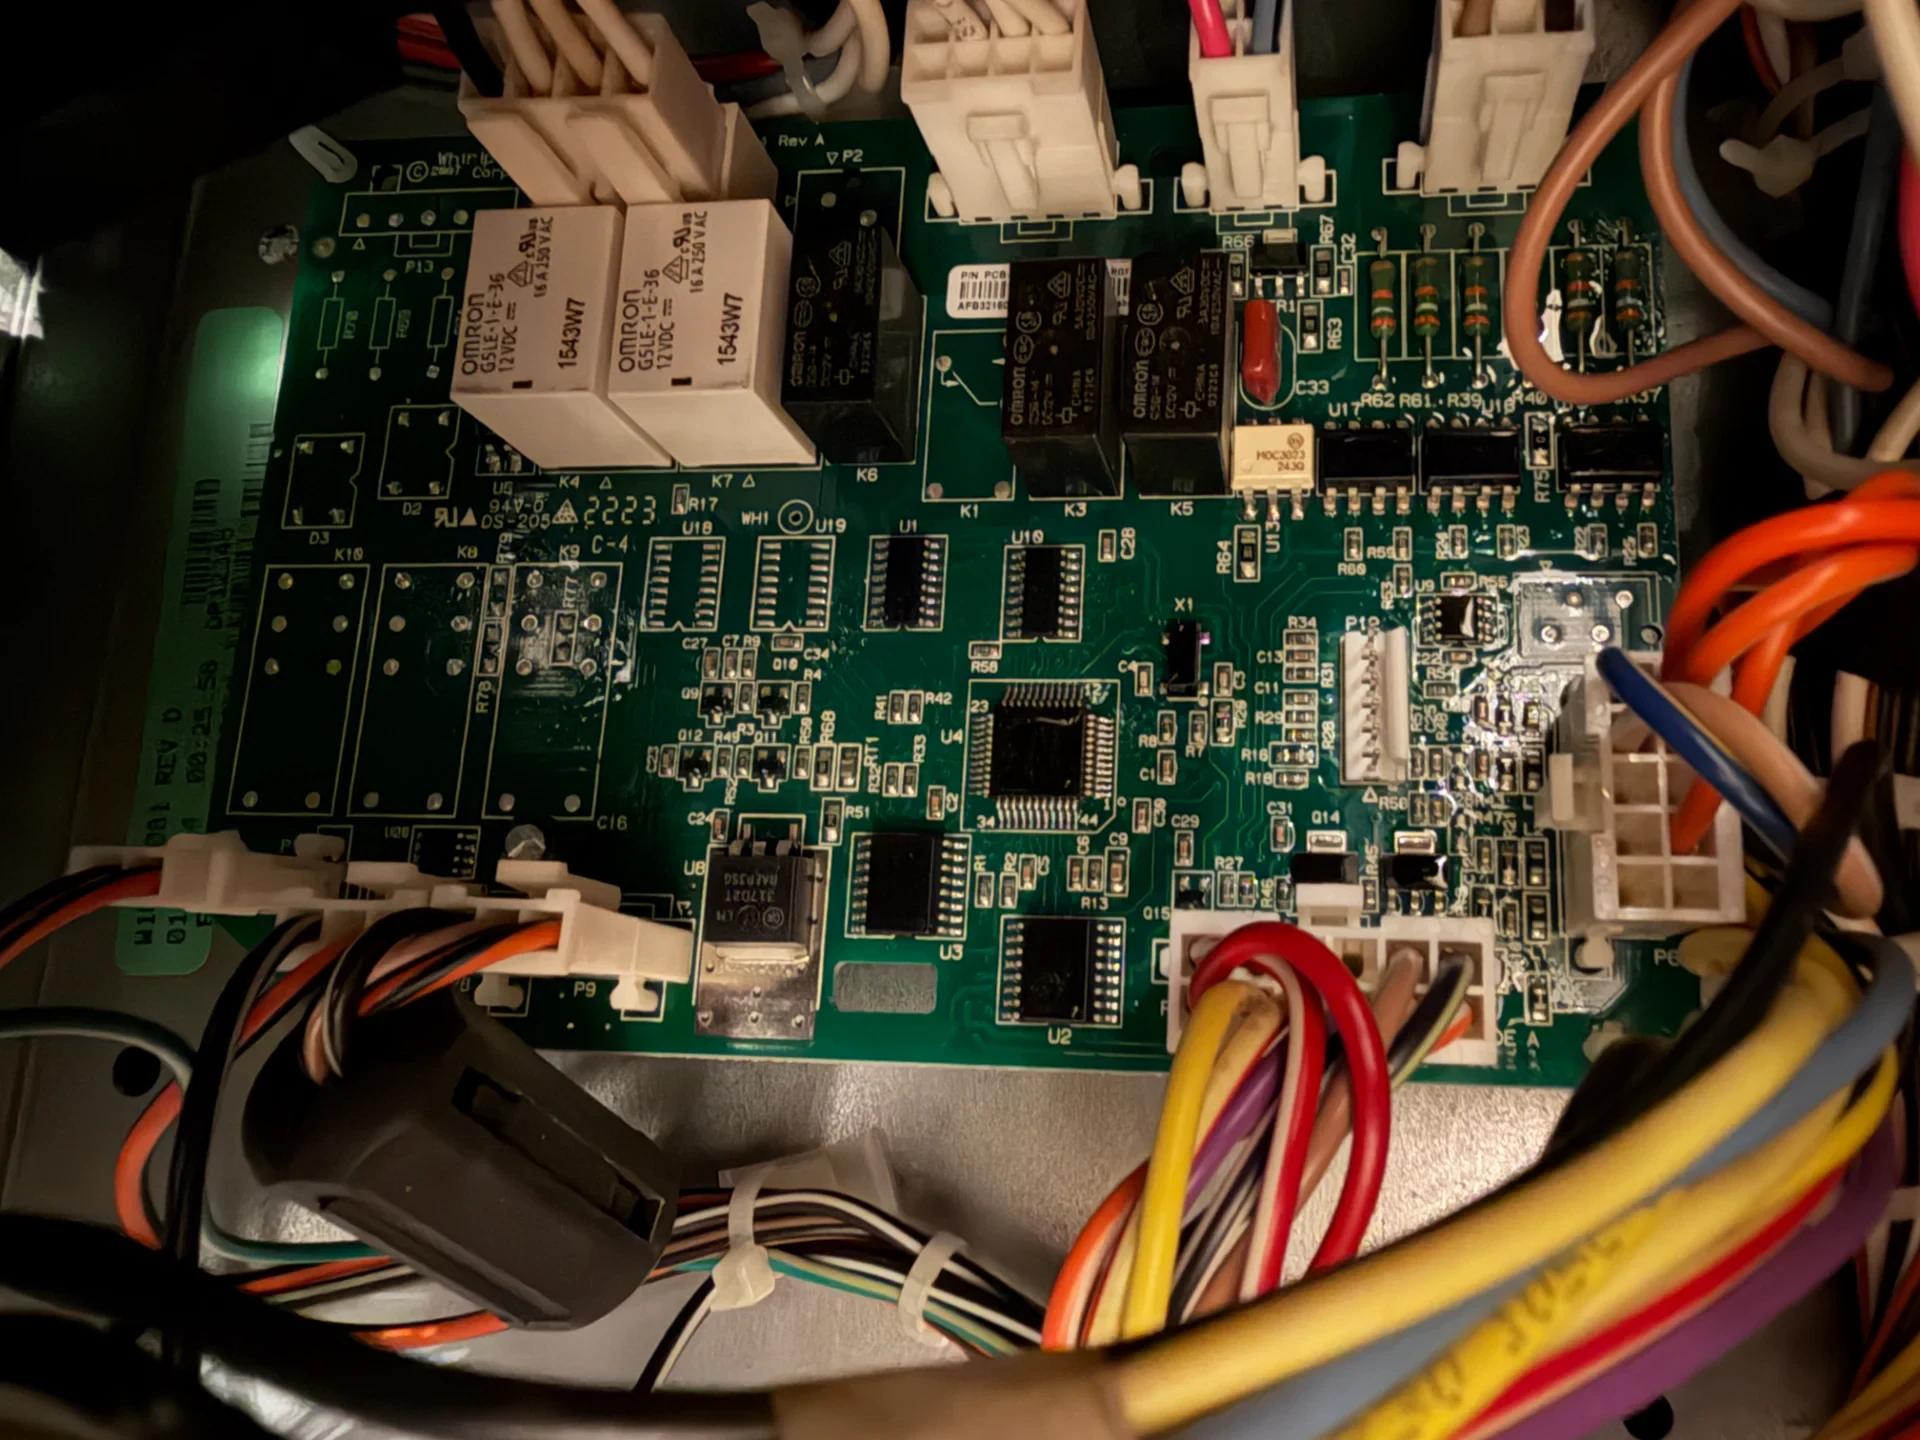
- Step 3 - Removing the Bad 15-Year-Old Board: Using needle-nose pliers and a 1/4-inch nut driver, I popped the plastic locking standoffs loose and lifted the degraded circuit board out of the housing bracket.
- Step 4 - Installing the New OEM Control Board: I snapped the new OEM KitchenAid #W10312695 board onto the insulated mounting posts, seated each keyed multi-pin wire plug firmly onto its pin header until the latches clicked, and bolted the steel cover back down.
| Diagnostic Check Point | Reading Before Repair | Result After OEM Service |
|---|---|---|
| Fresh Food Compartment Temp | 70.2°F (Room temperature; zero cooling) | Pulled down to a steady 37°F setpoint. |
| Motorized Air Damper Door | Stuck closed; zero cold air from freezer | Wide open during cooling cycle; strong 10°F airflow. |
| Main Board 12V DC Logic Supply | Bouncing between 4.1V and 8.9V DC (1-sec reset) | Rock-steady 12.1V DC with zero relay clicking. |
| Thermal Fuse & Thermistor Check | 0.1 Ohms fuse / 2.7k Ohms sensor (Intact) | Verified good; new OEM board (#W10312695) installed. |
Testing Damper Airflow and Cooling Recovery
I opened the water supply valve and plugged the 120V power cord back into the wall outlet. Silence first, then a smooth compressor hum. The frantic one-second clicking was gone.
Next, I entered the KitchenAid factory diagnostic mode from the front dispenser keypad and ran the air baffle actuation test. The stepper motor inside the upper-left air tower whirred smoothly and swung the damper door wide open. My multimeter confirmed a steady 12.1V DC across the board logic pins.
Within two minutes, a strong column of 10°F air was blowing straight out of the freezer duct into the fresh food section. Forty-five minutes after closing the doors, the thermometer on the middle shelf had already dropped from 70°F down to 46°F on its way to the 37°F target. The homeowner was thrilled to get their KitchenAid running like new without spending $3,500+ on a replacement refrigerator.
If your KitchenAid refrigerator is warm in the fresh food zone, clicking on and off every second, or suffering from blocked airflow in Rancho Mirage, Palm Springs, or anywhere in the Coachella Valley, book our professional refrigerator repair service online or call our local dispatch team at (760) 537-6751.
Transparent Invoice Breakdown
ETS Appliance Repair provides upfront, flat-rate pricing with zero hidden fees before any work starts:
| Service Item / Component | Description | Investment |
|---|---|---|
| Technician Diagnostic & Multi-Sensor Check | Multimeter sensor test, logic rail analysis & PCB inspection (waived upon repair approval) | $0.00 |
| Genuine OEM KitchenAid Main Control Board | Factory-certified electronic control board assembly (Part #W10312695) | $515.00 |
| Certified Refrigeration Labor | Rear enclosure teardown, multi-pin connector transfer, damper calibration & airflow test | $265.00 |
| Total Repair Investment | Complete Cooling Restoration & 90-Day Parts and Labor Warranty | $780.00 |
Repair completed on-site in Rancho Mirage, CA (92270) in approximately 65 minutes. Backed by our standard 90-day parts and labor warranty under CA BHGS License #A51622.
Need Technician Assistance Today?
$99.95 Technician Diagnostic Visit • 100% Waived With Completed Repair.
More Articles & Troubleshooting Guides
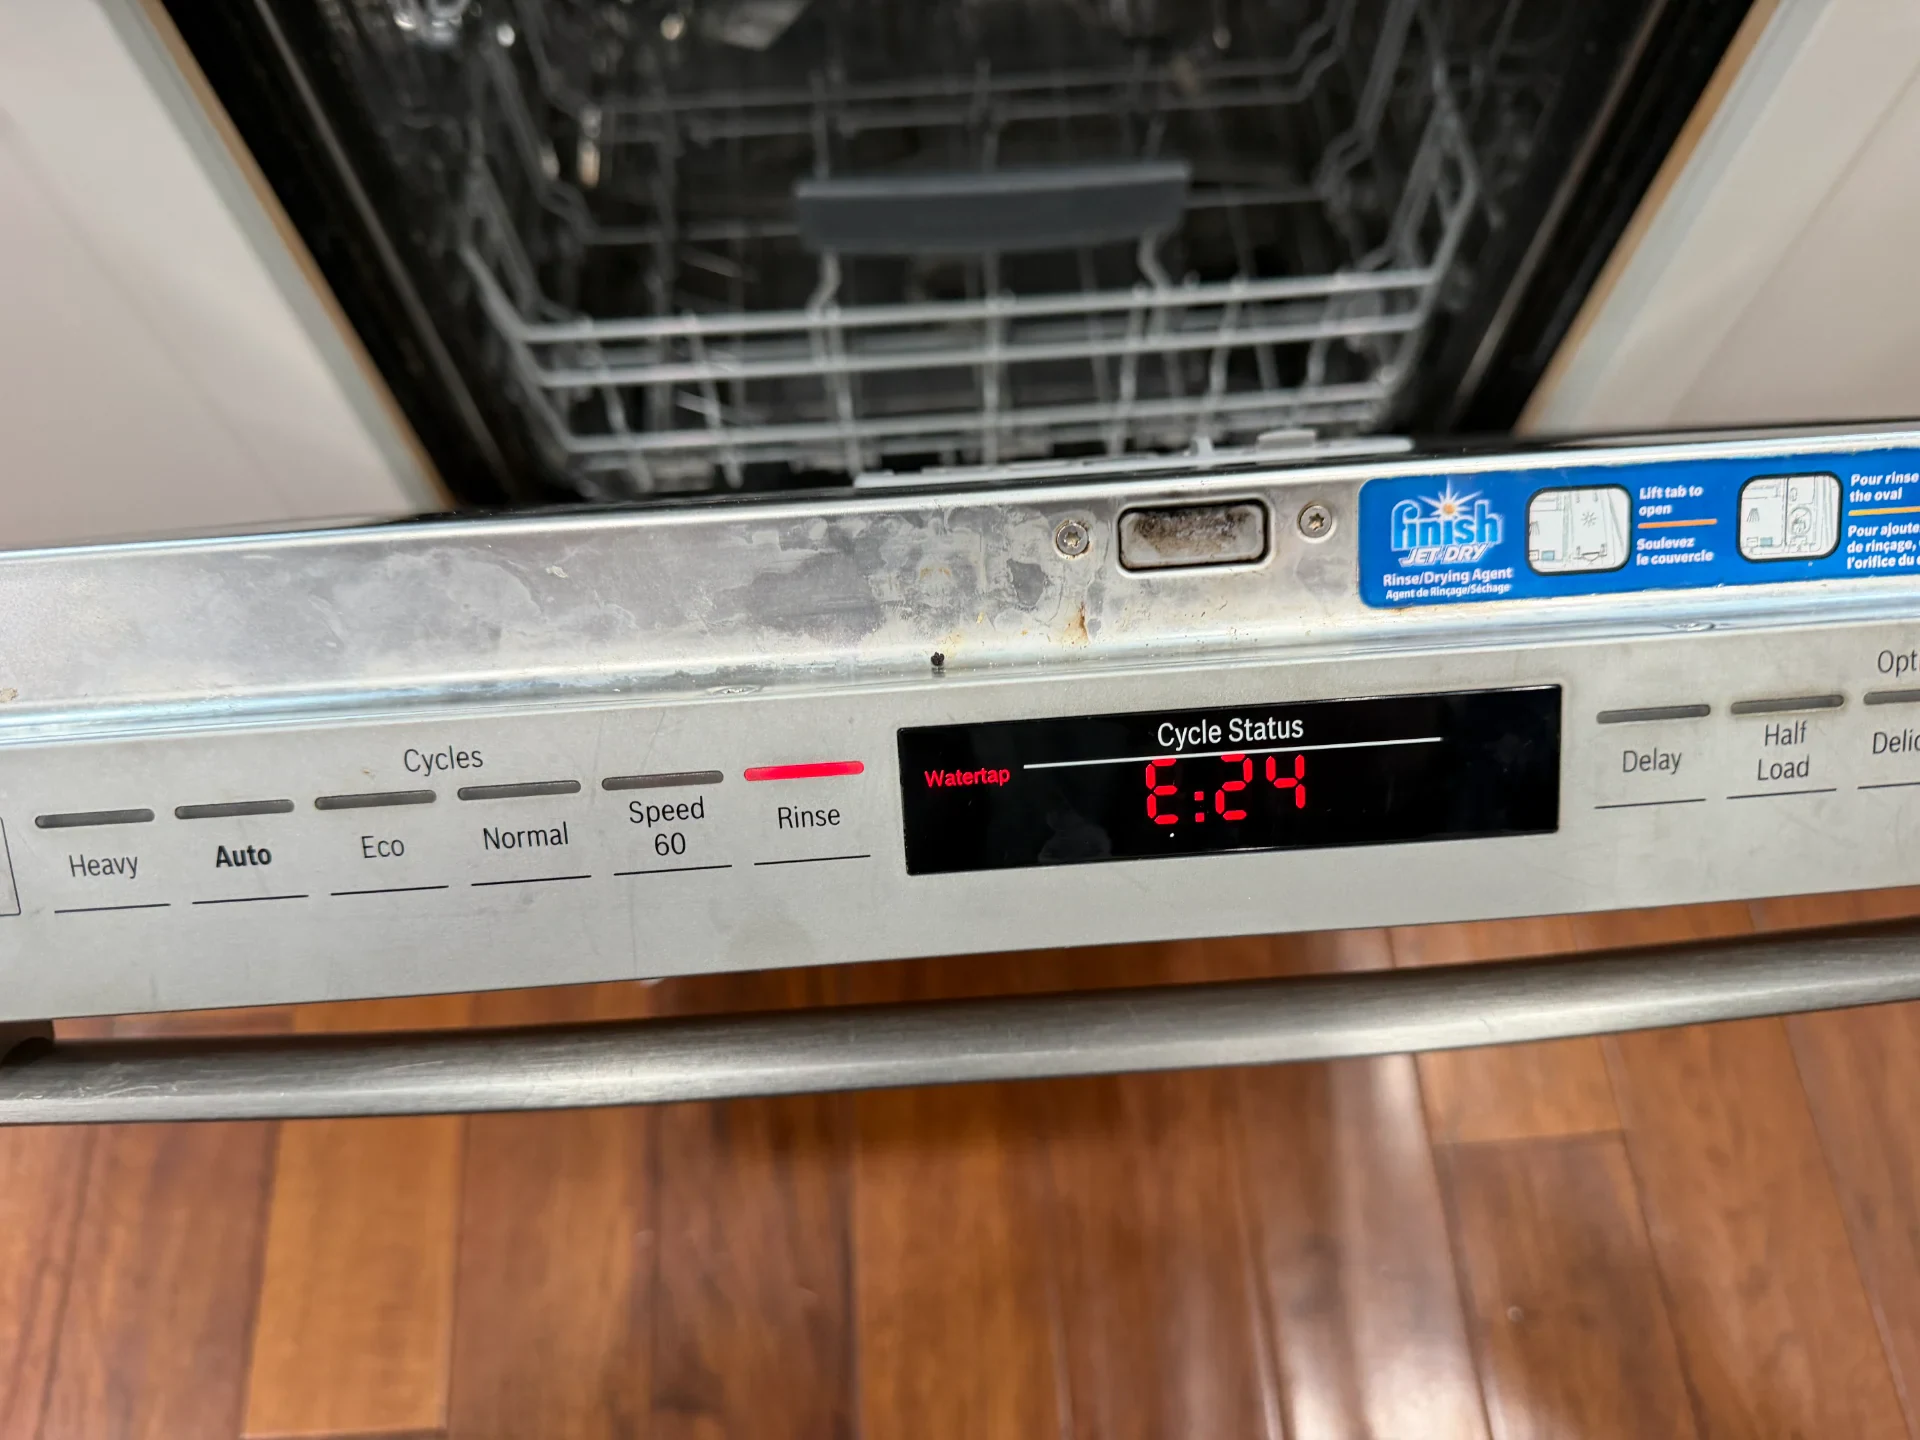
Bosch Dishwasher E24 and E25 Error Code Repair in Indio: Drain Pump, Cover, and Check Valve Replacement
A Bosch 800 Series dishwasher in Indio quit mid-cycle with a full tub of water and error codes E24/E25. We replaced a burned-out 3-phase drain pump, snapped impeller cover, and torn check valve to restore full 28-second drainage
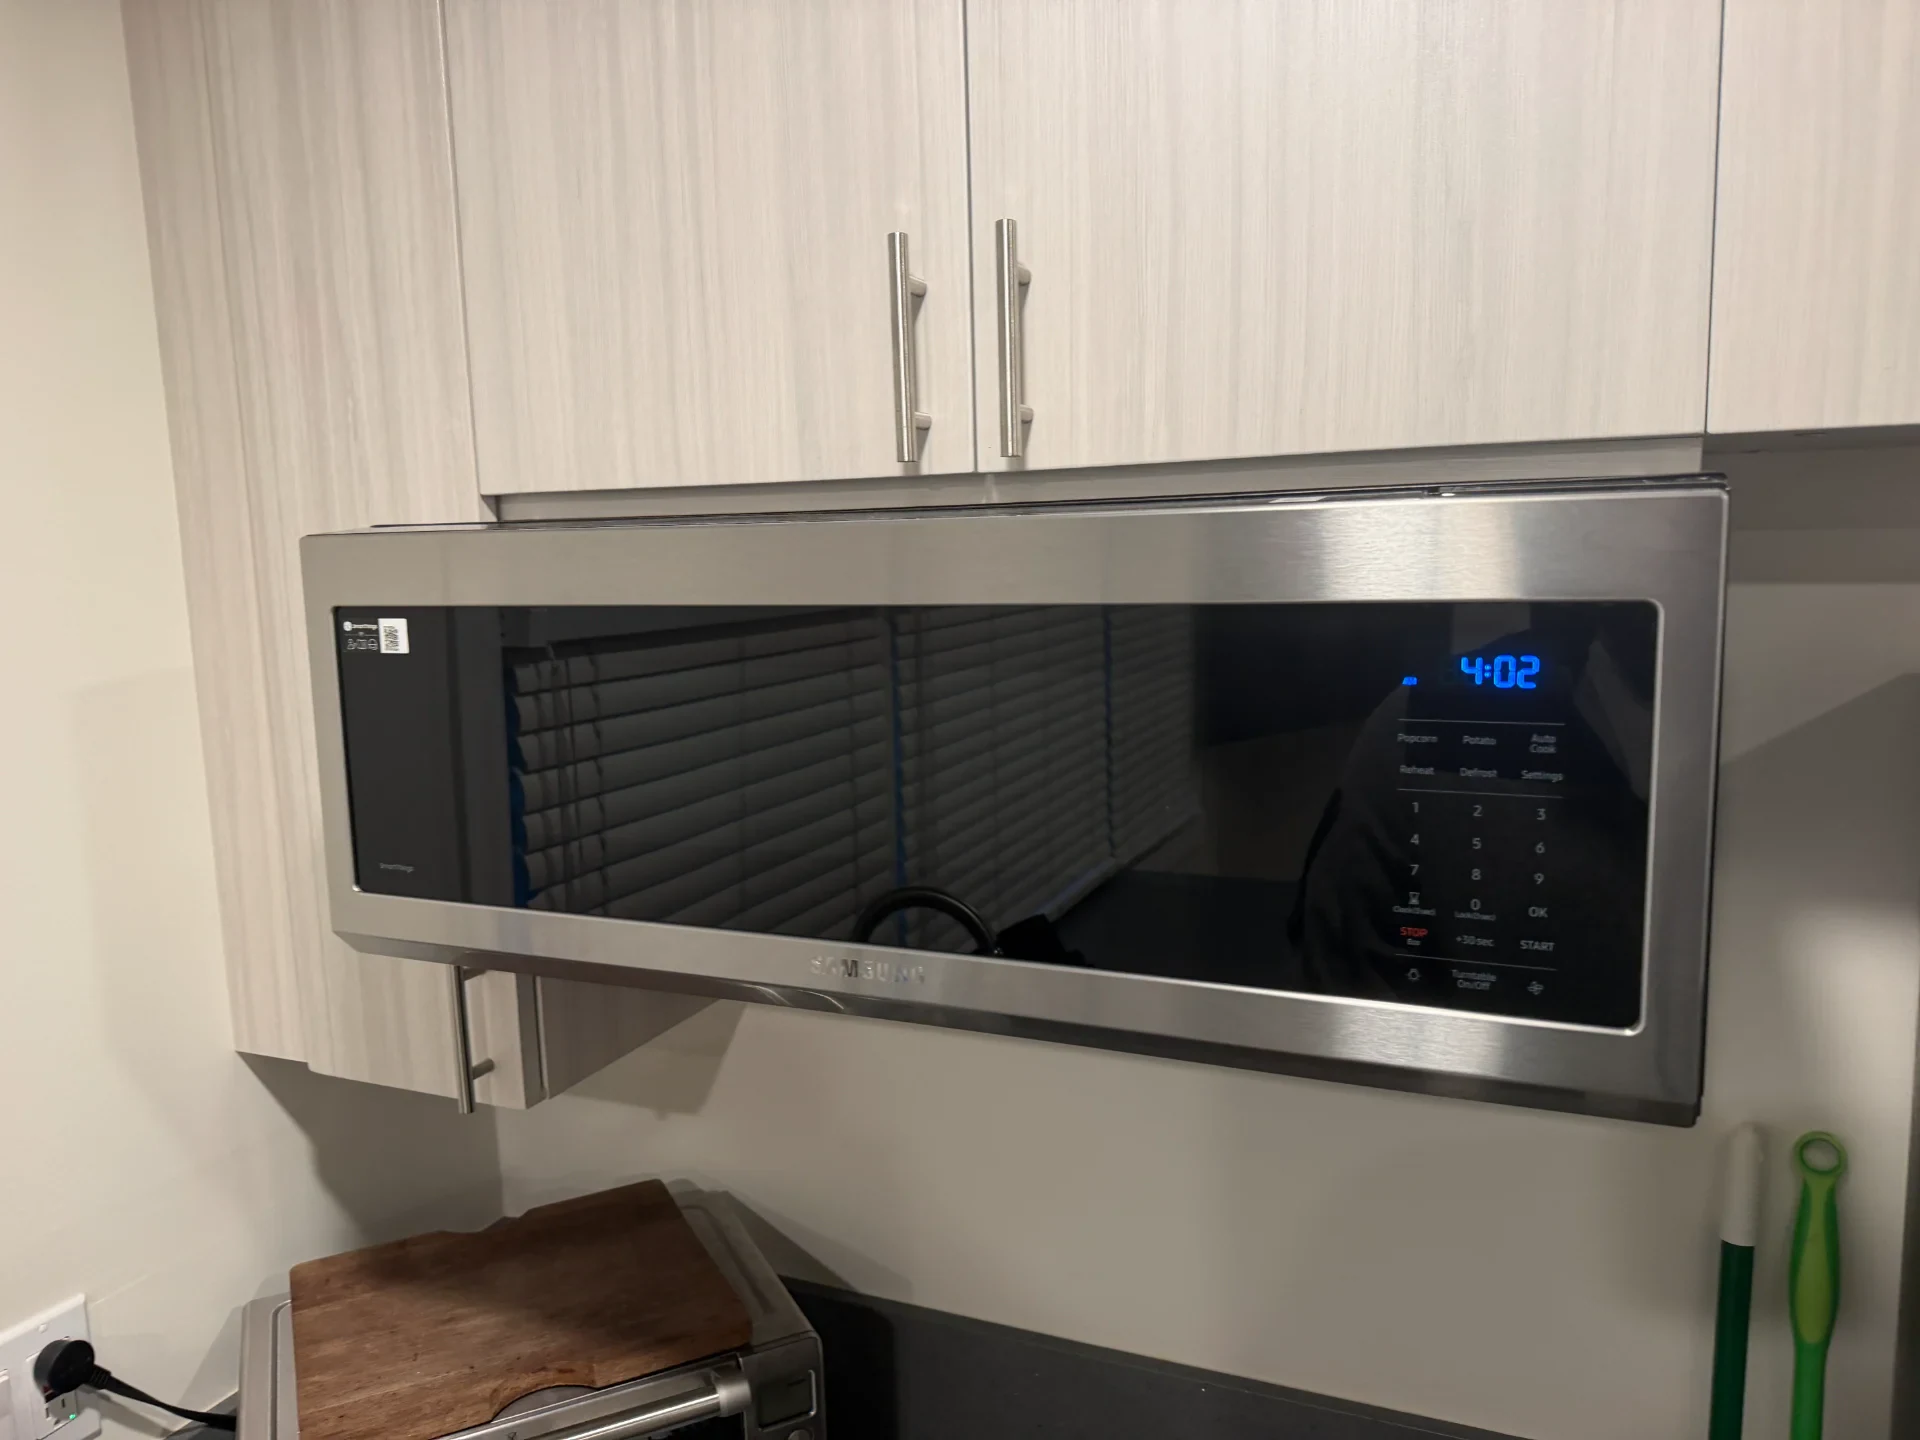
Samsung Microwave Touchpad Not Working in Cathedral City: $475 Door Assembly Diagnosis
A Samsung over-the-range microwave in Cathedral City flashed a -SE- code with a dead touchpad. We verified 5V DC from the main board and traced the fault to a steam-corroded bonded door ribbon ($475 OEM part), saving the owner from an uneconomical $590 repair.
Real Google Reviews From Satisfied Clients
Verified customer ratings from homeowners and businesses across San Diego County & Coachella Valley.
Google Rating (28 Verified Reviews)
W K
“Henry has been great....couldn't have been more knowledgeable and did a great job.....hope if I need help again he is available”
Brent Lagace
“Great service! Excellent staff! Thank you!”
Chris Rea
“Henry arrived and quickly got the dryer opened up and vacuumed, checked all sensors and greased rollers. Very fast, very thorough! Great job!”