
Dead Whirlpool Dryer Flashing Error Code F01 in Hillcrest, San Diego: Main Control Board Replacement
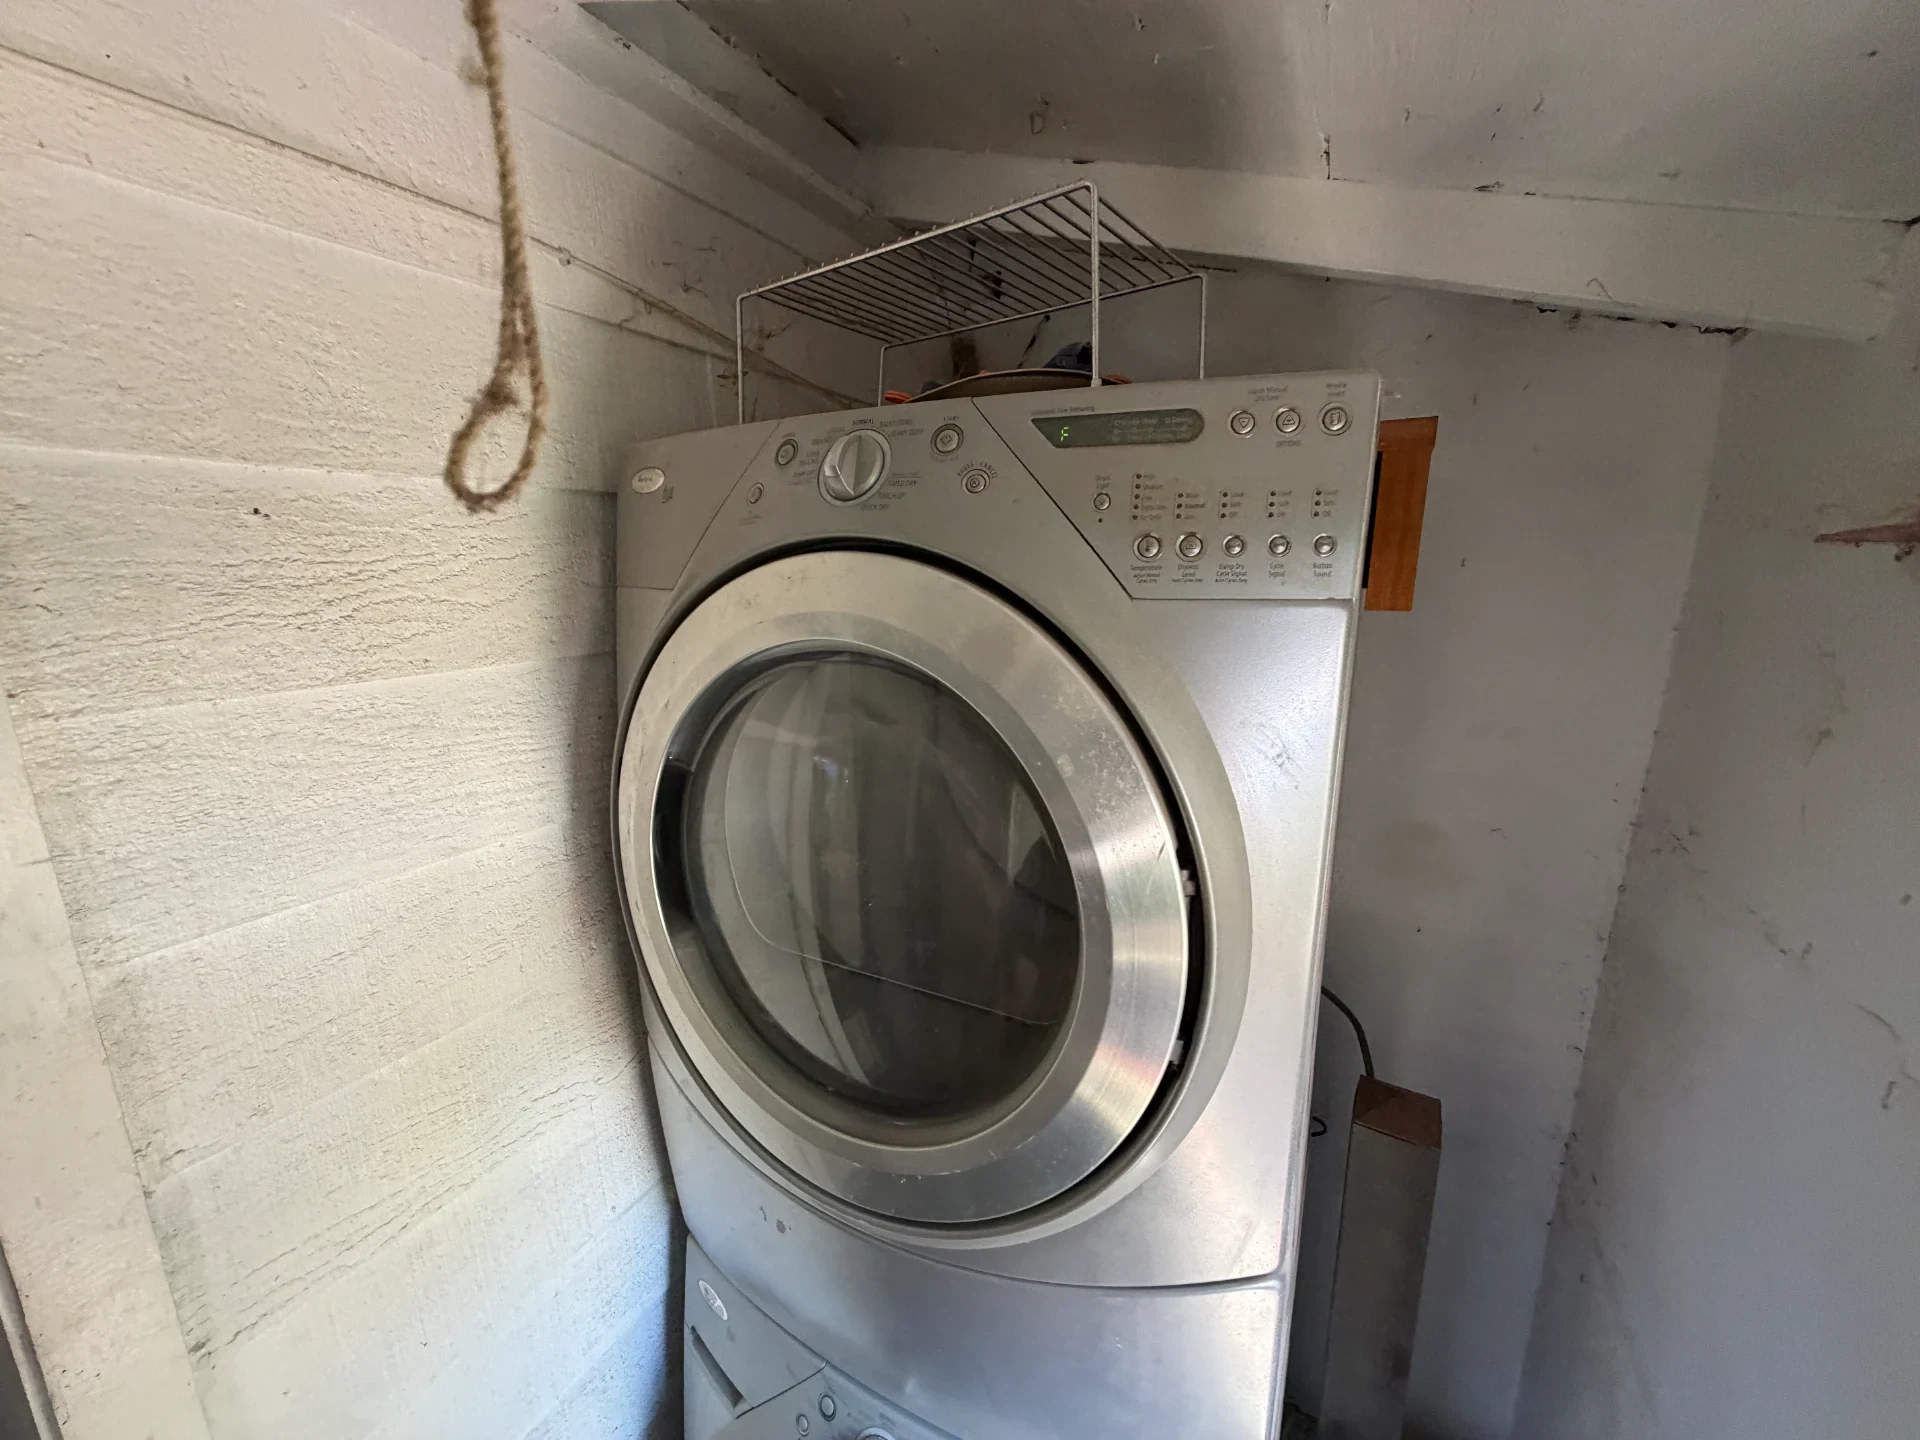
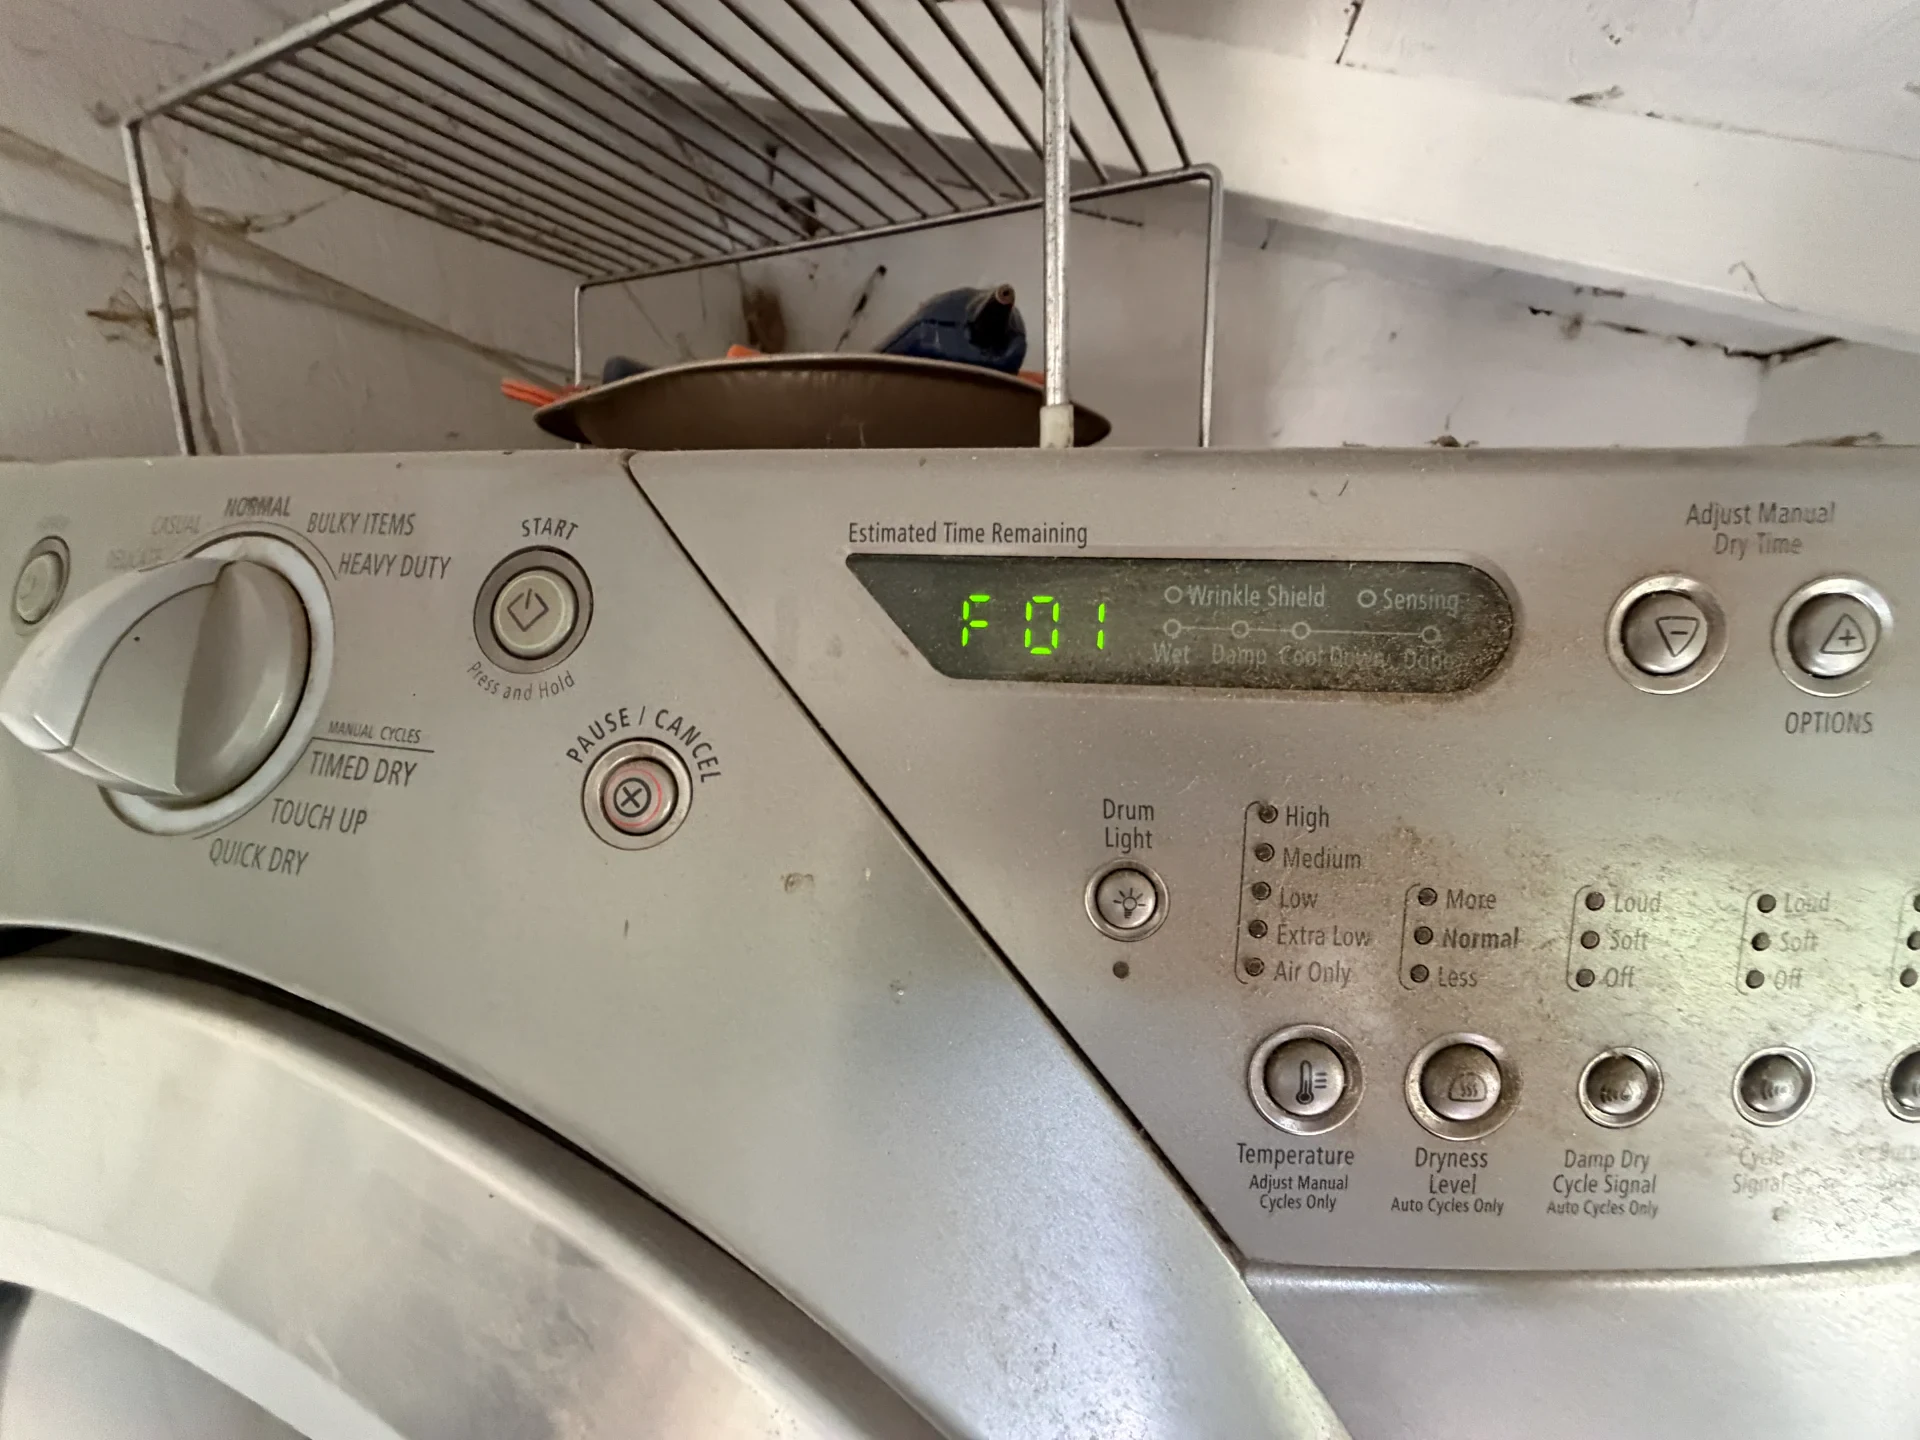
Got dispatched this morning to a craftsman home just off University Avenue in Hillcrest, San Diego (92103), for a Whirlpool Duet electric clothes dryer that refused to start a drying cycle. Dead on arrival. The homeowner tossed a wet load of towels into the drum, shut the door, and pressed the Start button. Instead of the drum tumbling, the console beeped three times and flashed Error Code F01 across the digital screen. They tried flipping the dual 30-amp circuit breaker in their garage panel off for twenty minutes to reset the machine. Nothing happened. The second they restored power and hit Start, the F01 fault code locked the console right back up.
Diagnosing the F01 Fault Code and Inspecting the Dryer Circuit Board
I brought my tool bag into the laundry room and pulled the printed tech sheet from inside the lower front service panel. On Whirlpool Duet and Cabrio dryers, an F01 code points straight to the brain of the appliance.
According to the official Whirlpool factory dryer service manual, "Error Code F01 indicates a primary electronic failure within the Machine Control Electronics, meaning the main printed circuit board can no longer energize the drive motor or heating element relays and must be replaced."
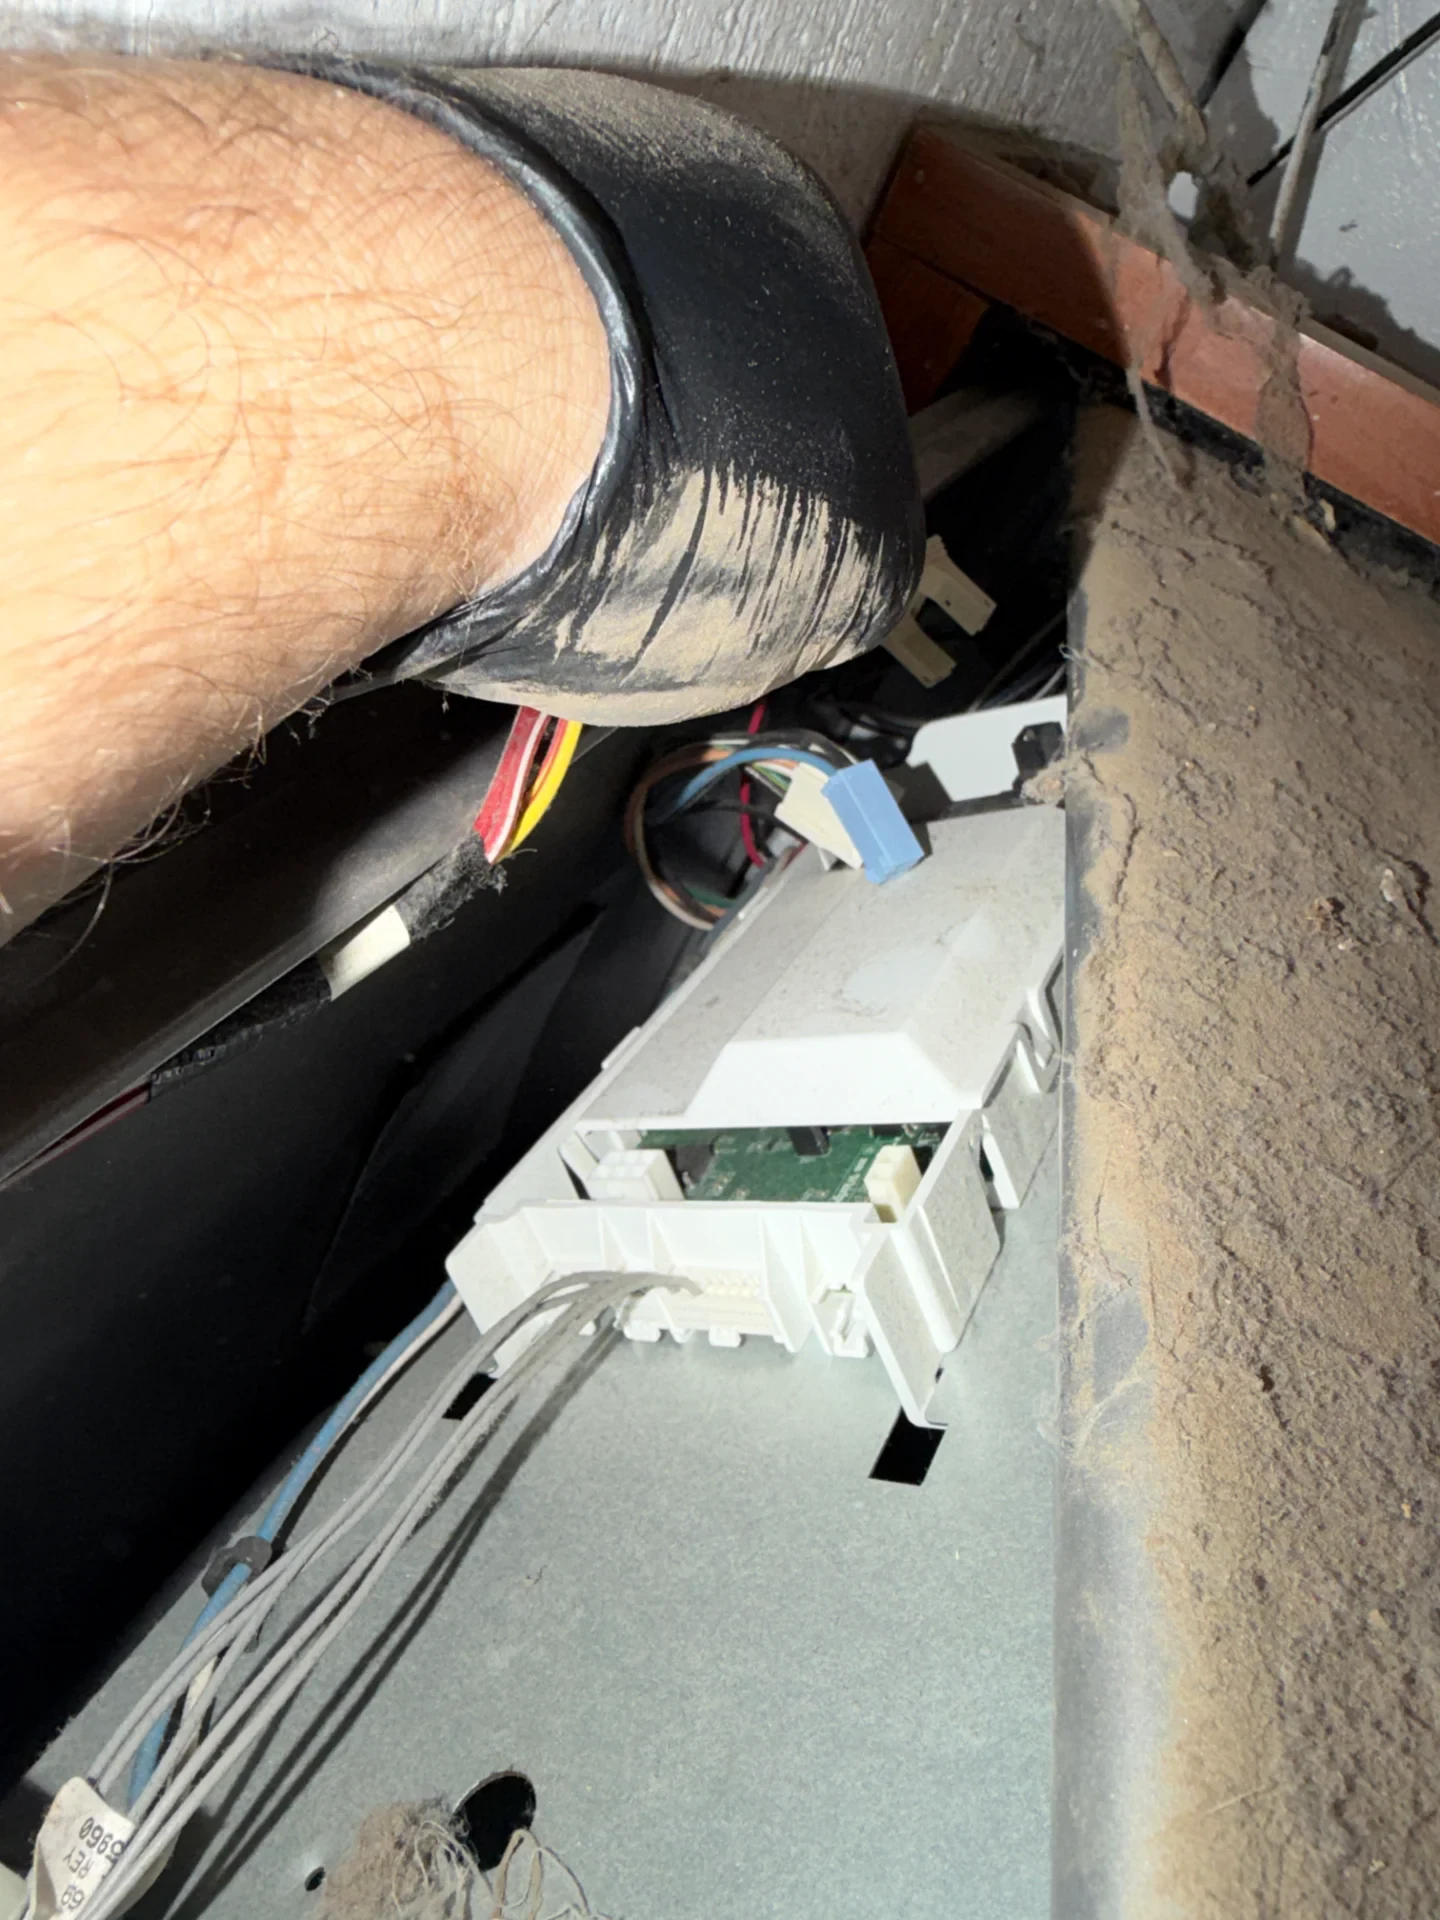
Before ordering or installing a new board, I always verify incoming power and test the safety sensors with a Fluke digital multimeter so we know a shorted component did not fry the electronics. I unplugged the heavy 4-prong 240V AC dryer cord from the wall outlet, backed out the rear hex-head screws with a 1/4-inch nut driver, and slid the top steel panel off the dryer cabinet.
- Incoming 240V Terminal Block Check: I tested the rear terminal block where the power cord attaches. L1 to Neutral read 120.2V AC, L2 to Neutral read 120.4V AC, and L1 to L2 delivered a clean 240.6V AC with zero loose lugs.
- Thermal Fuse and Thermistor Check: I checked continuity across the blower housing thermal fuse (0.2 Ohms) and measured the exhaust thermistor resistance, which sat right on spec at 10,200 Ohms at room temperature.
- Visual Inspection of the Main Control Board: Mounted on the upper left side support rail sits the Machine Control Electronics assembly inside a white plastic bracket. The moment I popped the cover open, a sharp smell of burnt resin hit my nose. Pure carbon char.
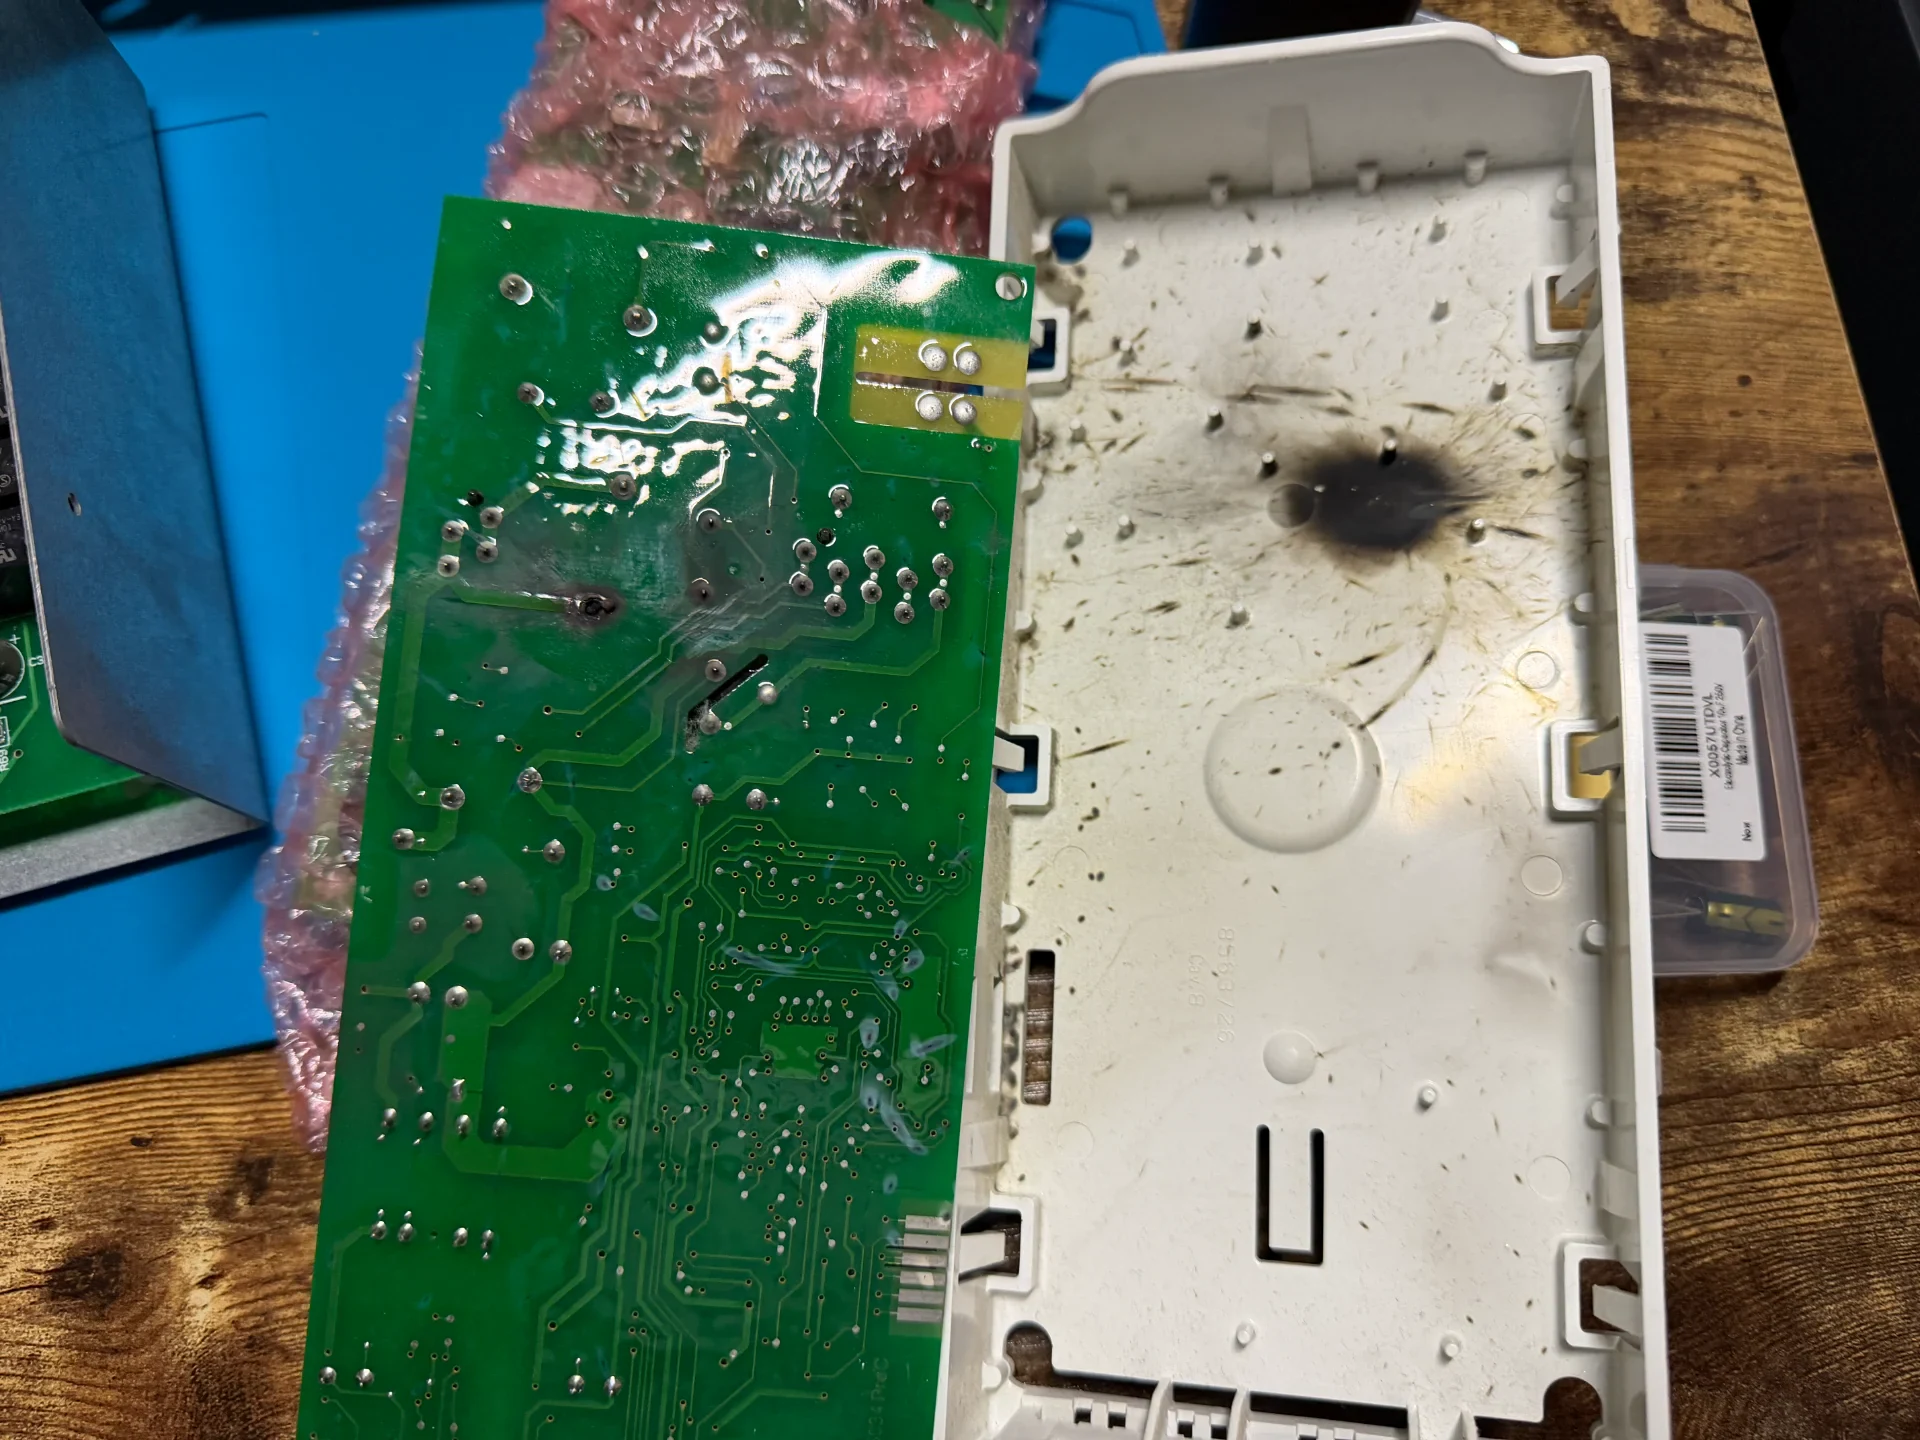
- Relay and Copper Trace Damage: I unclipped the green printed circuit board (PCB) and flipped it over. The black cube-shaped main heater relay had blown out at the base, leaving a black soot crater across the solder joints. Worse yet, the high-amperage arc had completely vaporized two main copper circuit tracks on the underside of the board and burned deep into the fiberglass layer.
When a 240V heater relay arcs hard enough to burn away the primary copper traces and char the fiberglass board, resoldering a $5 relay onto the board is out of the question. Bridging burned high-current dryer tracks with jumper wires creates a severe home fire risk and fails under sustained heating loads. Replacing the entire control board assembly was the only safe fix.
Removing the Burned PCB and Installing the New Whirlpool Dryer Control Board
Once the homeowner approved the flat-rate quote, I went out to my service van and grabbed a factory-new OEM Whirlpool Machine Control Electronics board (Part #WPW10111606):
- Step 1 - Discharging Residual Power: With the 240V cord unplugged from the wall, I pressed the Start/Pause button for five seconds to drain any stored charge from the board's capacitors.
- Step 2 - Inspecting the Multi-Pin Wire Plugs: The dryer control board connects to multiple ribbon cables and heavy spade terminals feeding the 240V heating element, drive motor, moisture sensor strips, door switch, and user interface console. I checked every plastic connector plug and metal spade terminal to make sure none of the wire insulation had melted during the relay blowout.
- Step 3 - Removing the Fried Control Board: Using my nut driver and a flat-blade screwdriver, I detached the mounting bracket screw from the upper side rail, released the plastic retaining tabs, and lifted the burned circuit board out of the dryer.
- Step 4 - Mounting the New OEM Control Board: I snapped the new Whirlpool #WPW10111606 board into the housing, seated every keyed multi-pin connector and heavy heater relay spade terminal firmly onto its matching pin header until the locks clicked, and tightened the chassis ground screw.
| Diagnostic Test Point | Condition Before Repair | Result After OEM Service |
|---|---|---|
| Console Display Status | Flashing F01 fault code; motor will not start | Clear digital countdown; all drying cycles active |
| Rear Terminal Block Supply | 240.6V AC across L1-L2 (120V per leg) | 240.6V AC verified stable under full heating load |
| Main Control Board (#WPW10111606) | Blown heater relay and burned copper PCB tracks | Brand-new factory OEM Whirlpool control board installed |
| Exhaust Vent Temperature Cycling | 0°F (Dead machine, no drum rotation or heat) | Cycling cleanly between 135°F and 152°F on Heavy Duty |
Running the Factory Diagnostic Test Mode and Checking Heat Output
After bolting the top steel panel back onto the dryer cabinet, I plugged the 240V cord into the wall outlet and turned the machine on. The console lit up cleanly with zero fault codes.
To verify every sub-system, I placed the dryer into Whirlpool's automated factory diagnostic test mode using the "More Time - Less Time" button sequence. All console LEDs illuminated with 88 on the screen, confirming the user interface and new main board were communicating properly. I opened the door to verify the door switch beep, bridged the two metal moisture sensor strips inside the front bulkhead with a wet cloth to confirm sensor continuity, and started a Timed Dry Heavy Duty heat test.
The drive motor hummed to life immediately. Within ninety seconds, my digital temperature probe inside the rear exhaust vent climbed smoothly to 148°F, cycled down to 134°F, and climbed back up without a single hiccup from the new board's heater relay. The homeowner was thrilled they could dry their laundry right away without hauling wet clothes to a laundromat or spending $1,000+ on a new dryer.
If your Whirlpool dryer is flashing an F01 error code, refusing to start, or spinning without heat anywhere in Hillcrest or across San Diego County, schedule our local dryer repair service online or call our dispatch office directly at (619) 332-2028.
Transparent Invoice Breakdown
- Technician Electrical Diagnostic & Multi-Point Sensor Test: $99.95 (100% waived upon approving repair — $0)
- Genuine OEM Whirlpool Dryer Electronic Control Board (Part #WPW10111606): $265.00
- Certified Repair Labor (240V Terminal Block Test, Multi-Pin Connector Transfer, PCB Replacement & Thermal Calibration): $205.00
- Total Repair Investment: $470.00
Repair completed on-site in Hillcrest, San Diego, CA (92103) in approximately 60 minutes. Backed by our standard 90-day parts and labor warranty under CA BHGS License #A51622.
Need Technician Assistance Today?
$99.95 Technician Diagnostic Visit • 100% Waived With Completed Repair.
More Articles & Troubleshooting Guides
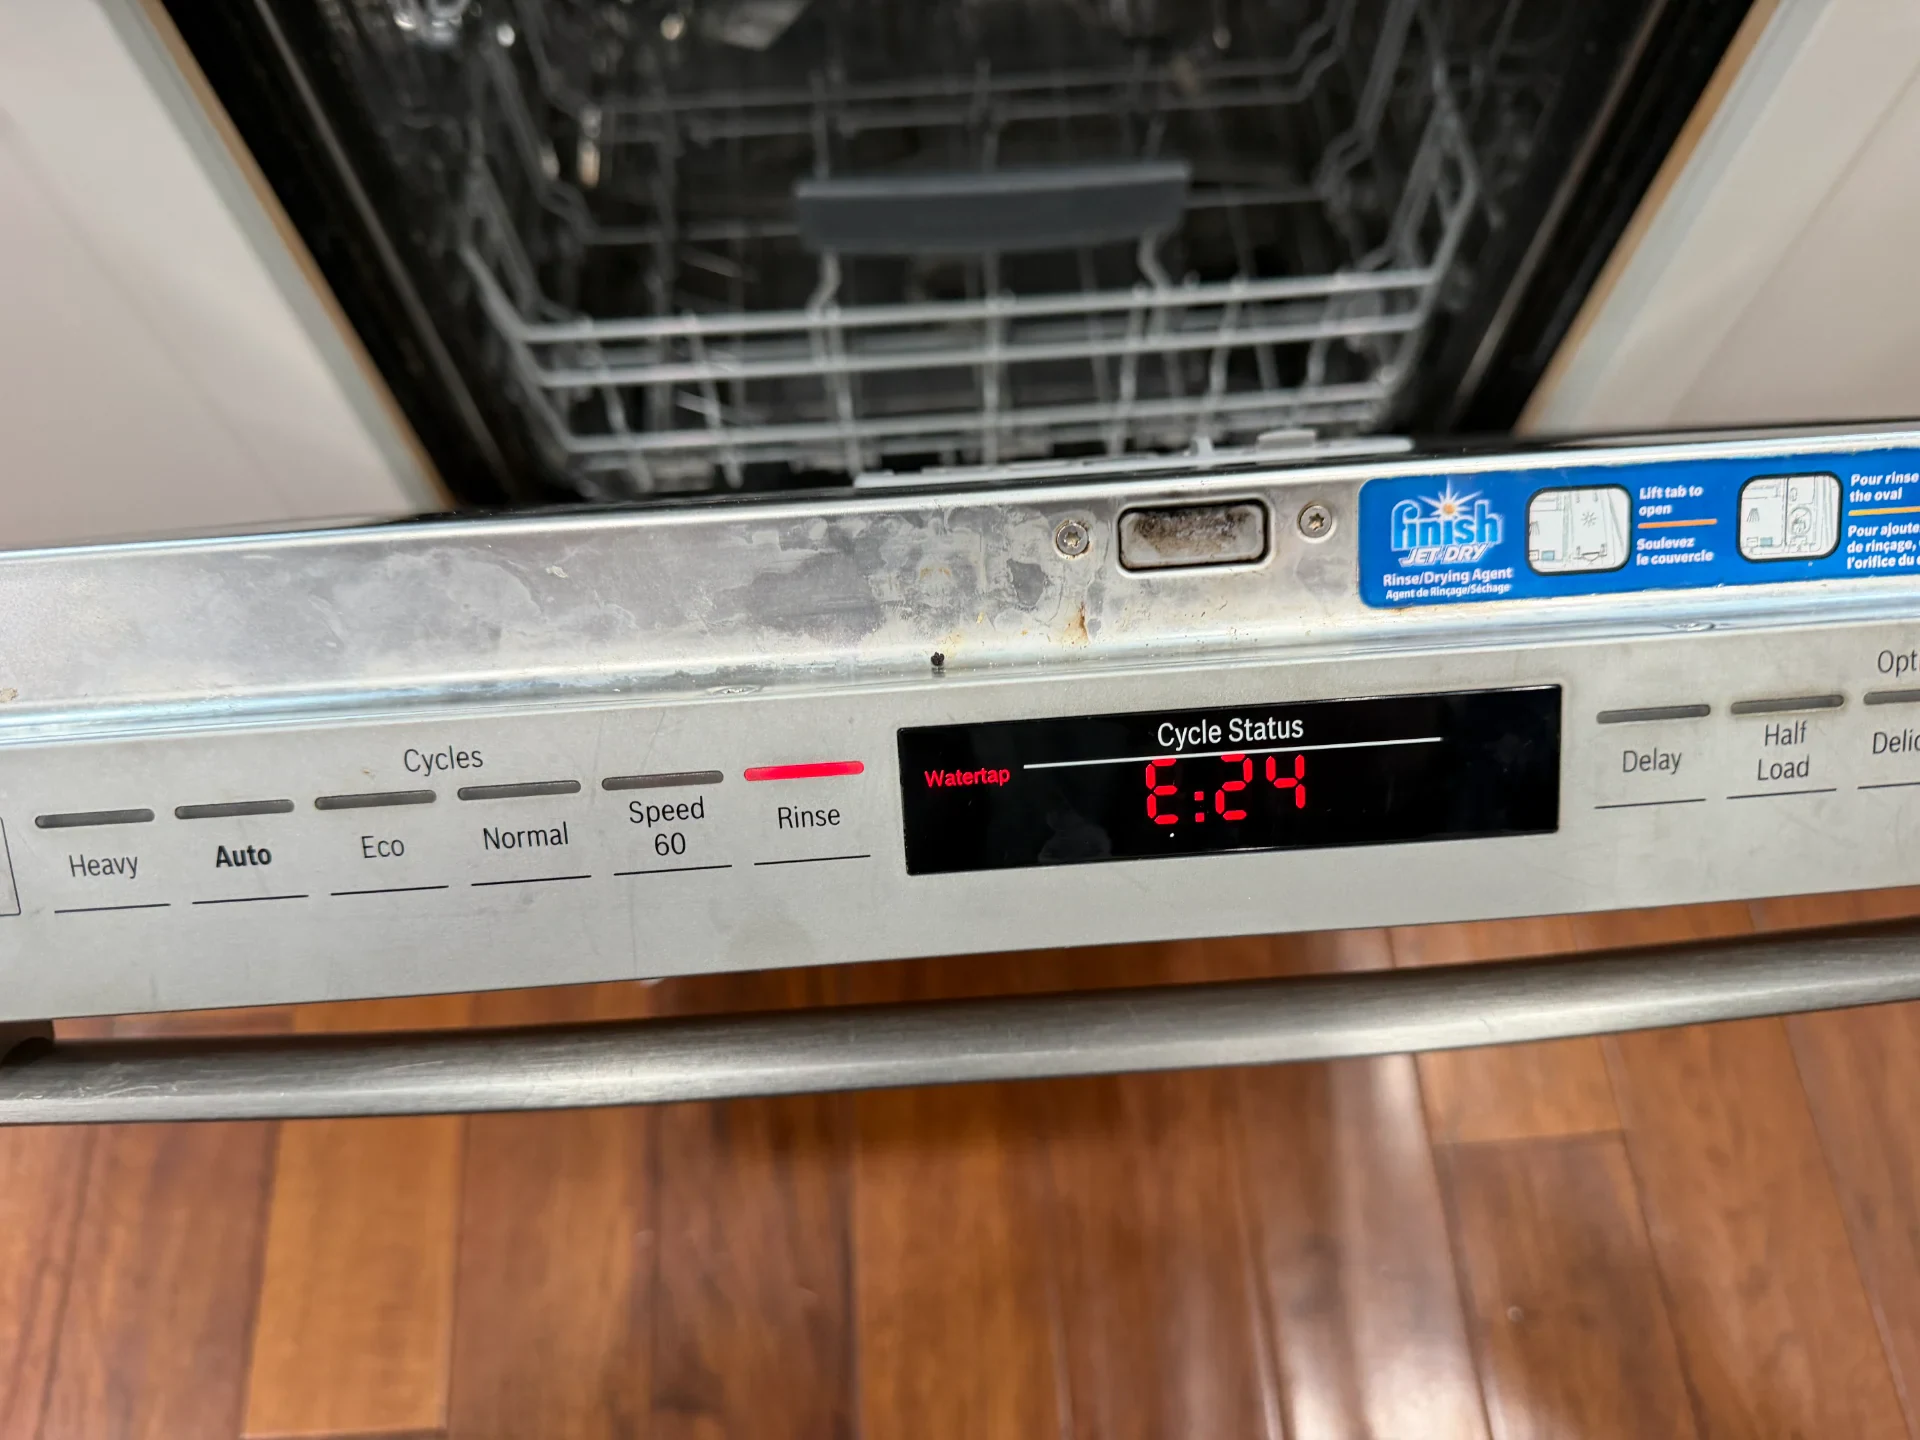
Bosch Dishwasher E24 and E25 Error Code Repair in Indio: Drain Pump, Cover, and Check Valve Replacement
A Bosch 800 Series dishwasher in Indio quit mid-cycle with a full tub of water and error codes E24/E25. We replaced a burned-out 3-phase drain pump, snapped impeller cover, and torn check valve to restore full 28-second drainage
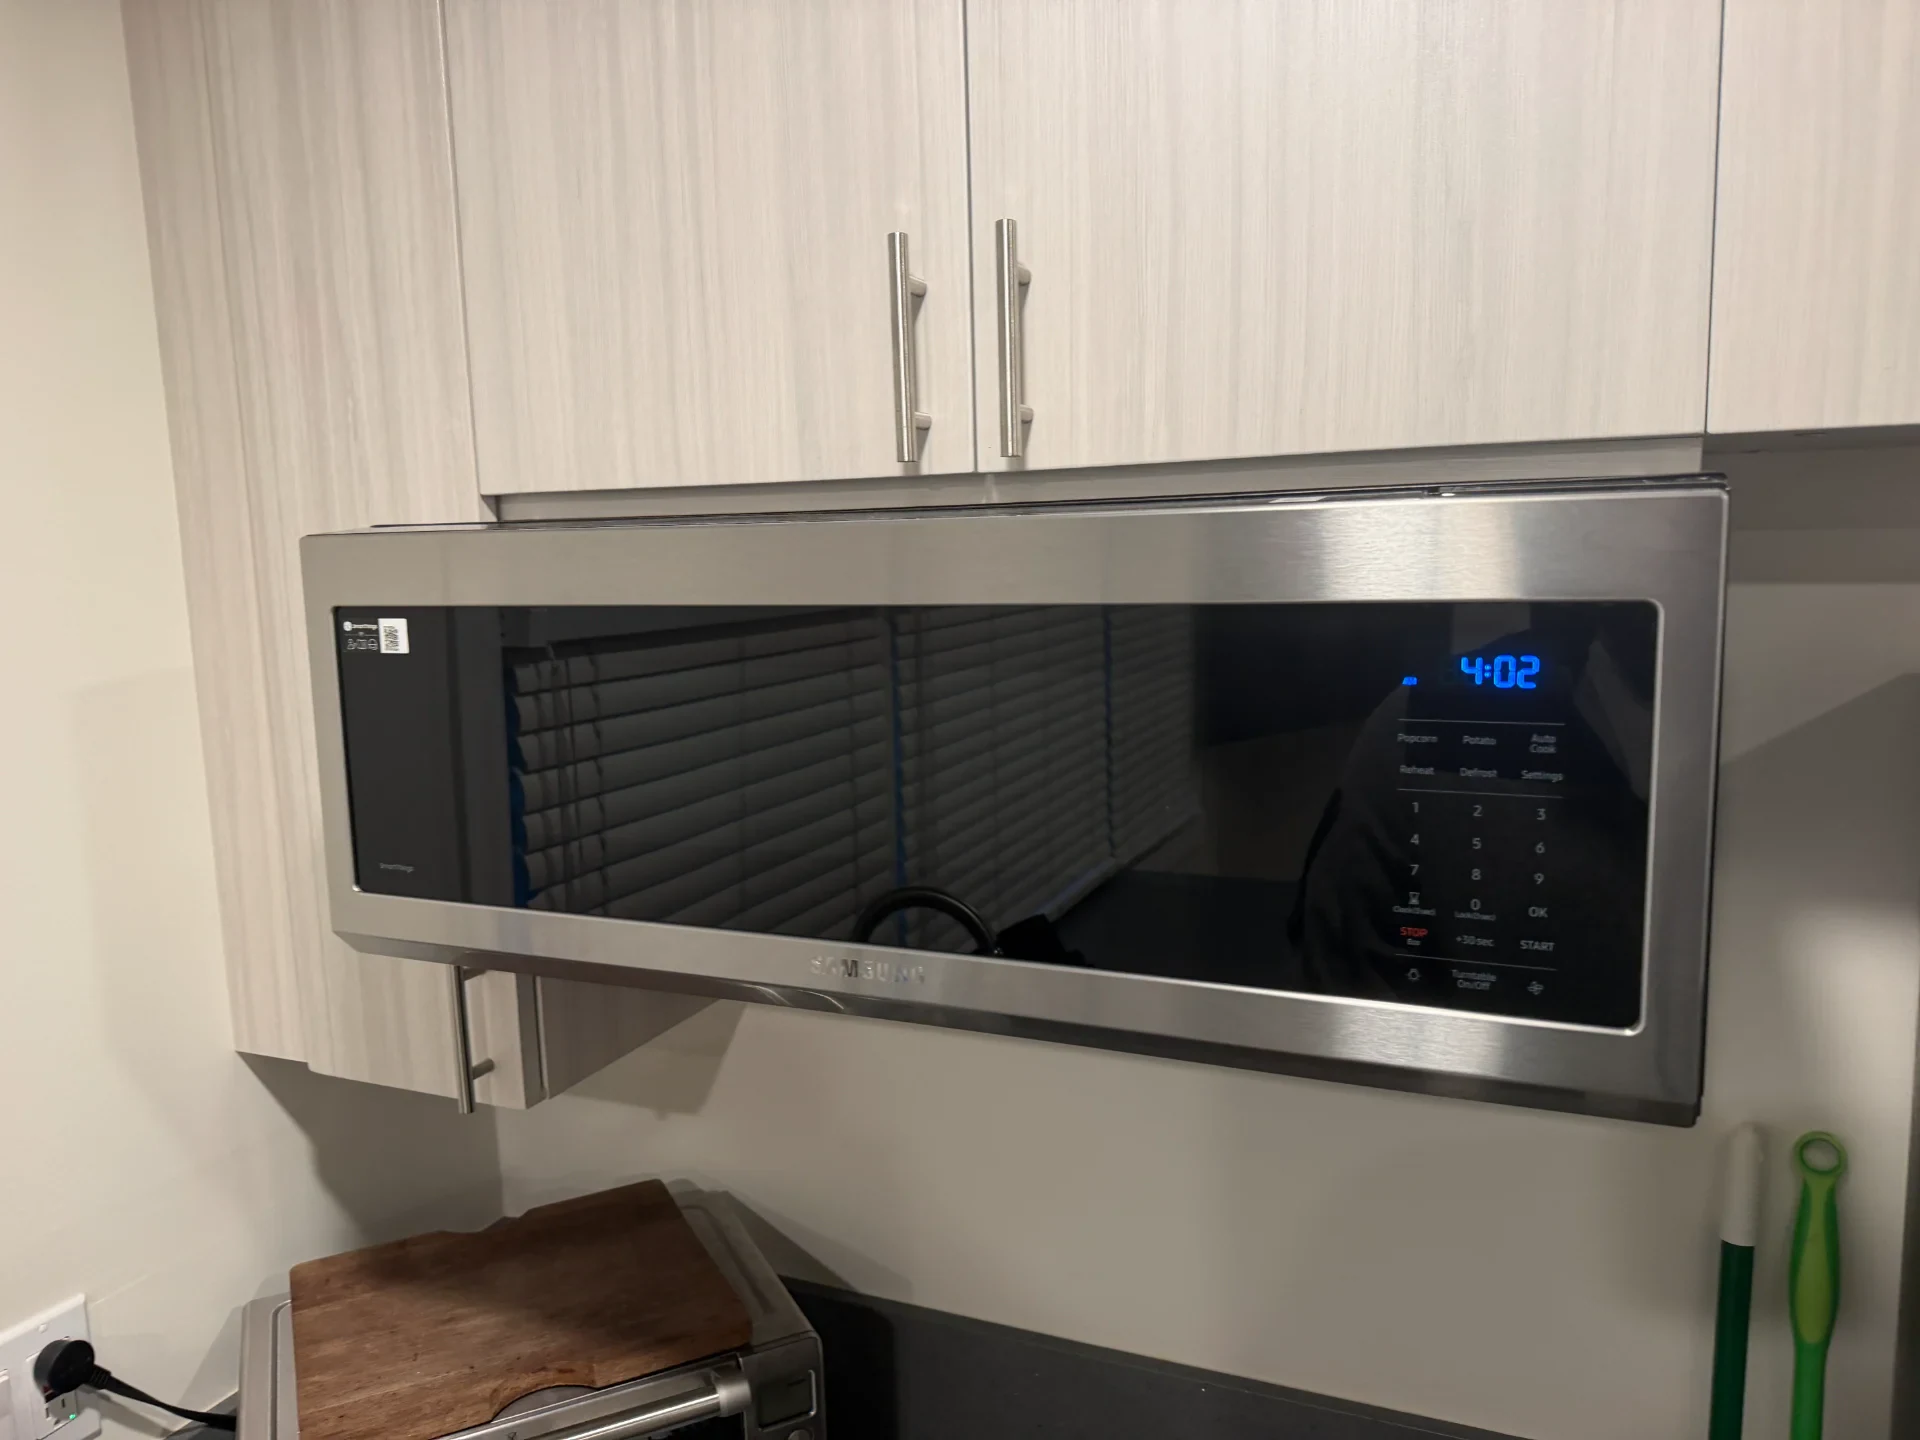
Samsung Microwave Touchpad Not Working in Cathedral City: $475 Door Assembly Diagnosis
A Samsung over-the-range microwave in Cathedral City flashed a -SE- code with a dead touchpad. We verified 5V DC from the main board and traced the fault to a steam-corroded bonded door ribbon ($475 OEM part), saving the owner from an uneconomical $590 repair.
Real Google Reviews From Satisfied Clients
Verified customer ratings from homeowners and businesses across San Diego County & Coachella Valley.
Google Rating (28 Verified Reviews)
W K
“Henry has been great....couldn't have been more knowledgeable and did a great job.....hope if I need help again he is available”
Brent Lagace
“Great service! Excellent staff! Thank you!”
Chris Rea
“Henry arrived and quickly got the dryer opened up and vacuumed, checked all sensors and greased rollers. Very fast, very thorough! Great job!”